Digital Plumbing Checklist

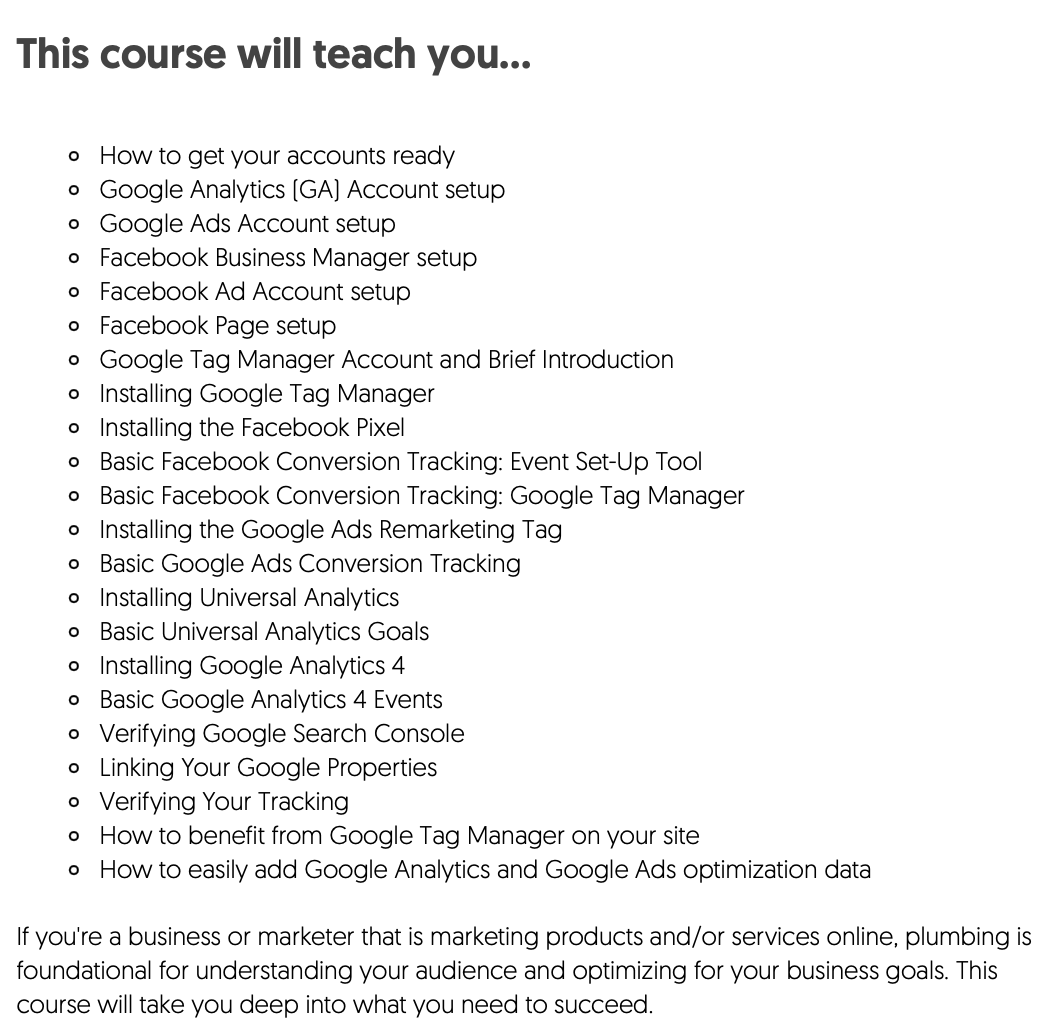
This guide will teach you the process of setting up Digital Plumbing across your websites. It is detailed and very easy to follw.
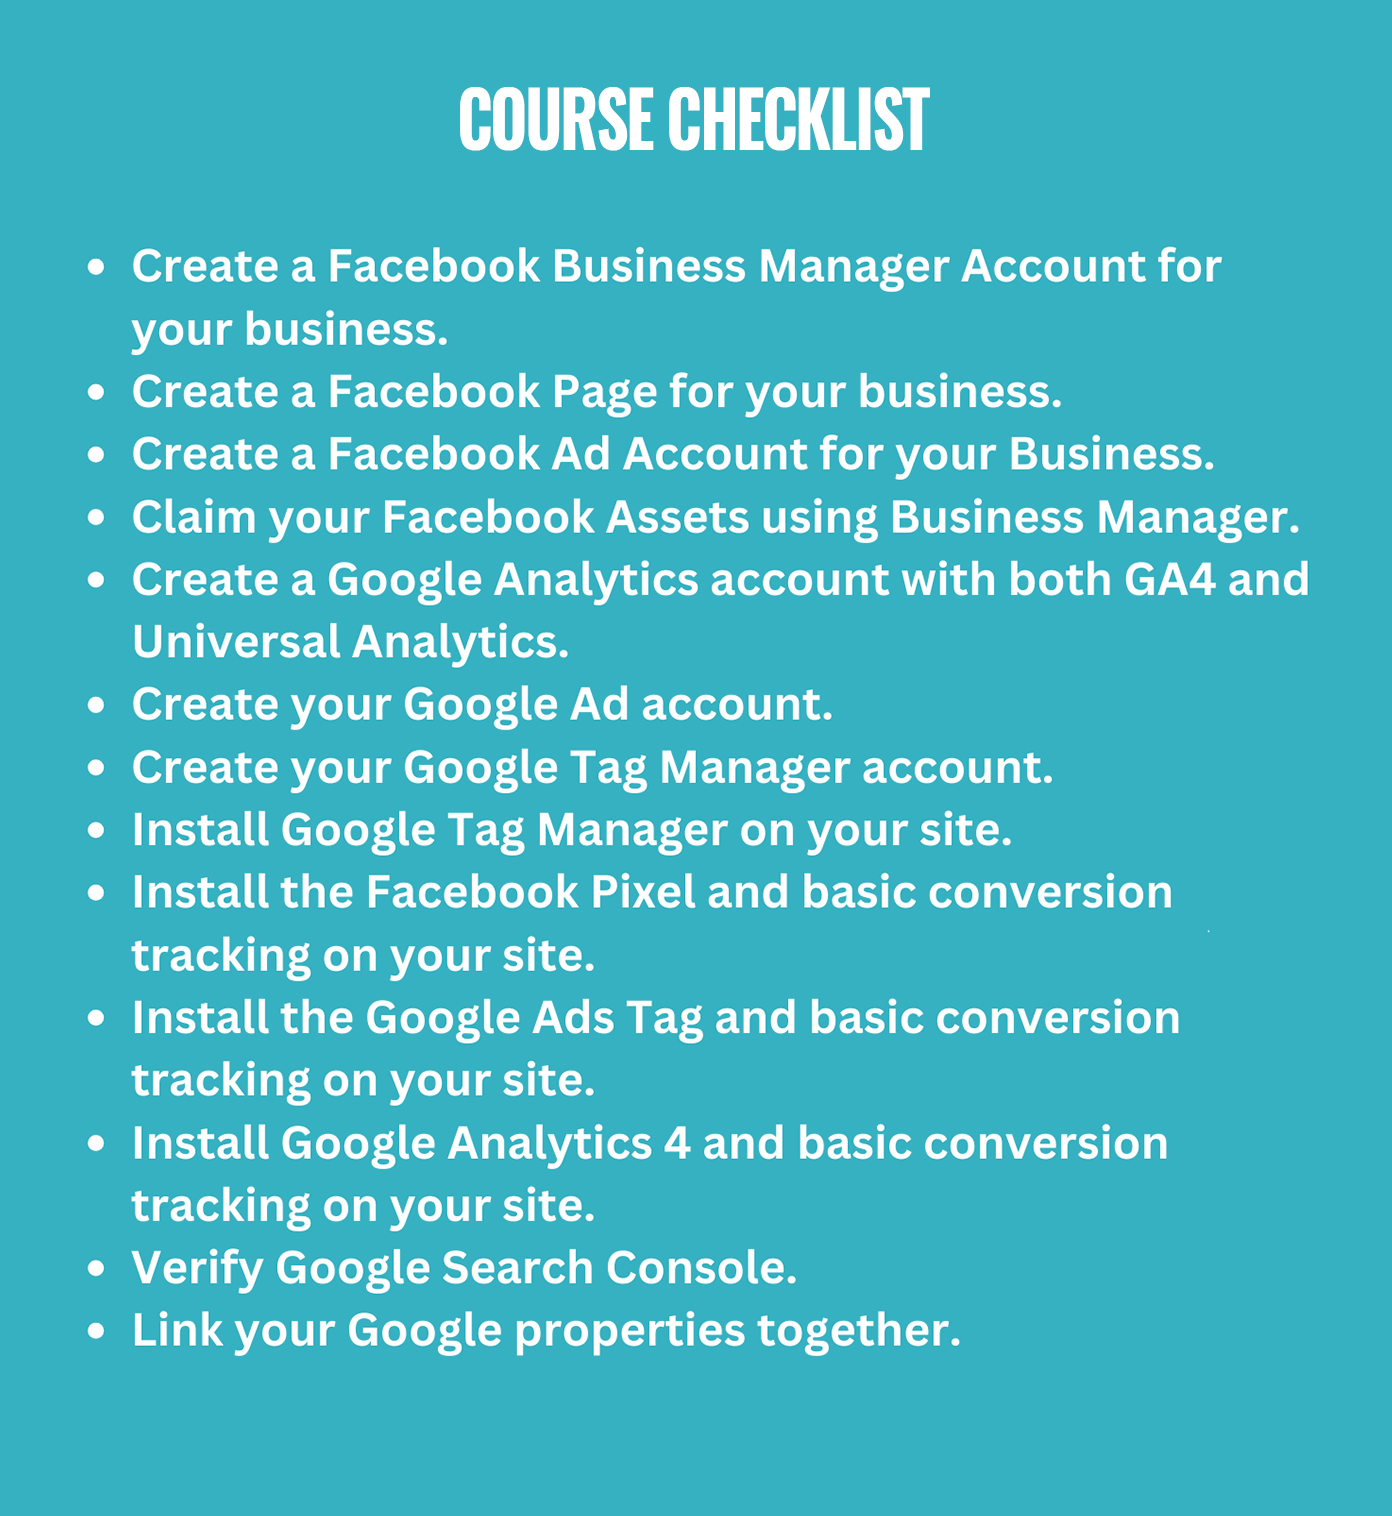
Task Checklist
- Creating accounts for key marketing platforms
- Install tracking codes
- Verify your setup for accuracy and troubleshooting, ensuring reliable data collection.
Information that you will need:
- Google Account to set up Google Analytics, Google Ads, and Google Tag Manager.
- Facebook Account to create and manage your business assets through Facebook Business Manager.
- Access to Website Backend.
- Information about your ticketing platform for revenue tracking.
Tools that you will need:
- Google Account
- Facebook Account
- Access to Website Backend
Steps:
-
Create Accounts:
Facebook Business Manager
Google Analytics
Google Ads
Google Tag Manager -
Install Tracking Codes:
Google Tag Manager
Facebook Pixel
Google Ads Tag
Google Analytics 4 -
Verify Your Setup
Utilize Facebook Pixel Helper and Google Tag Assistant
Review Data Collection
Set up primary vs secondary revenue tracking with your chosen ticketing platform.

Before you begin...
Create Accounts:
Facebook Business Manager:
-
Visit Business Manager.
- Navigate to the Business Manager website.
- Click on "Create Account" and enter your business name, email, and other required details.
- Follow the prompts to set up your business account.
-
Set up your Facebook Page and Ad Account within Business Manager.
- Once in Business Manager, click on "Business Settings."
- Choose "Pages" and click "Add Page" to create your Facebook Page.
- Go back to Business Settings, select "Ad Accounts," and click "Add Ad Account."
Google Analytics:
-
Visit Google Analytics.
- Sign in with your Google Account or create a new account.
- Click on "Start measuring" and follow the prompts to set up your Google Analytics property.
-
Set up both GA4 and Universal Analytics properties.
- After creating an account, click on "Create Property" and select "Web."
- Follow the instructions to set up both GA4 and Universal Analytics properties.
Google Ads:
-
Visit Google Ads.
- Sign in with your Google Account or create a new account.
- Click on "Switch to Expert Mode" and create your first ad campaign.
-
Set up your first ad campaign.
- Choose your campaign goal, set your budget, select targeting options, and create your first ad.
Google Tag Manager:
-
-
Visit Google Tag Manager.
- Sign in with your Google Account or create a new account.
- Click on "Create Account" and set up your first container.
-
Set up your first container and publish it to your website.
- Follow the prompts to create a container, add tags for Google Analytics, Facebook Pixel, and Google Ads Tag.
- Publish the container to your website.
-
Install Tracking Codes:
Google Tag Manager:
-
Access your Google Tag Manager account.
- Log in to Google Tag Manager.
- Click on the container you created.
-
Add tags for Facebook Pixel, Google Ads Tag, and Google Analytics 4.
- Click on "Tags" and choose "New" to create a tag for each tracking code.
- Configure each tag with the respective tracking code.
-
Publish the container to your website.
- Click on "Submit" to publish the changes to your website.
Facebook Pixel:
-
Access your Facebook Business Manager.
- Navigate to Business Manager and select "Events Manager."
-
Navigate to Events Manager and set up a new Pixel.
- Click on "Connect Data Sources" and choose "Web."
- Follow the prompts to create a new Pixel.
-
Install the Pixel code on your website.
- Copy the Pixel code and paste it into the header of your website.
Google Ads Tag:
-
Access your Google Tag Manager.
- Log in to Google Tag Manager and select the container.
-
Add a new Google Ads Tag.
- Click on "Tags" and choose "New."
- Configure the tag to measure conversions and user behavior.
-
Publish the container to your website.
- Click on "Submit" to publish the changes to your website.
Google Analytics 4:
-
Access your Google Tag Manager.
- Log in to Google Tag Manager and select the container.
-
Add a new Google Analytics 4 tag.
- Click on "Tags" and choose "New."
- Configure the tag to capture user interactions and measure campaign performance.
-
Publish the container to your website.
- Click on "Submit" to publish the changes to your website.
Verify Your Setup:
-
Utilize tools like Facebook Pixel Helper and Google Tag Assistant to check the validity of your tracking codes.
- Install and activate Facebook Pixel Helper and Google Tag Assistant browser extensions.
- Visit your website and ensure that the extensions show no errors.
-
Review data collection within your Google Analytics and Google Ads accounts to ensure accurate data.
- Log in to Google Analytics and Google Ads.
- Check for data reports to ensure tracking is working correctly.
If you'd rather not figure this out on your own, we would be more than happy to set up your digital plumbing for you. To get started, click here

That's it.
Verification Checklist
- Google Tag Manager account created and published to the website.
- Facebook Ads account created using Business Manager.
- Google Ads account created and linked to Google Tag Manager.
- Google Analytics account created.
- Facebook Pixels and Standard Events set up with Google Tag Manager.
- Google Remarketing Pixel set up using Google Tag Manager.
- Everything verified and set up correctly.
- Google Analytics set up with Google Tag Manager.
- Primary vs secondary revenue tracking set up with the ticketing platform.
