How to Fix WordPress Footer with
Elementor Header and Footer Plugin
This guide will teach you the process of updating and fixing the footer section of your WordPress website. It is very detailed and can be easily followed.
Task Checklist
Information that you will need:
- The website login link.
- The website login credentials.
- The content, link, etc you will be adding to the website.
Tools that you will need:
- Elementor Header & Footer Builder WordPress plugin
- Any Elementor supported WordPress theme
Steps:
- Login to the website's backend.
- Go to the homepage.
- At the header of the page, you’ll see “Edit with Elementor”. Hover over it and you’ll see a few items like drop-downs.
- You will see- ”Digital Marketing Agency” twice, the first one is to edit the website header, and the second is to edit the website footer.
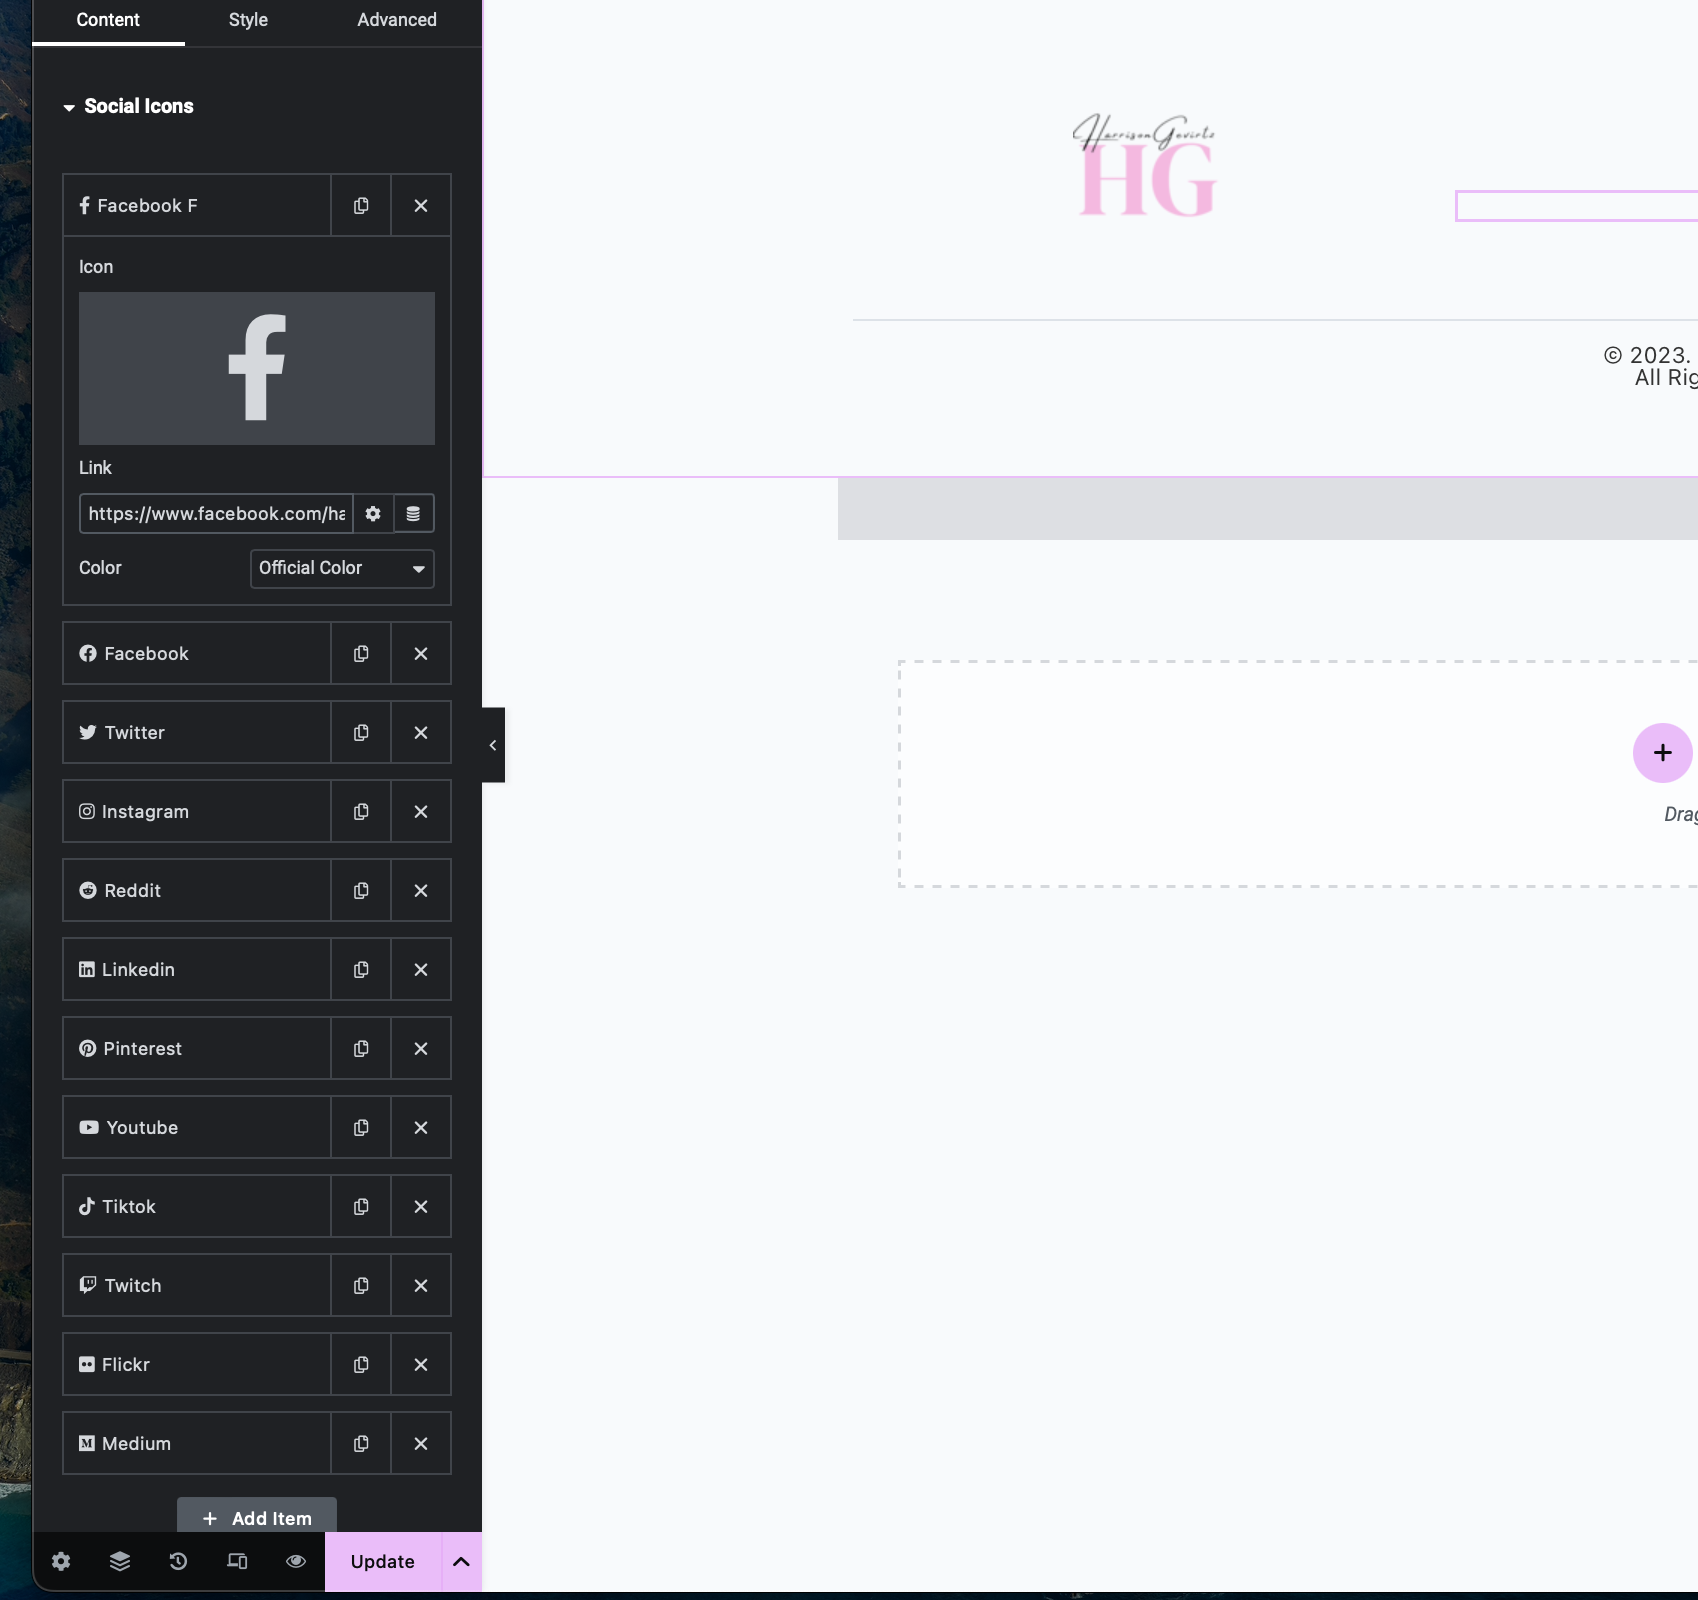
- Click what you want to edit, the social media icons in this case, then edit, remove or replace the links from the left section of the page.
- Then click "Update" from the bottom left corner of the page.
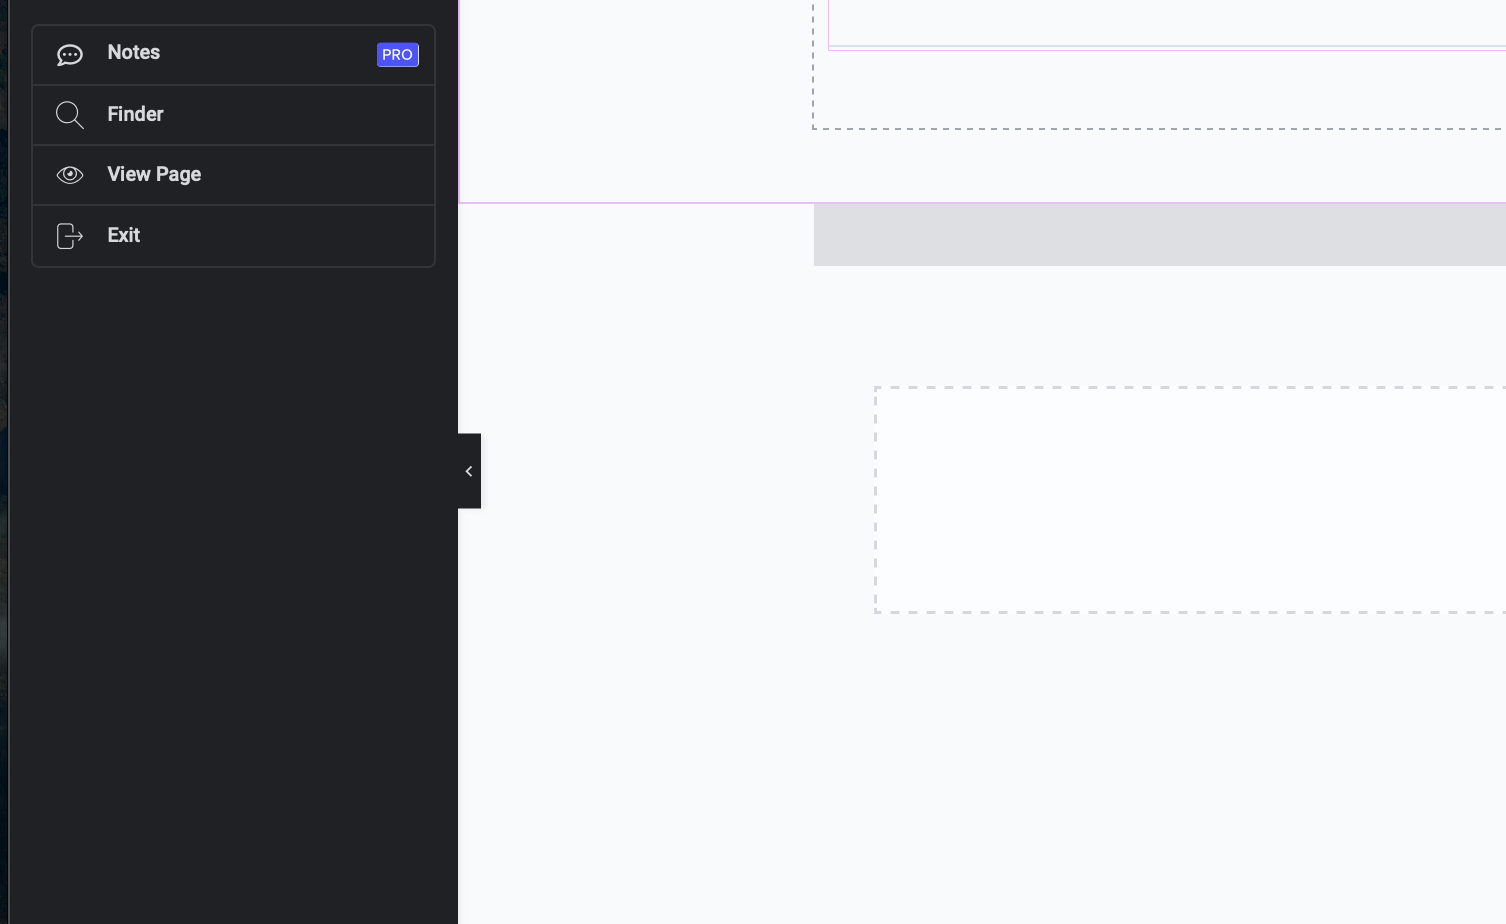
- Click "View Page" or open the website in a new tab to preview your changes.
Estimated time it takes on average to update WordPress footer section:
The total time it will take you to update or fix your WordPress website footer with the "Elementor Header & Footer Builder" plugin should not exceed 5 minutes.
Before you begin...
Before diving into the process of editing your website footer using Elementor, it's essential to take a moment to prepare and understand the key elements involved. Ensure that you have administrator or editor access, proceed to backup the website. This precautionary step ensures that you can easily revert to the previous version in case something goes wrong during the editing process.
Gather the footer content by preparing the elements you intend to include in the footer, the social media links in this case. Keep in mind that the website footer should be responsive, including desktops, tablets, and mobile phones. Think about how the footer elements will stack and resize for different screen sizes.
Fixing the footer in WordPress refers to the process of making necessary adjustments, improvements, or customizations to the bottom section of a WordPress website. The footer, located at the bottom of each web page, typically contains essential information such as copyright notices, contact details, social media links, footer navigation menus, and sometimes additional elements like widgets. This can include various tasks, such as modifying text and links, optimizing the layout and responsiveness to different screen sizes (e.g., desktop, tablet, and mobile), and ensuring that all elements within the footer are error-free.
Step 1: Login to the website's backend

Step 2: Go to the homepage
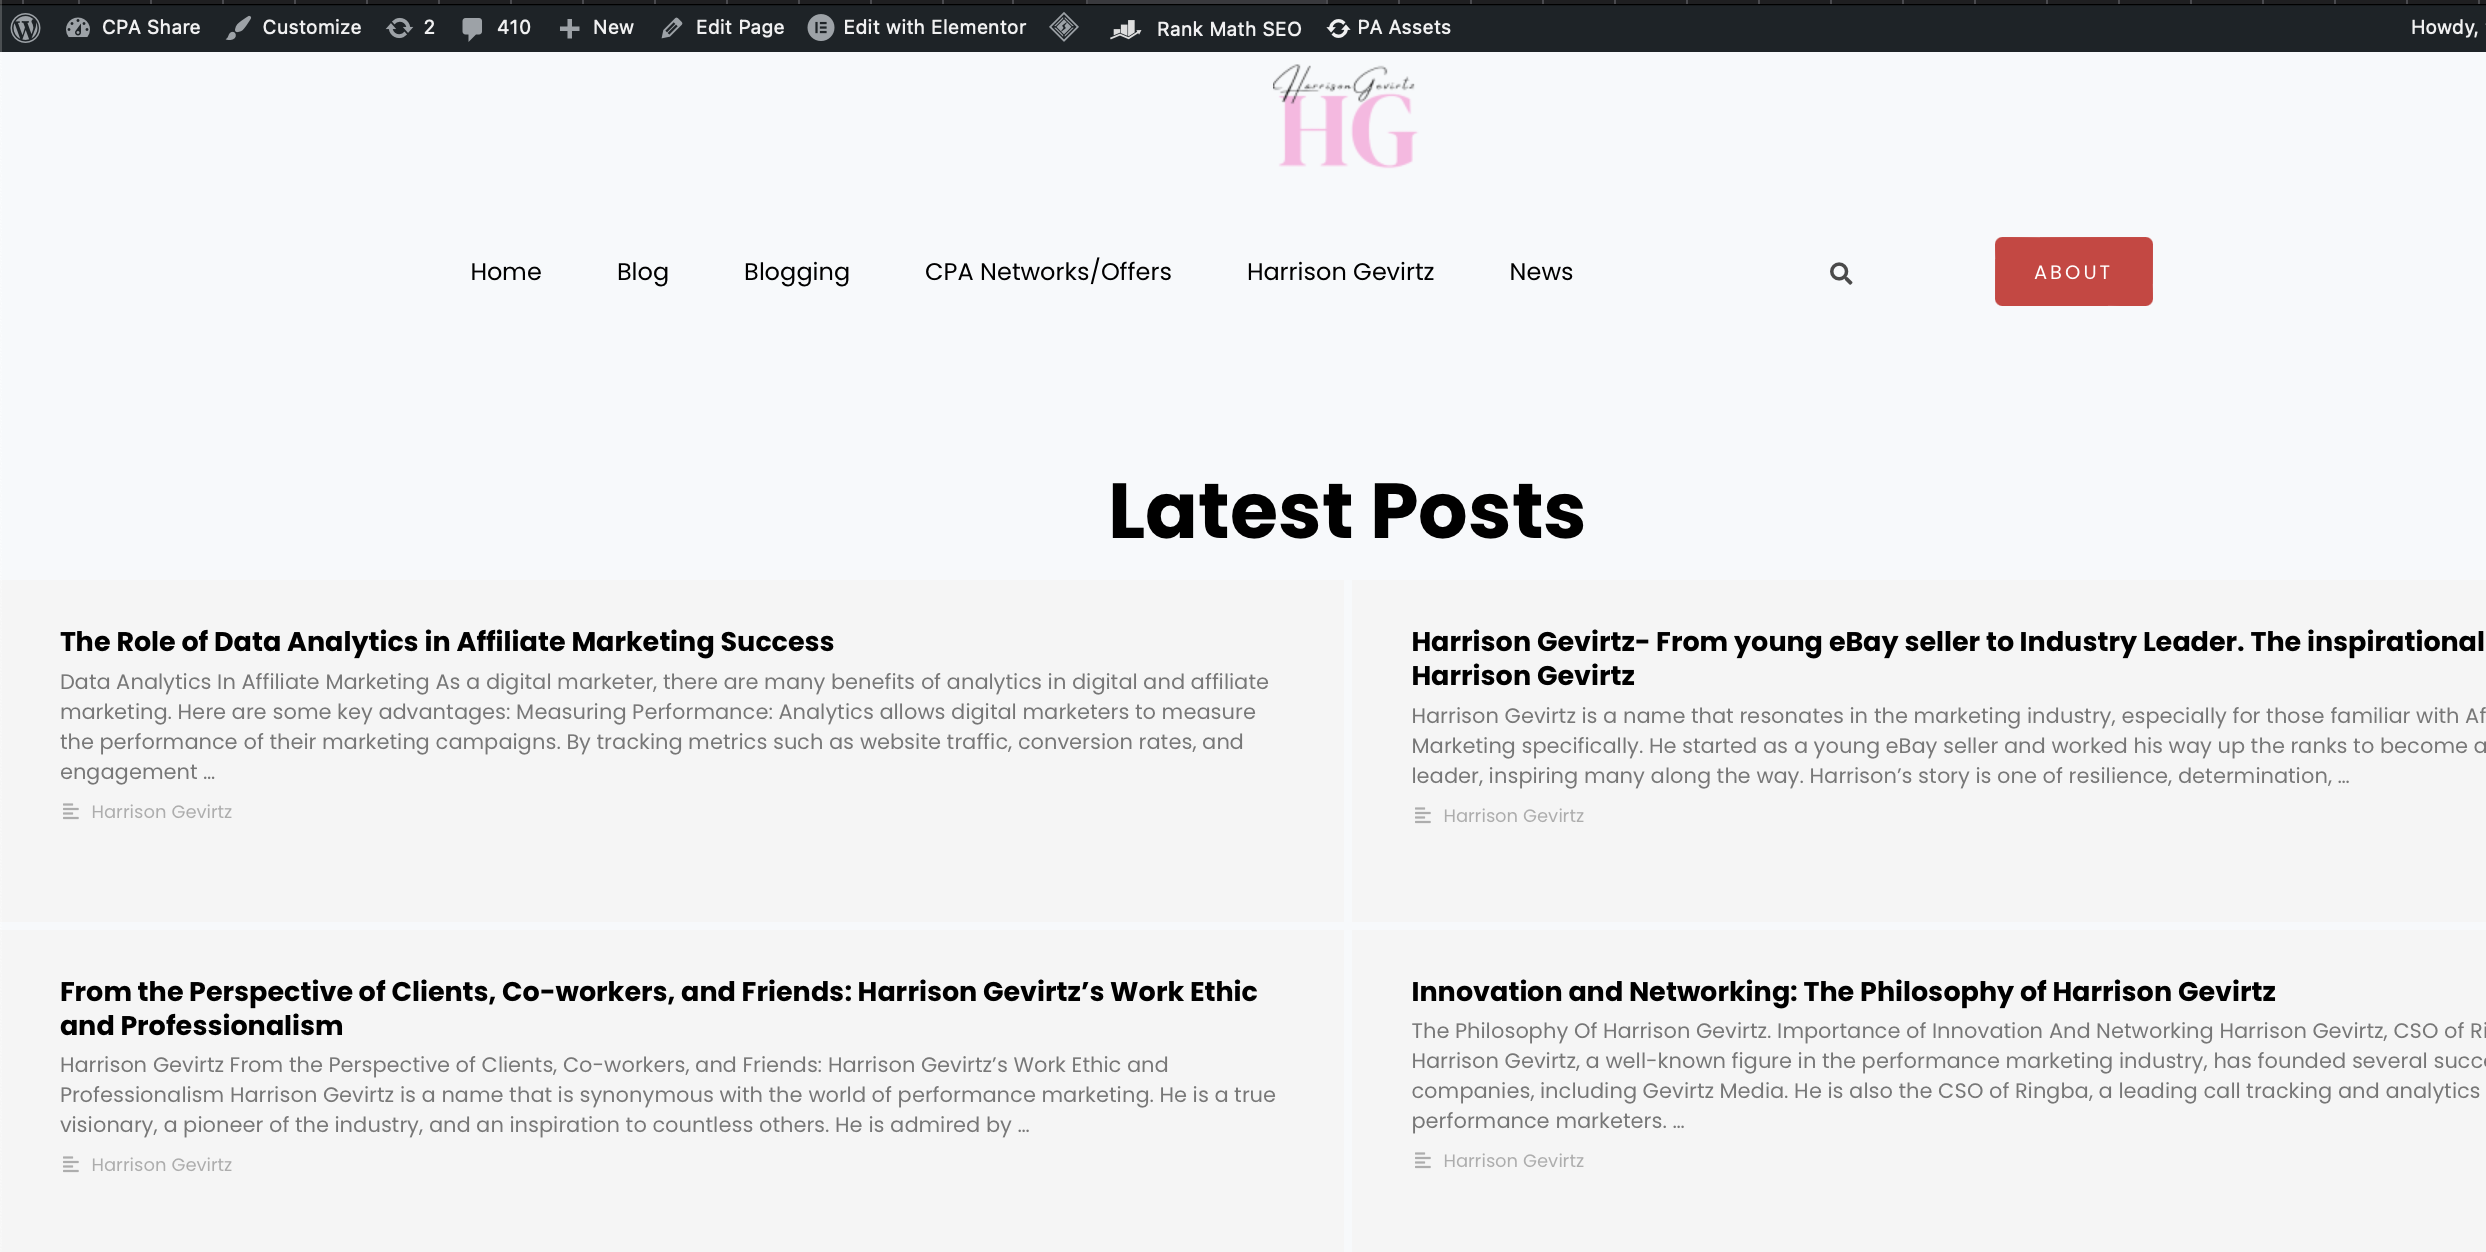
Step 3: Look for “Edit with Elementor” on the website header
Hover over it and you’ll see a few items like drop-downs.

Step 4: You will see- ”Digital Marketing Agency” twice
The first one is to edit the website header, and the second is to edit the website footer.

Step 5: Click what you want to edit
The social media icons in this case, then edit, remove or replace the links from the left section of the page.

Step 6: Then click "Update" from the bottom left corner of the page
Step 7: Click "View Page" or open the website in a new tab to preview your changes
Before:

After:

That's it. You're done. Good job!
Verification Checklist
#1. Ensure you are logged in to the WordPress website's backend.
#2. Access Elementor Editor from page header.
#3. Identify Footer Section. Verify that there are two instances: one for the website header and the other for the website footer.
#4. Edit Social Media Icons and any other changes you want to make to the WordPress website footer.
#5. After editing, ensure changes are saved within the Elementor editor. Click “Update” from the bottom left corner of the page to save your modifications.
#6. Preview Changes and check the appearance and alignment of the icons in different devices (desktop, tablet, and mobile).
