How to Inventory a YouTube Channel
This guide will teach you the process of creating a YouTube inventory. It is very detailed and can be easily followed. By the time you finish reading this guide, you will be well on your way to creating your first YouTube inventory.
Task Checklist
Information that you will need:
- YouTube channel to work on.
- Additional instructions, if any. Don’t be afraid to ask.
Tools that you will need:
- New Google Sheet with the template copied to it.
- Timestamp Removal Tool.
- Word Counter or MS Word (Use any of these options to count the words).
Steps:
- Go to the “Videos” page of the YouTube channel and load the videos one at a time.
- Familiarize yourself with the information you need to gather and where it is.
- Copy the following in the appropriate column of the sheet:
- Video name,
- URL,
- Date,
- Name of the featured speaker,
- Do a Google search to confirm First Page and Video Ranking,
- URLs of the LinkedIn and Twitter accounts of the featured speaker,
- Video’s view count,
- Video’s duration,
- Video’s word count,
- Repeat the process until you add all videos to the inventory completely.
- Accomplish the Summary tab.
Estimated time it takes on average to add each video to the inventory:
The total time it will take you to add all the videos to the inventory will largely depend on how many videos there are to add, but the time it will take you to add each video and accomplish the cells in the columns should not exceed one minute and 45 seconds.
If you’re taking longer than that per video, you need to identify what you are doing wrong and improve on it. Ask yourself which step is consuming more time than necessary, and work on it to be more efficient. The faster, the better, but accuracy is essential. The data will be used to analyze the channel, so bad data equals bad analysis.
Before you begin...
This task involves creating an inventory of all the videos (content) a particular YouTube channel has. This means that you will be listing all the videos on the channel, which also includes YouTube Shorts. You will be sent a link to a Google Sheet, which contains the template that we are using. You should copy the tabs that are on that template and paste them onto a new Google Sheet. Save it under the name of the Client, so it will be easy to track.
The information that you are required to collect includes the Descript Video Name, Date the video was posted, URL, Featured Speaker (if the client is being interviewed by someone or if the client is interviewing somebody), First Page, Video Ranking, Featured Speaker Twitter Account, Featured Speaker LinkedIn Account, Views, Video Length, BW Blog URL, Word Count, and File Name. Some of these items will be explained below.
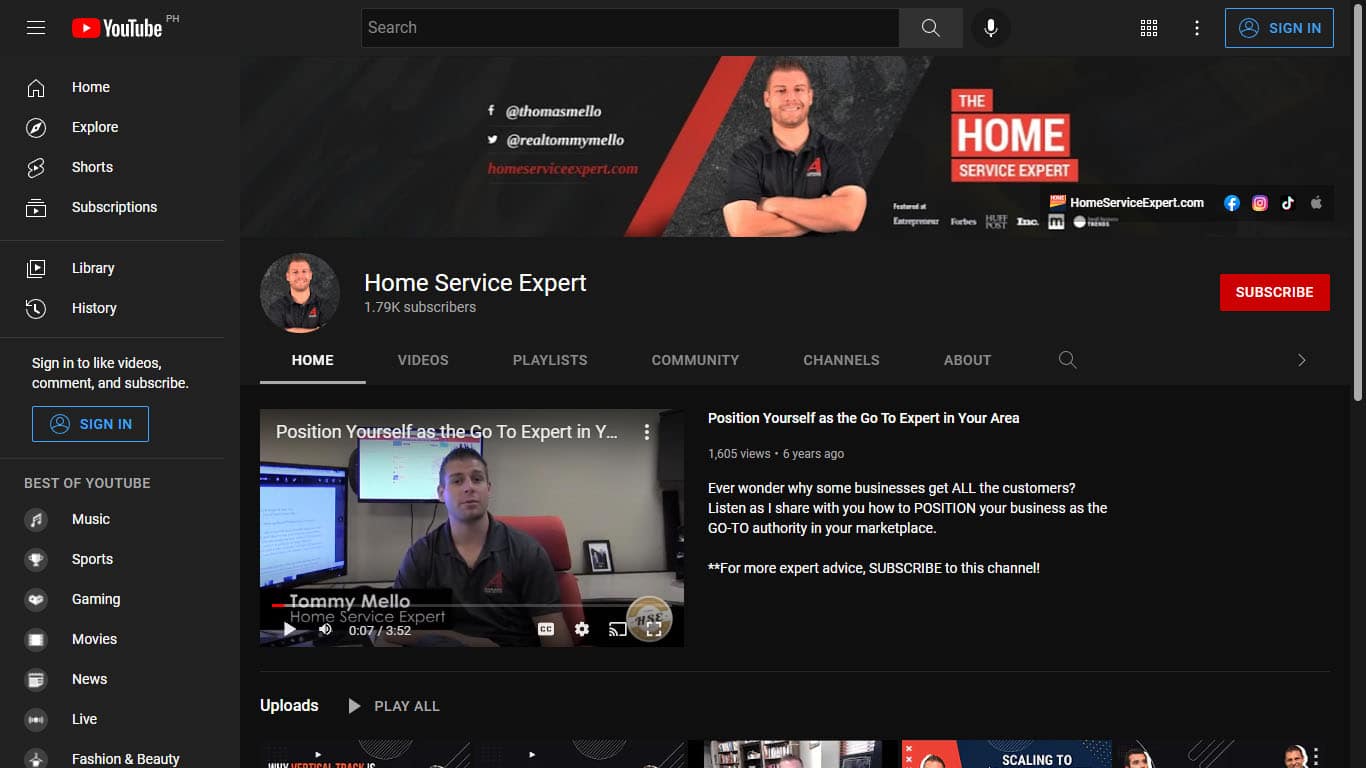
Before you begin, it is important to prepare everything that you will need to get the job done. To start with, you should have the YouTube page and the Google Sheet loaded already in your browser. Starting the task in an organized manner sets you up for a successful completion of the task. We will use the “Home Service Expert” YouTube channel as an example (image below).
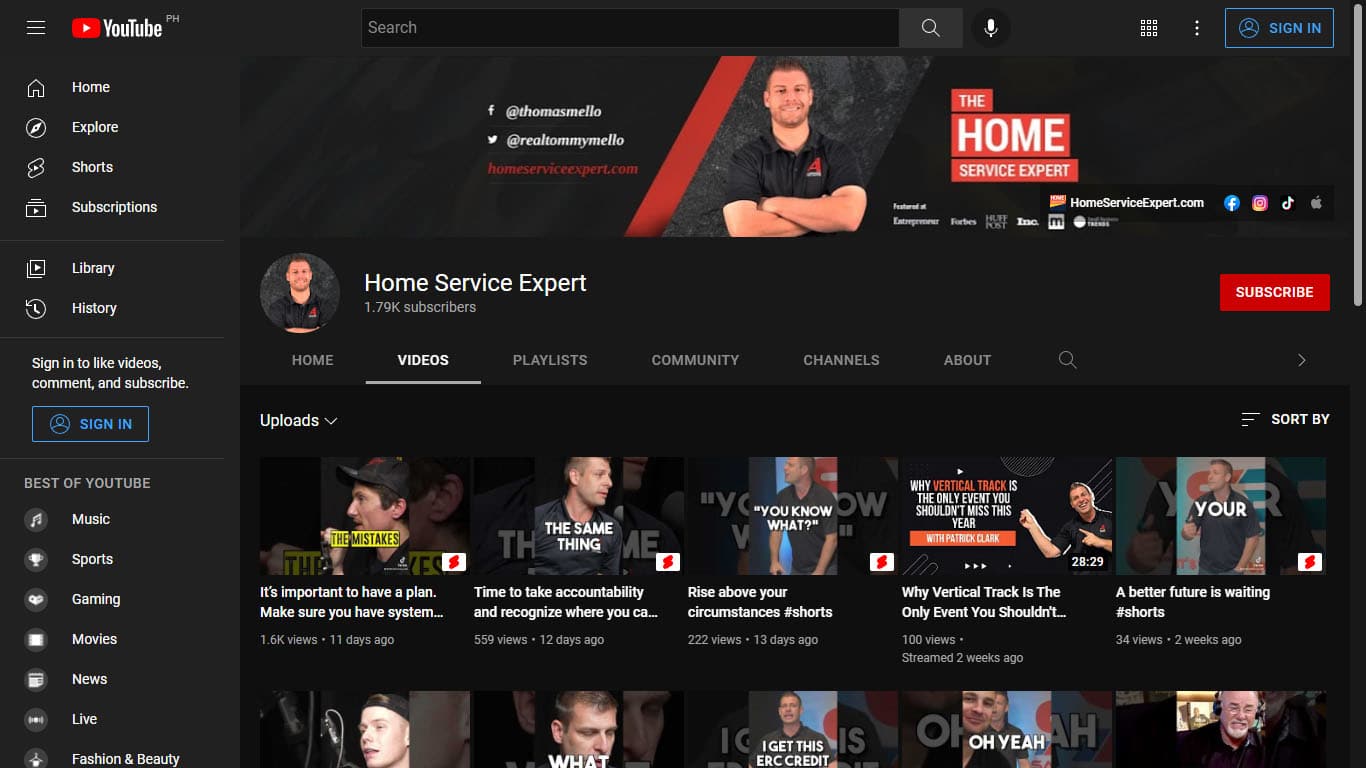
Step 1: Go to the Videos page and load the first video on the list
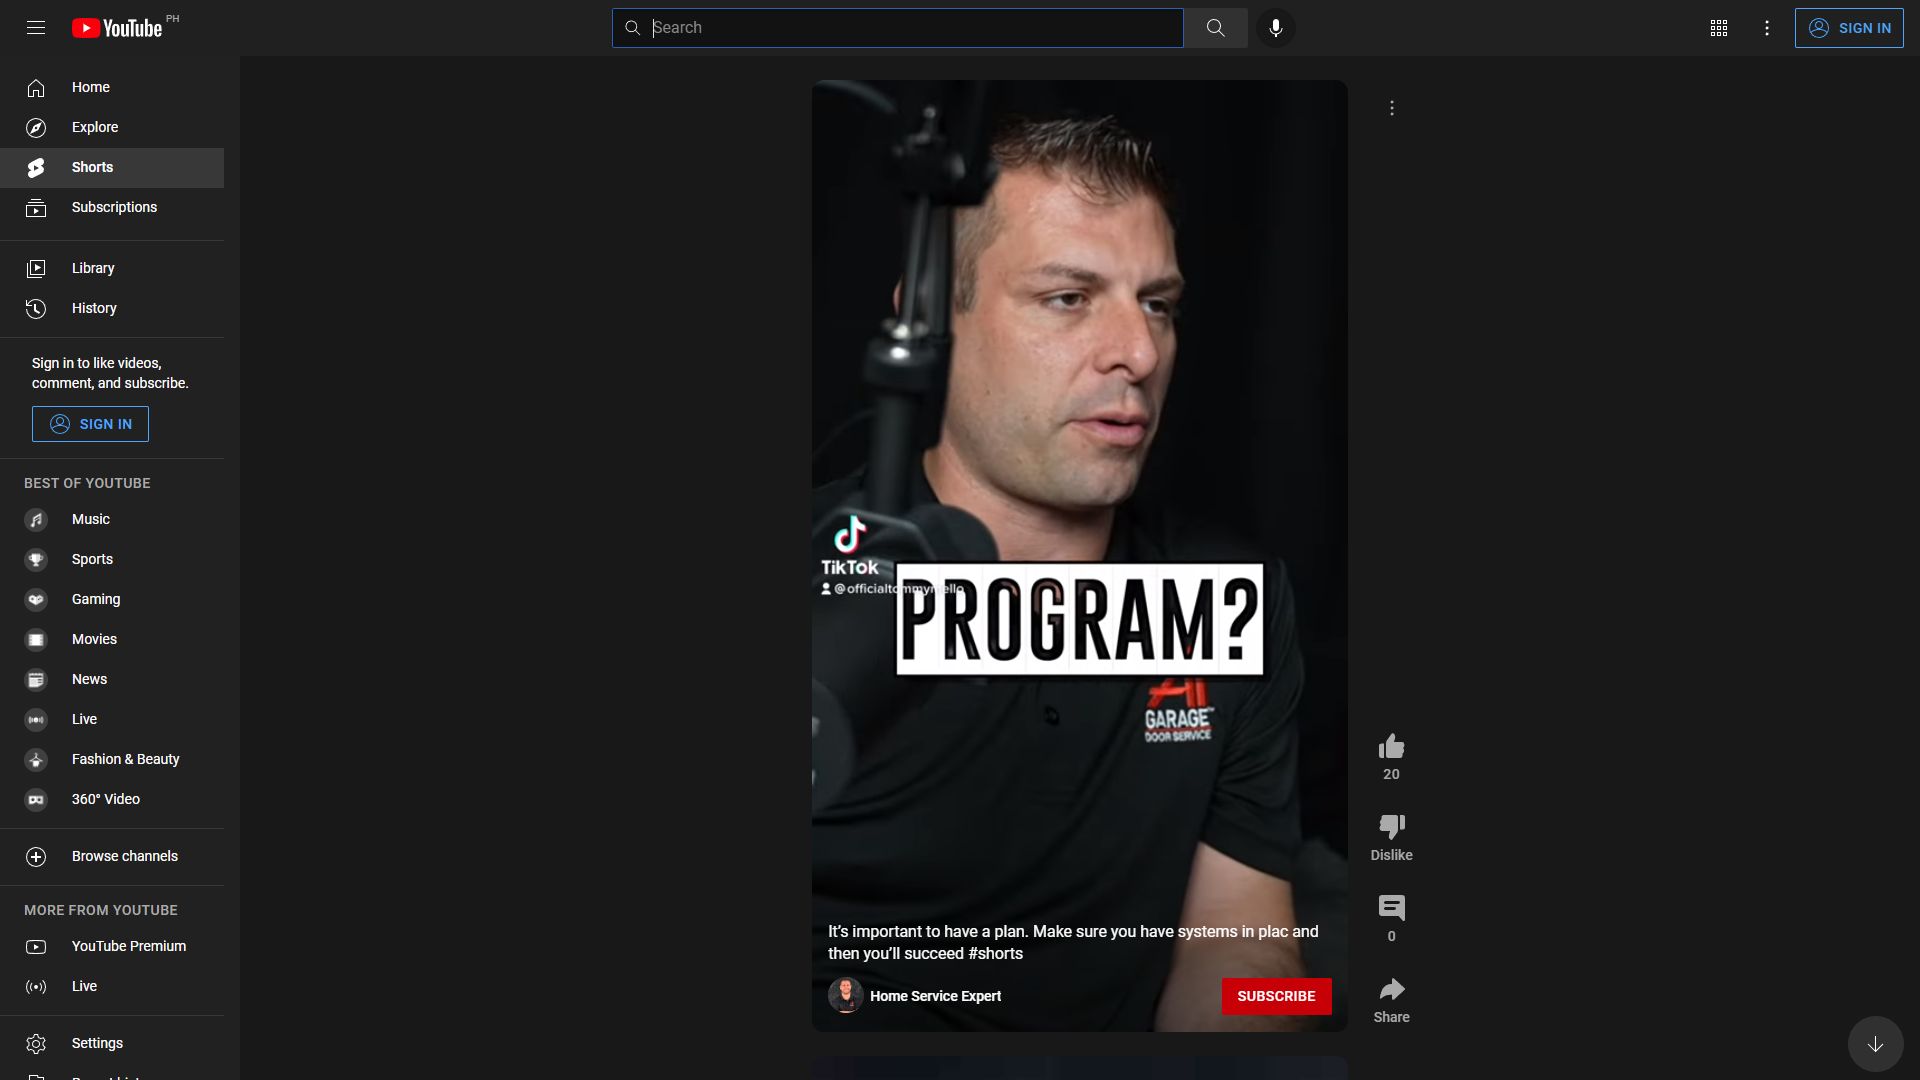
Step 2: Gather the information needed
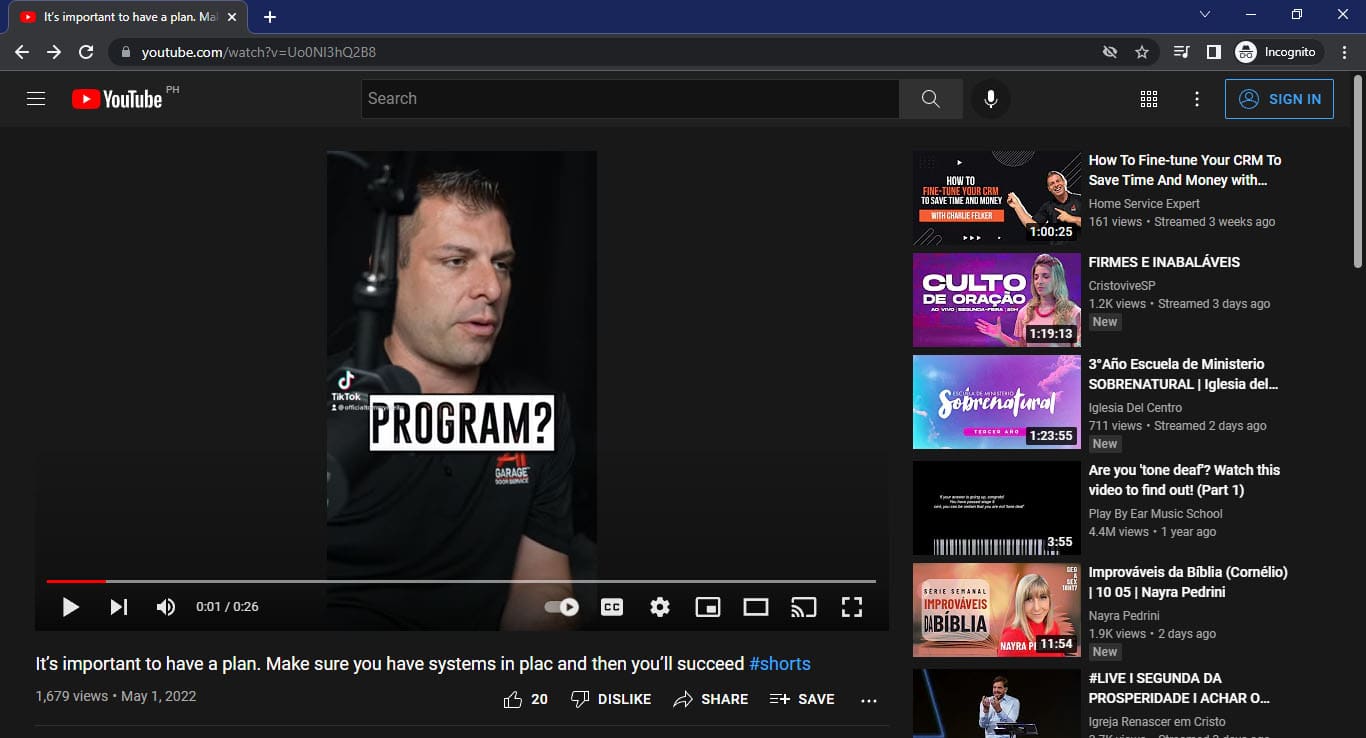
This is a YouTube Shorts video. Some of the information that you will need to gather will not be available here because of the way the Shorts are displayed. You will not see the view count, the video length, or the transcript here, so we will have to edit the URL a bit. We need to gain access to the transcript because we need to count how many words were spoken in the video. To do that, replace the “shorts/” in the URL with “watch?v=” and press enter. You are only required to do this for videos that are Shorts. Normal YouTube videos already give you access to all the information that you need to populate the columns on the sheet.
Before: https://www.youtube.com/shorts/Uo0NI3hQ2B8
After: https://www.youtube.com/watch?v=Uo0NI3hQ2B8
After editing the URL, the page will now look like this.
Step 3: Copy the video name and paste it in the appropriate column
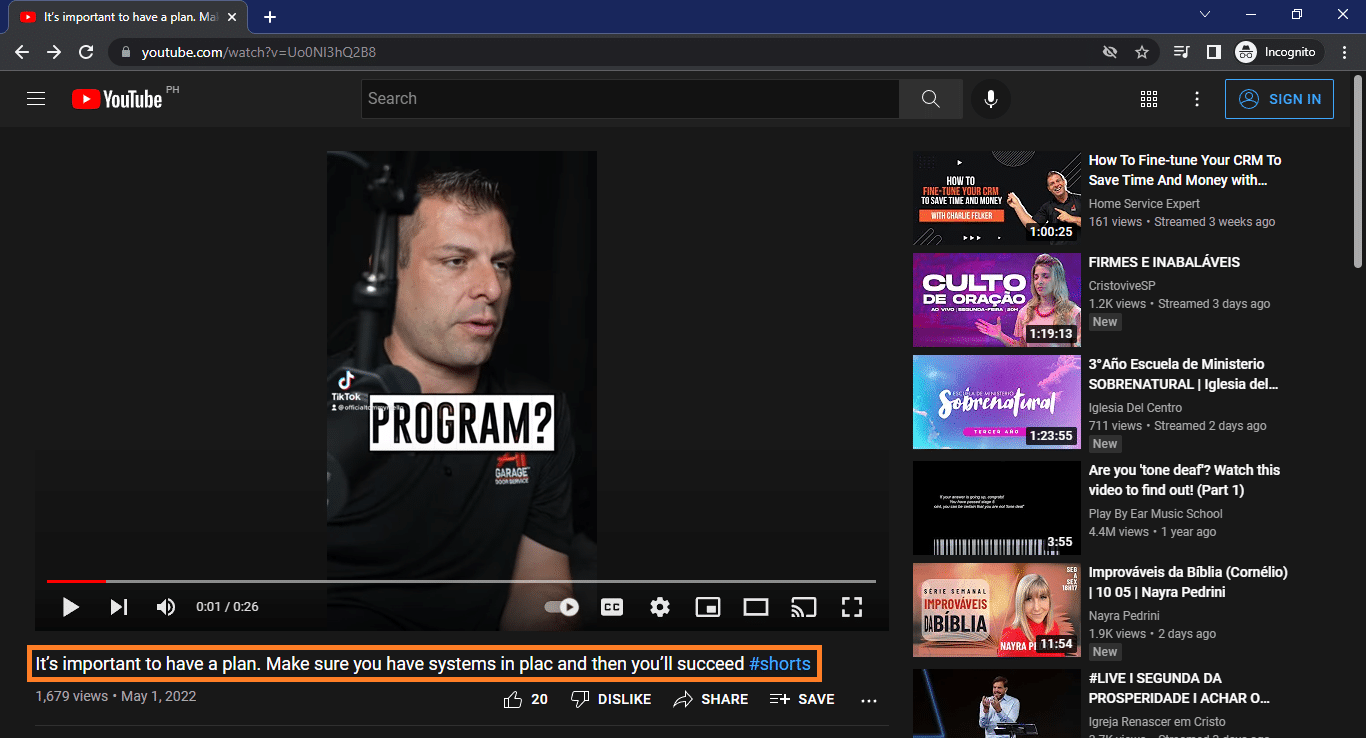
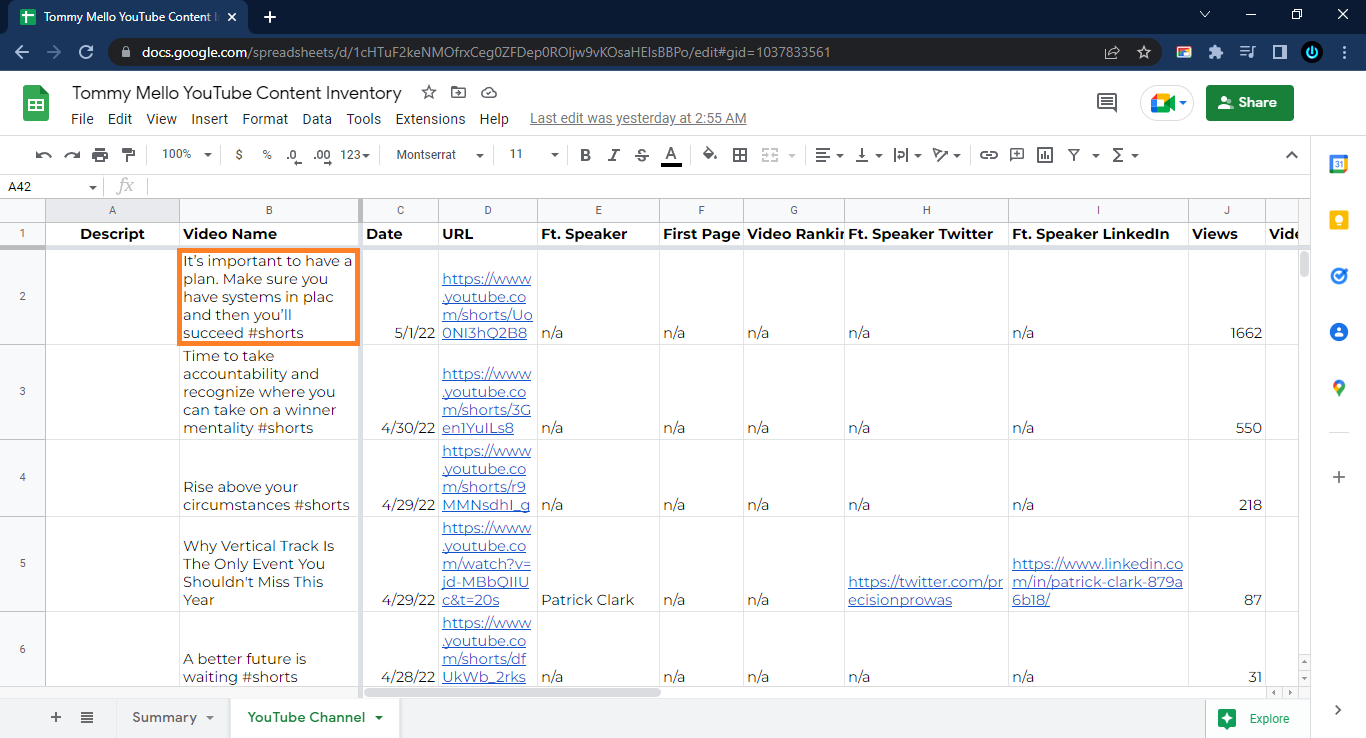
Step 4: Copy the URL and paste it in the appropriate column
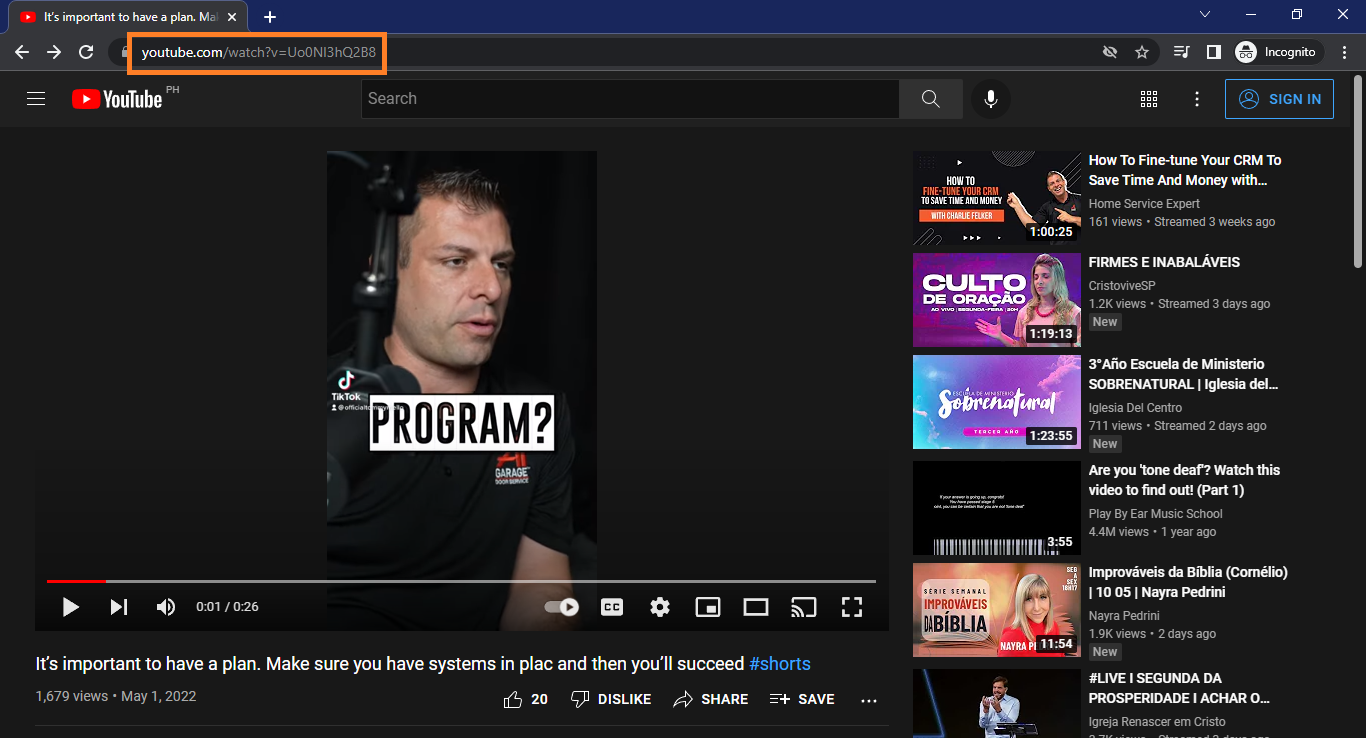
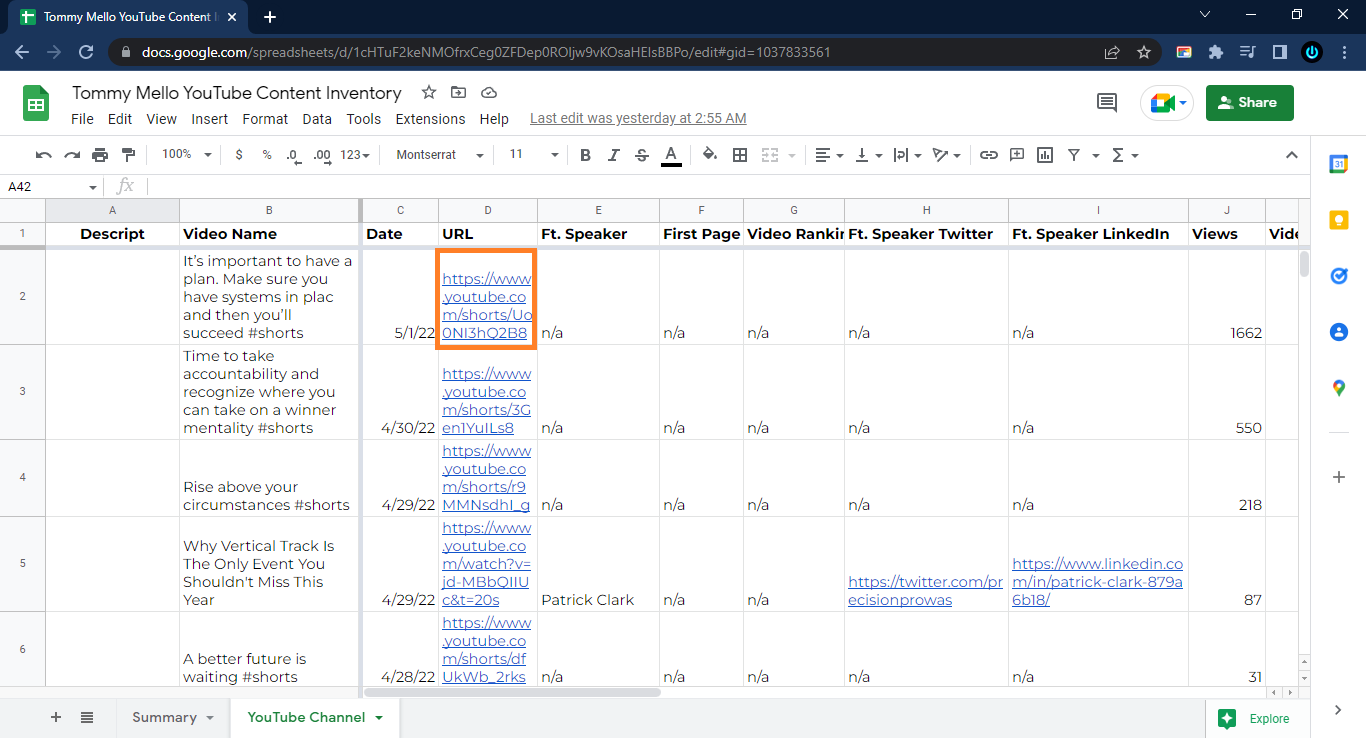
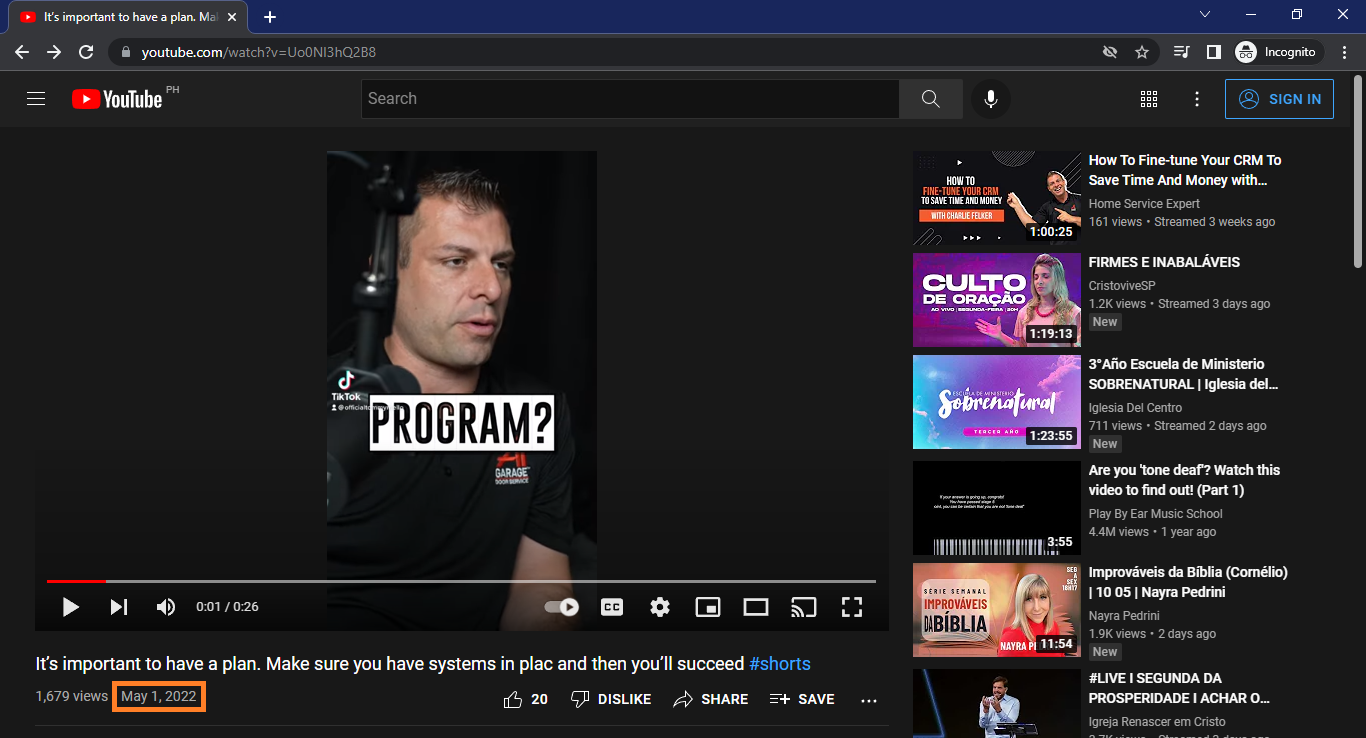
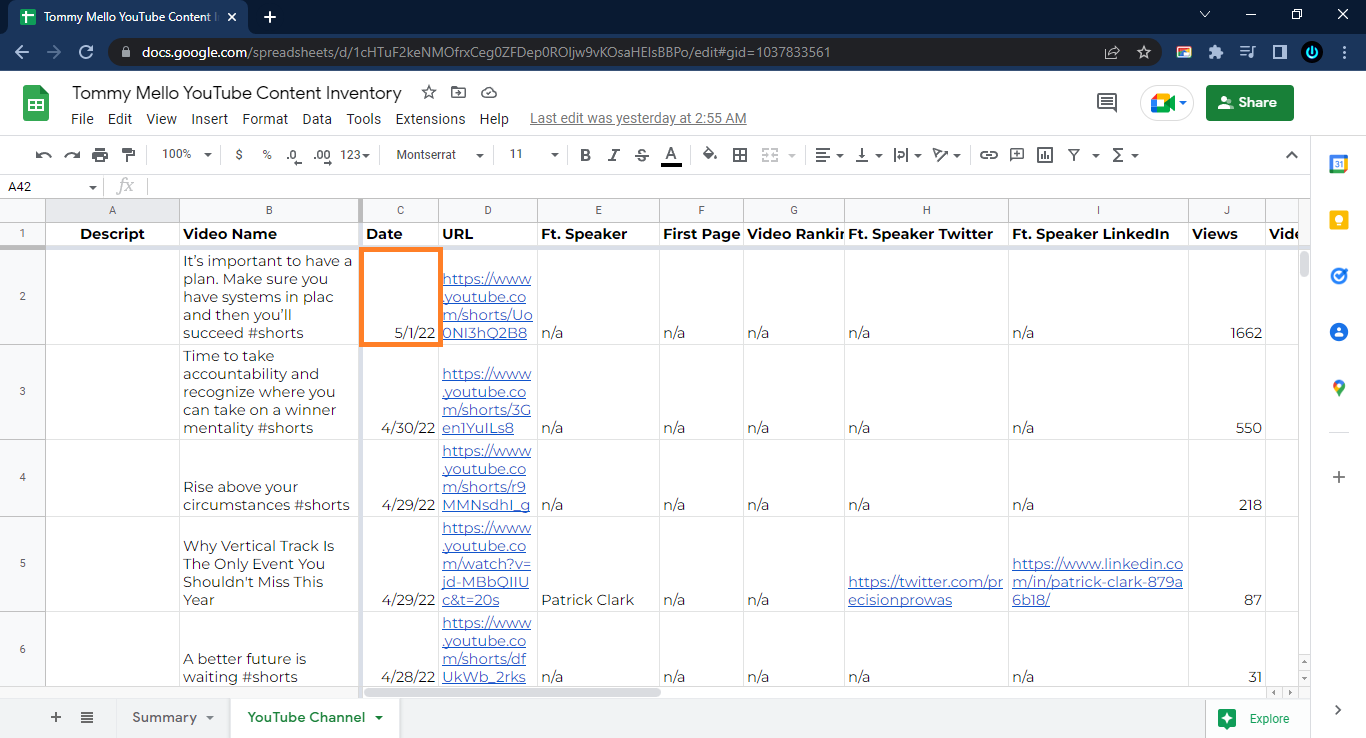
Step 5: Copy the date and paste it in the appropriate column
Step 6: Copy the name of the featured speaker and paste it in the appropriate column
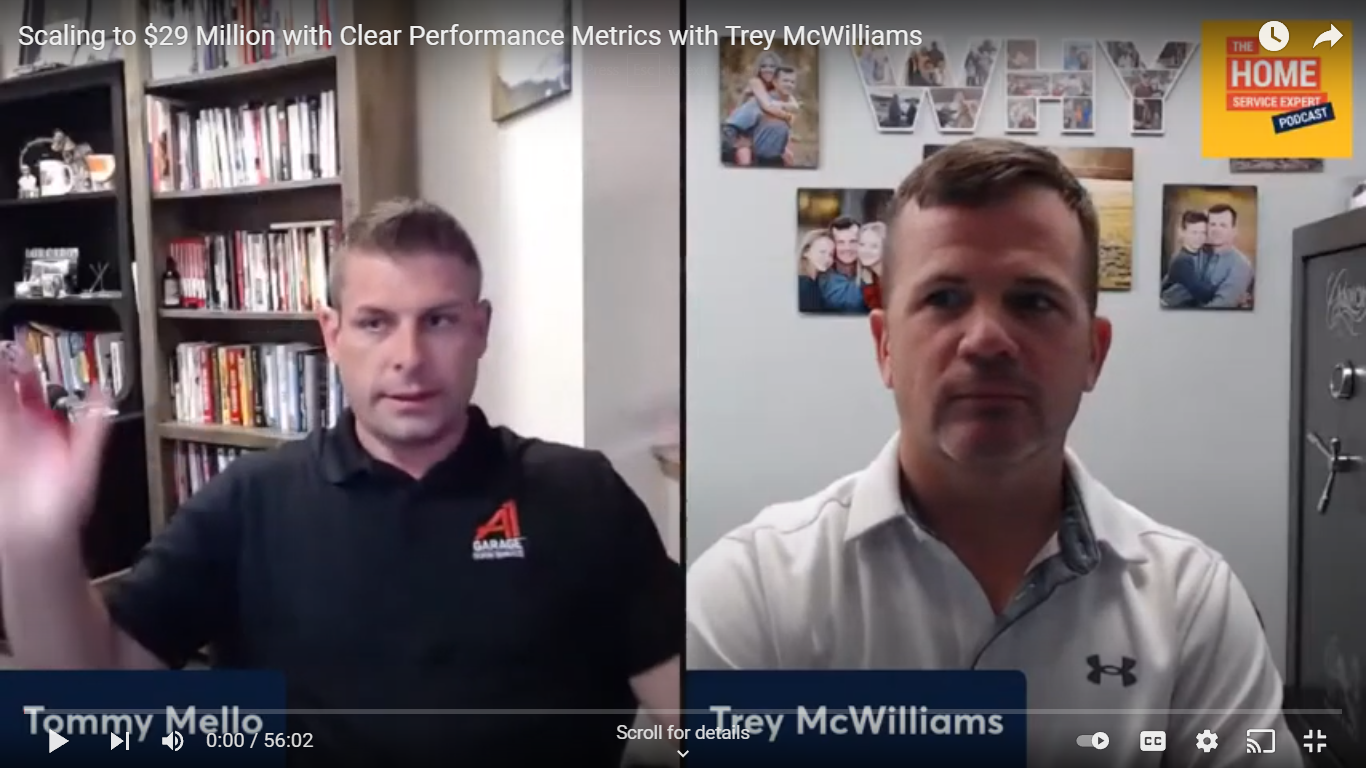
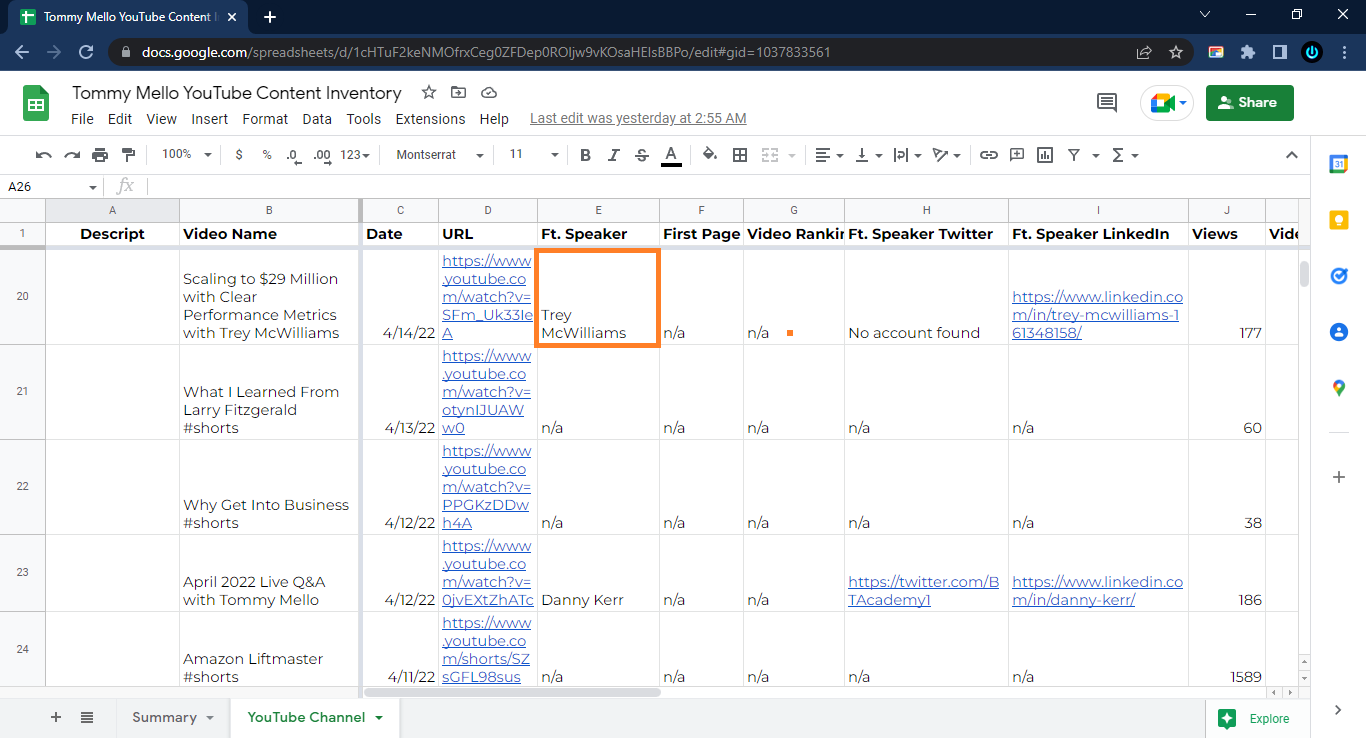
Step 7: Do a Google search to confirm First Page and Video Ranking
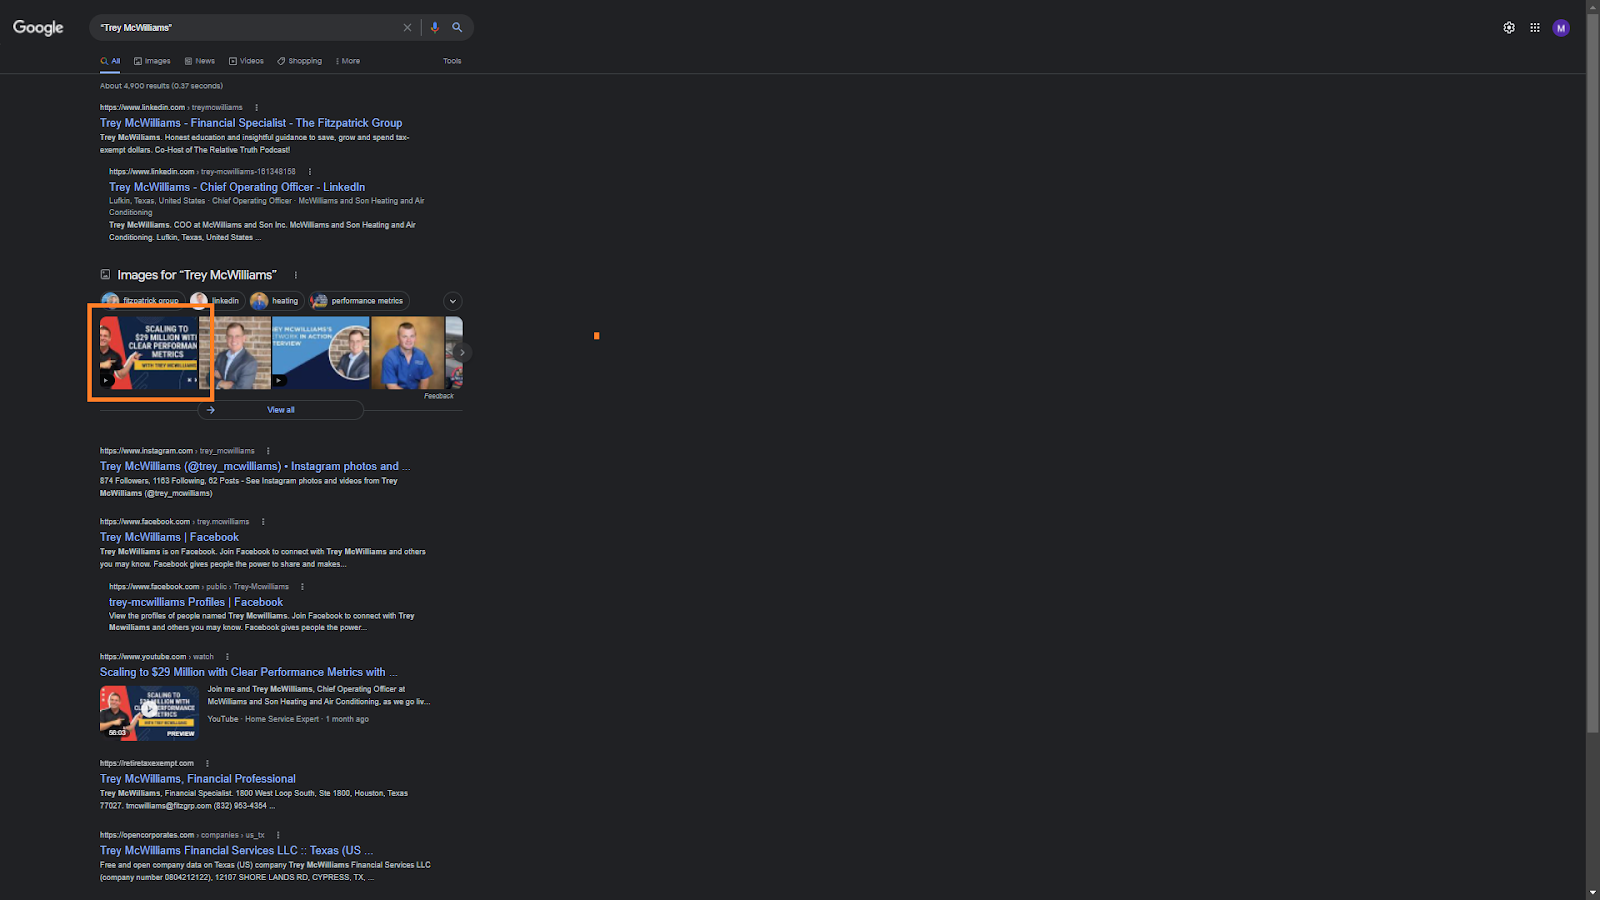
As for the Video Ranking column, you’re looking to see if the specific video you’re working on shows up on the first page of the same Google search. If it does, input “1st” under Video Ranking. Input “n/a” if the result is negative.
For videos where the client is alone, you should input his/her own LinkedIn and Twitter accounts in the columns.
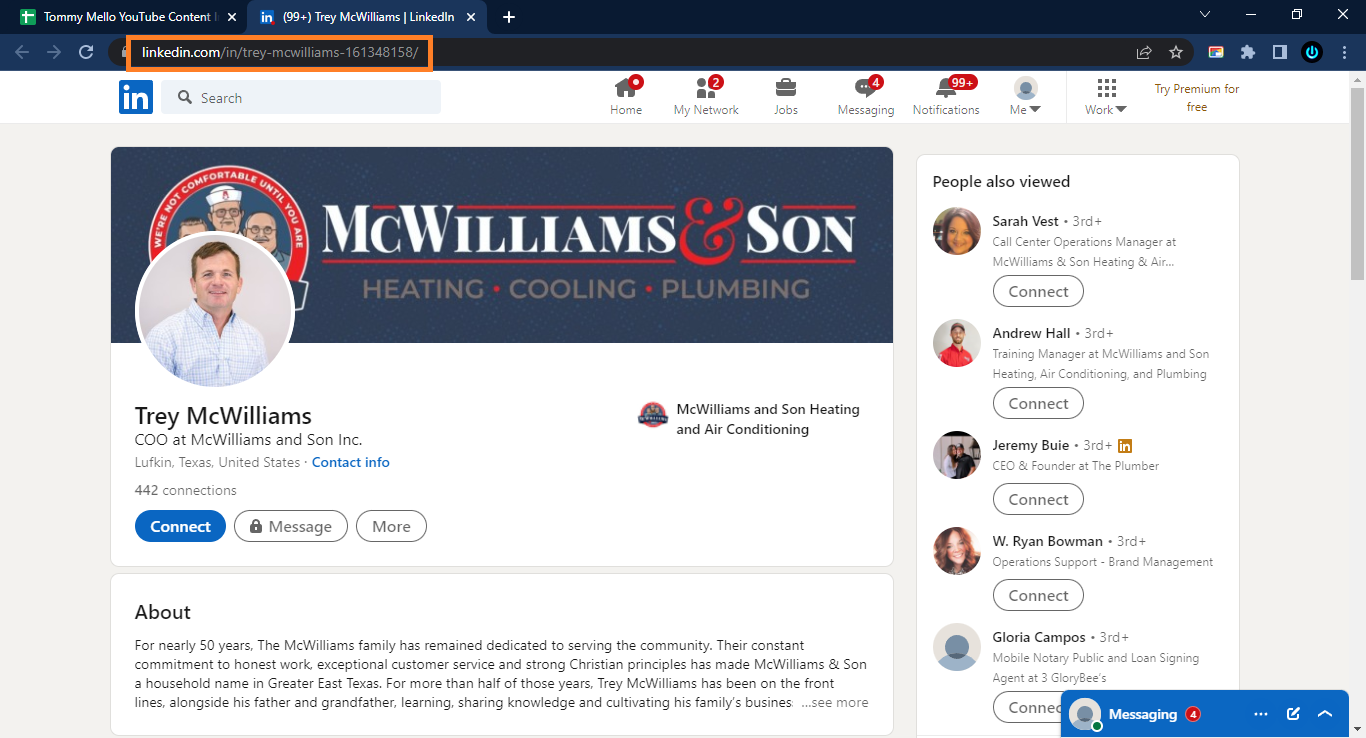
Step 8: Copy the URLs of the LinkedIn and Twitter accounts of the featured speaker and paste them in the appropriate columns
Continuing on from the Google search above, you should also check if the speaker’s LinkedIn and Twitter accounts show up in the search results because you will need to add the links to those as well to the sheet. If the LinkedIn and Twitter accounts show up immediately in the search results, you’re in luck. Just add them to the sheet. If you encounter any difficulty in locating the accounts, the tips below should help.
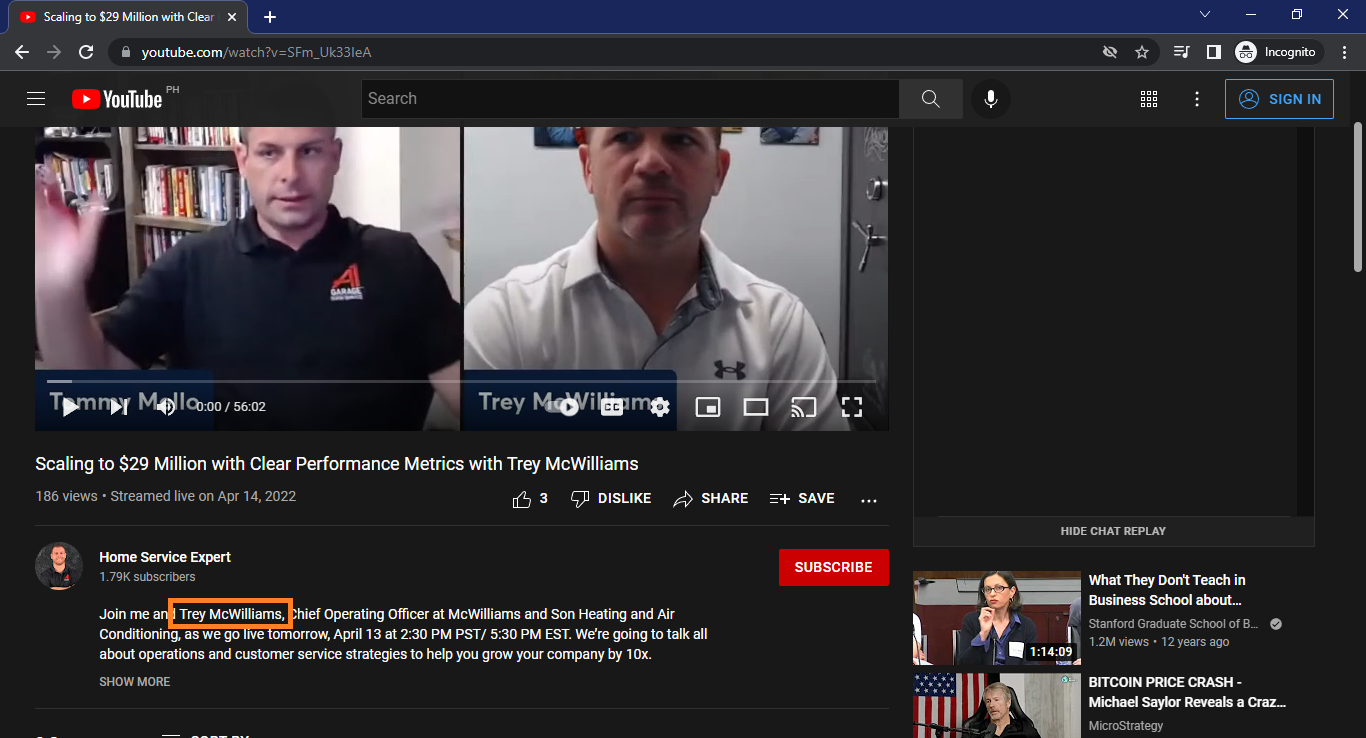
Every time there is another person in the video, especially if it’s an interview, you need to get the name of the person as well as find their Twitter and LinkedIn accounts. To accomplish that, a Google search will be necessary unless the information is already given somewhere in the video or in the video’s description. However, more often than not, you will have to do a Google search.
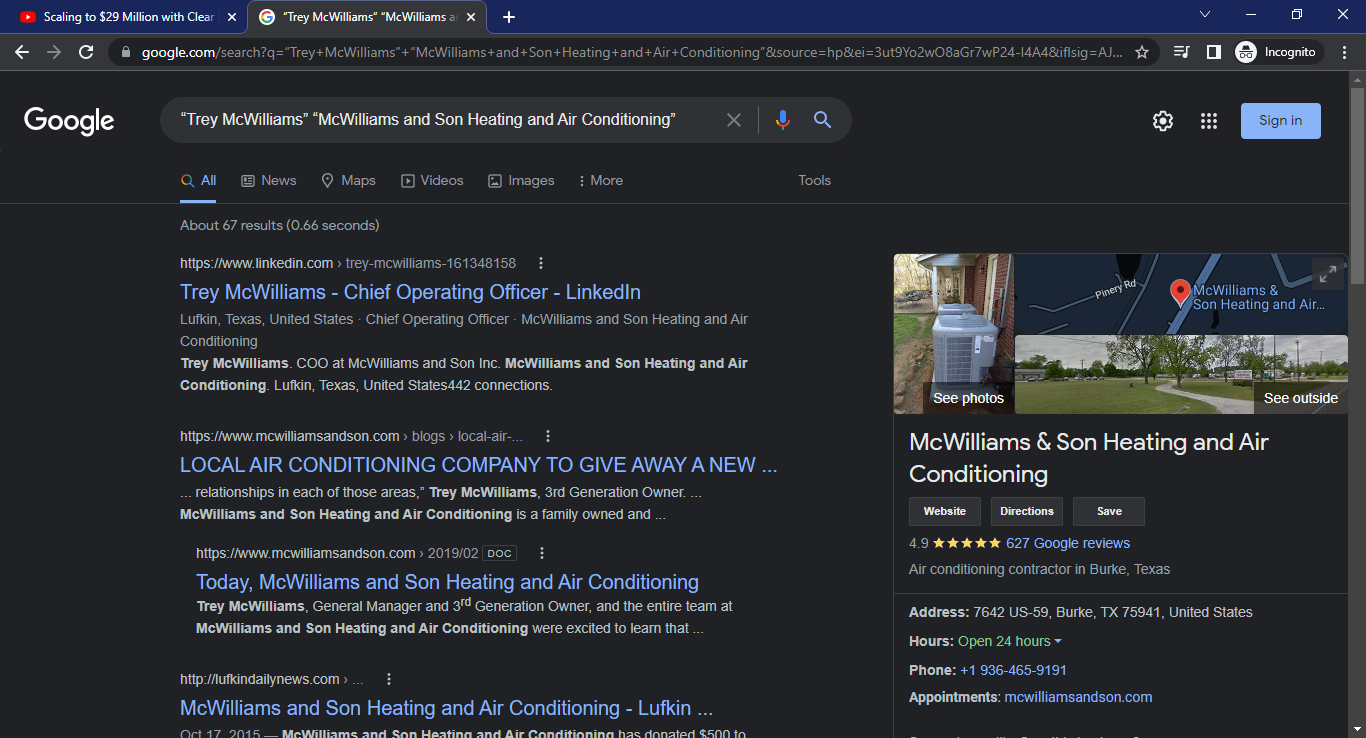
Doing a Google search using just a name will yield a lot of results. We need to make the search more specific, so that the results on the first page will already offer something useful to help you find what you’re looking for. If you’ll look at the video description above, it also includes the company that Trey is connected with. In this case, it’s his own company, which is “McWilliams and Son Heating and Air Conditioning.” To do a Google search using all the available information we already have, we can construct our search term to look something like this: “Trey McWilliams” “McWilliams and Son Heating and Air Conditioning” Enclosing the words in quotes tells Google to look for the exact term/s. This method will yield better results.
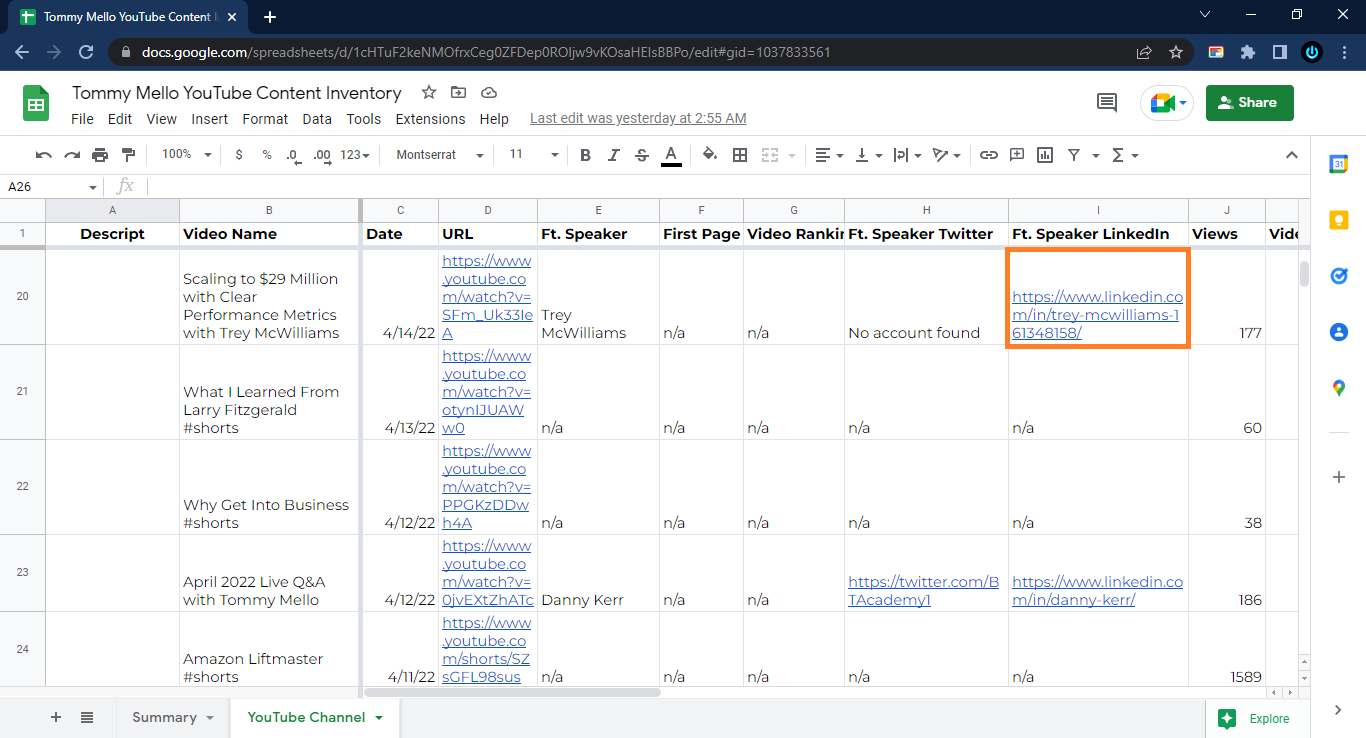
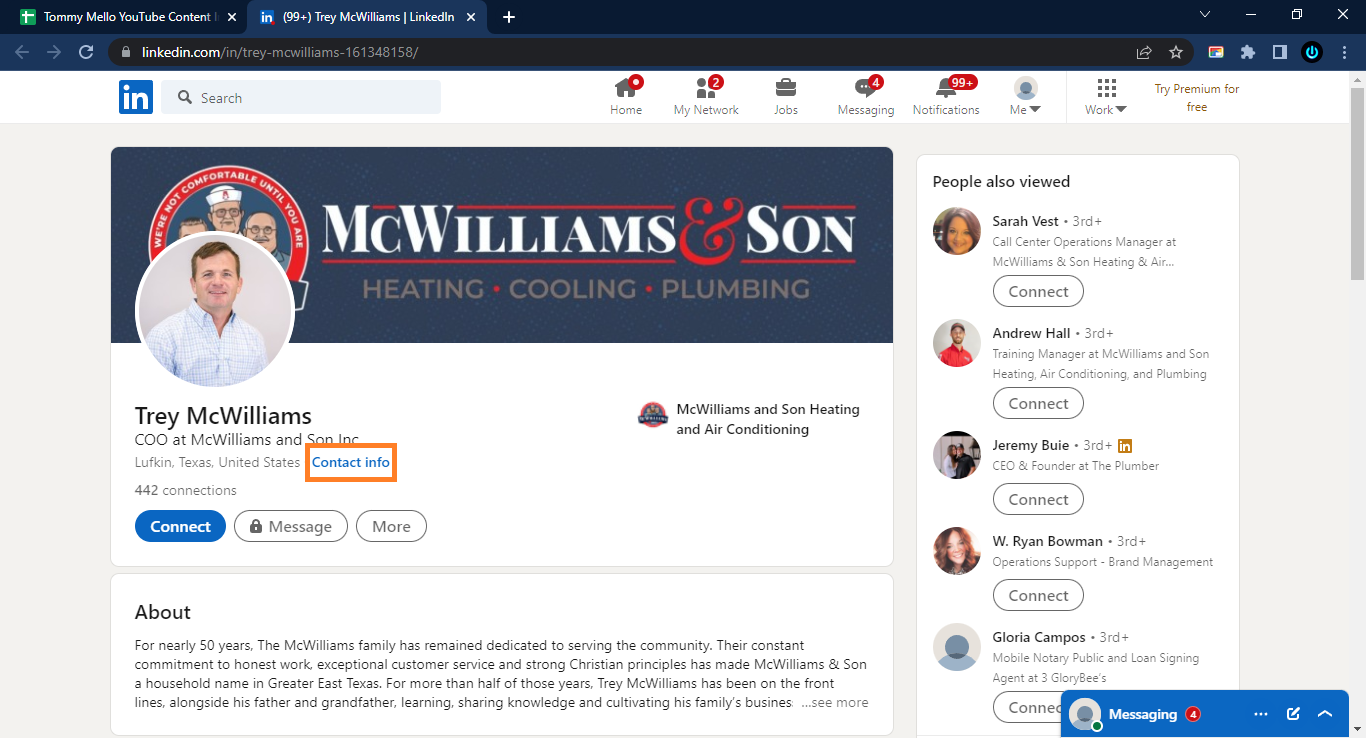
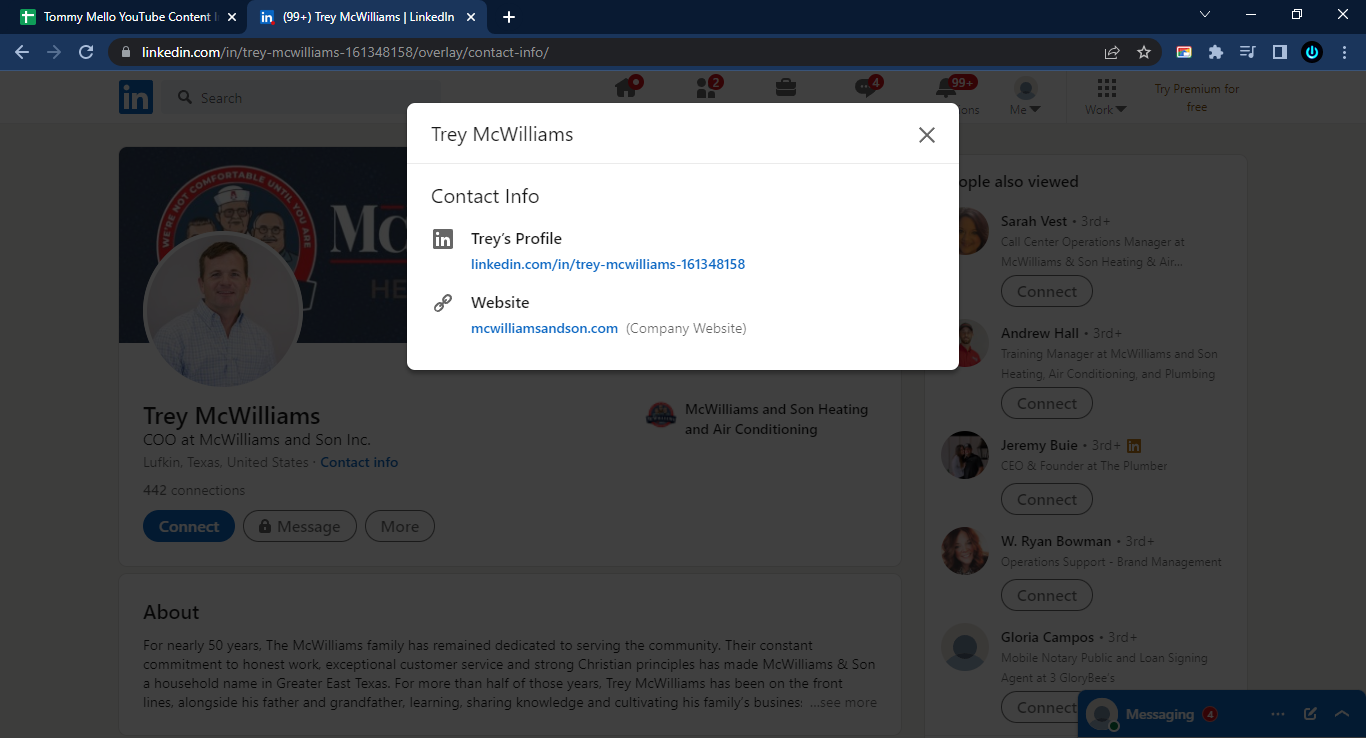
Step 9: Copy the video’s view count and paste it in the appropriate column
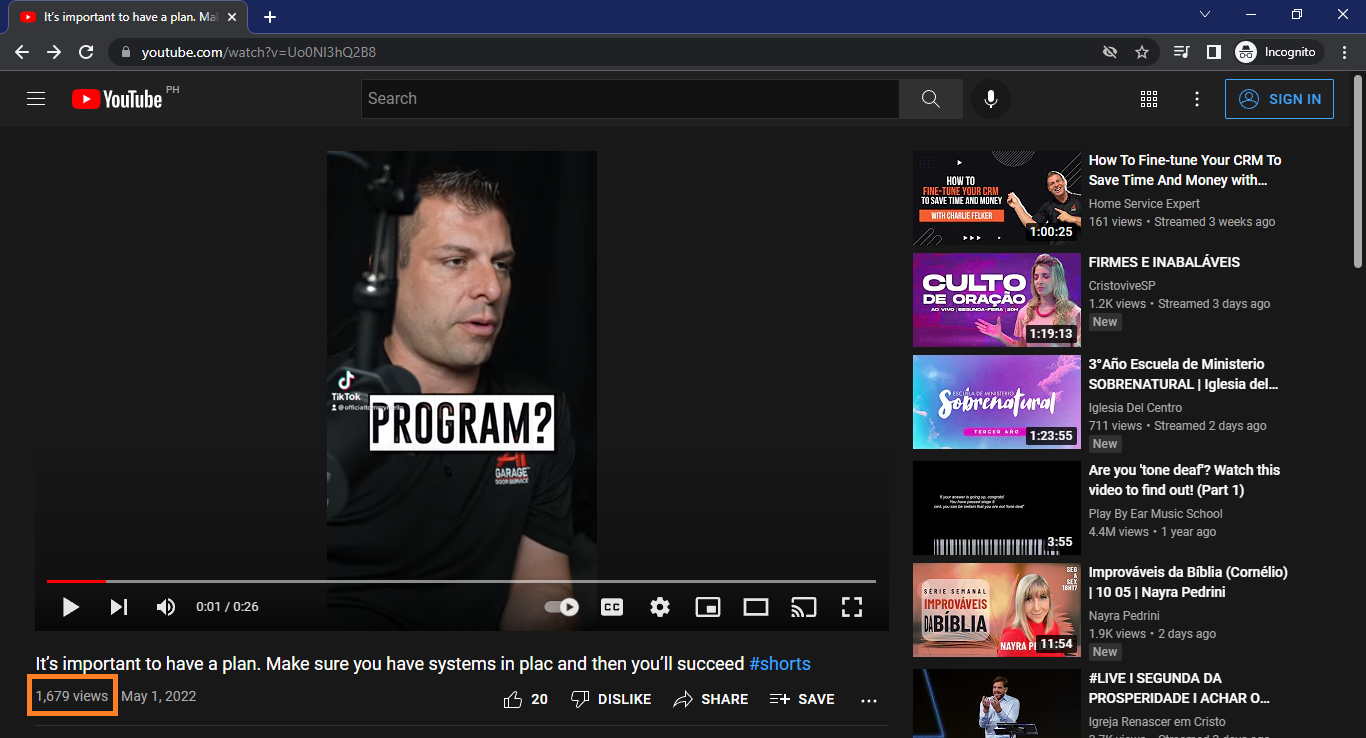
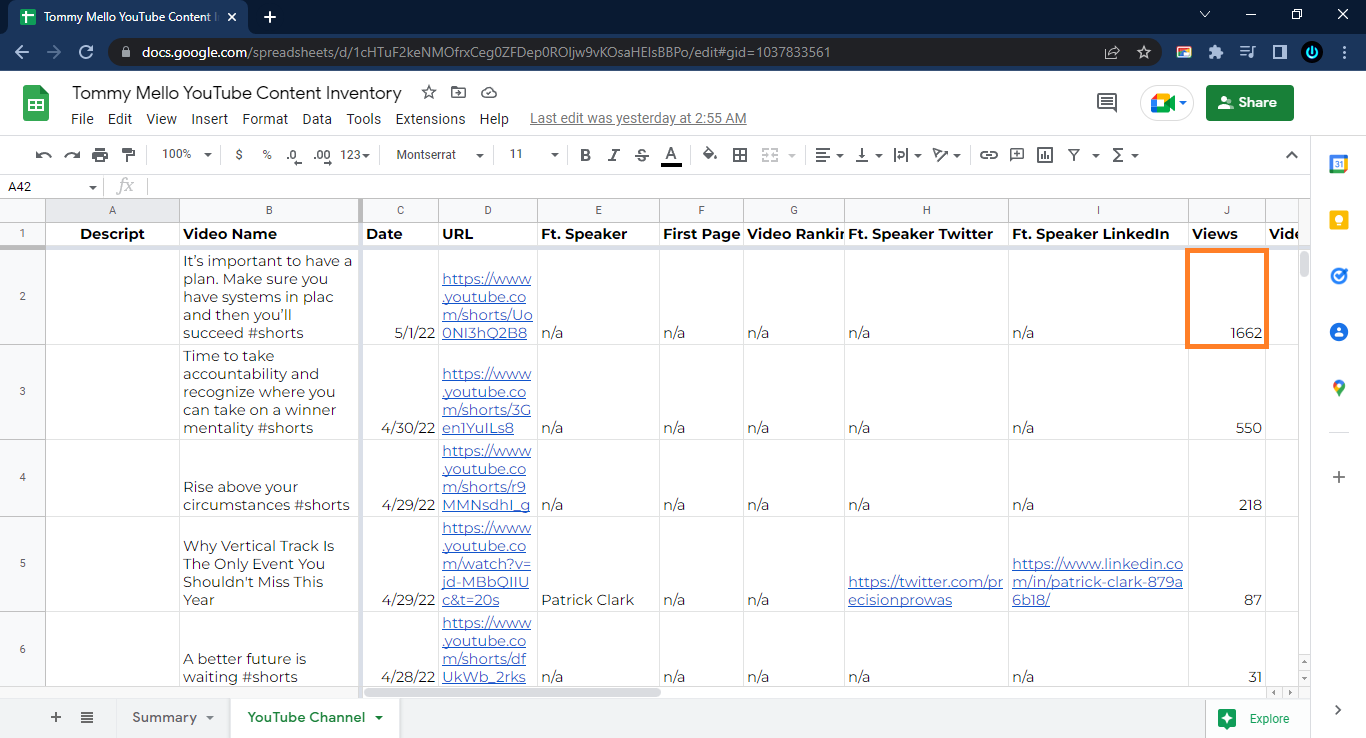
Step 10: Copy the video’s duration and paste it in the appropriate column
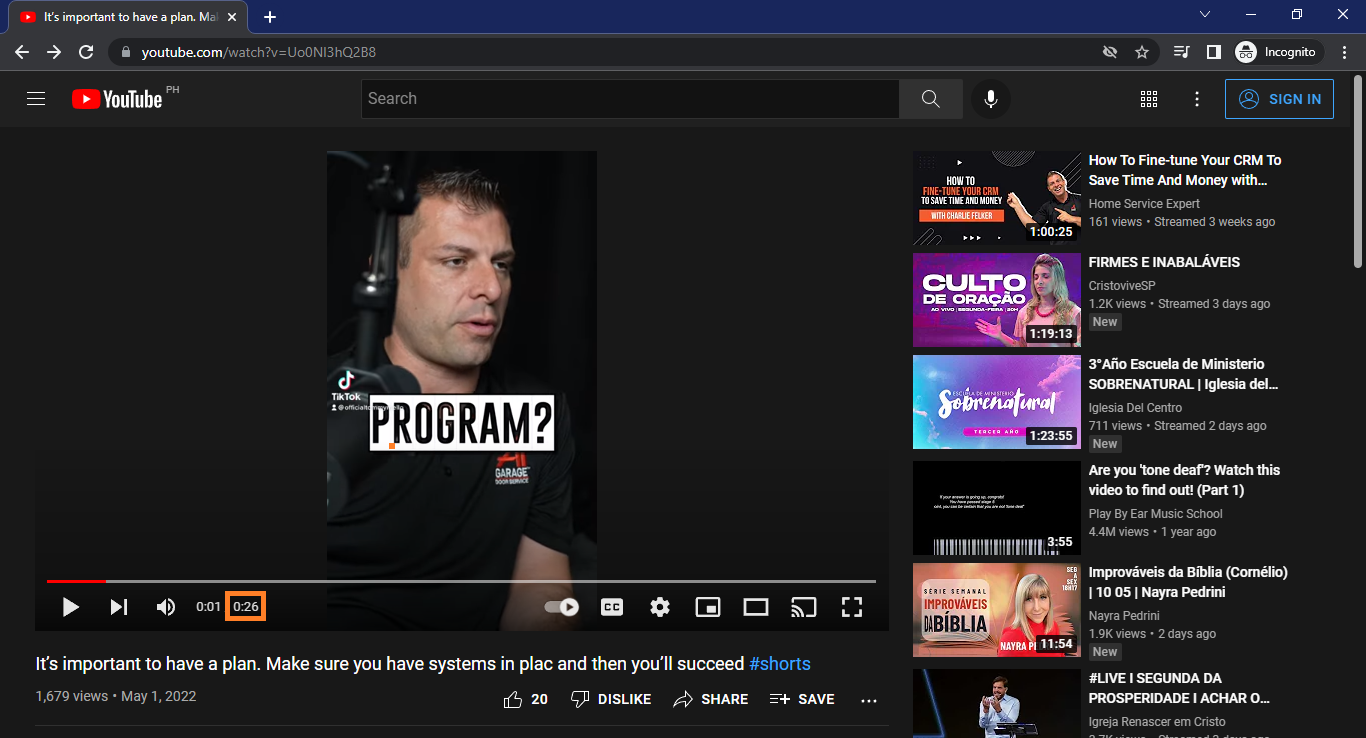
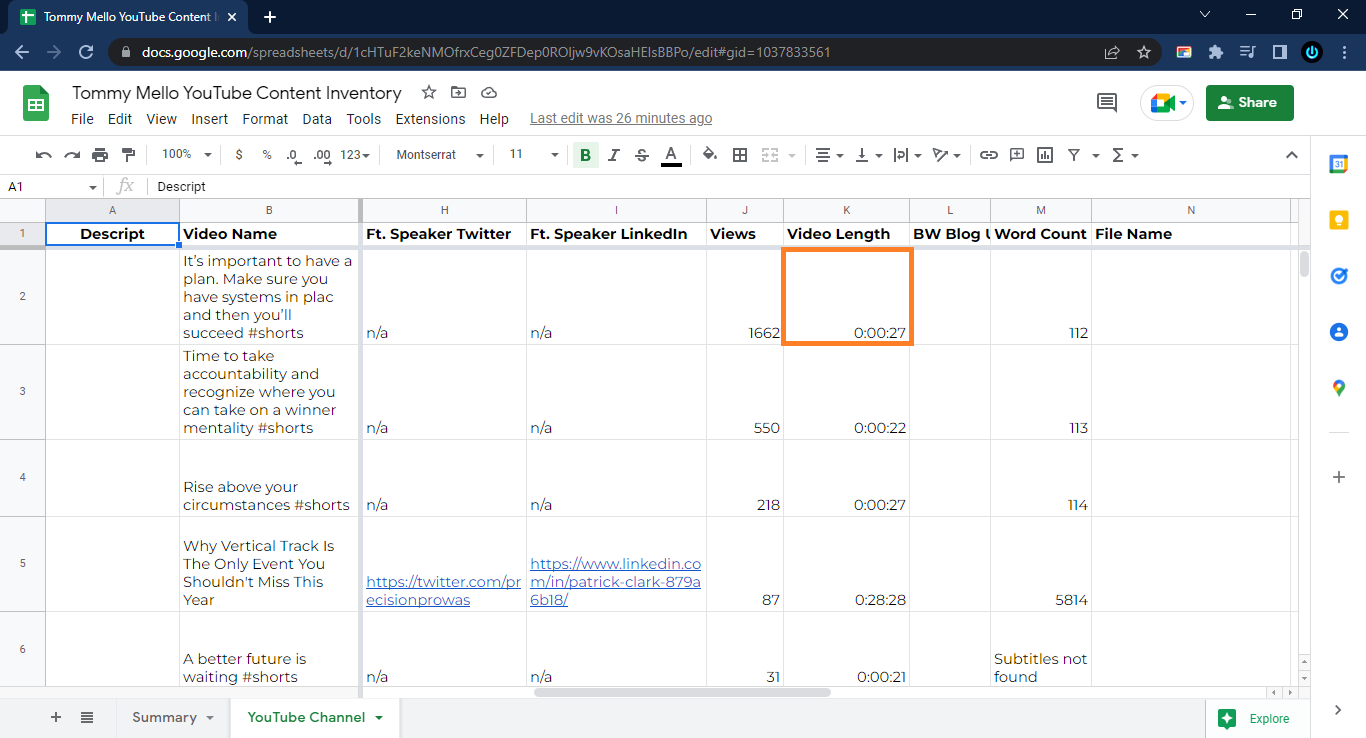
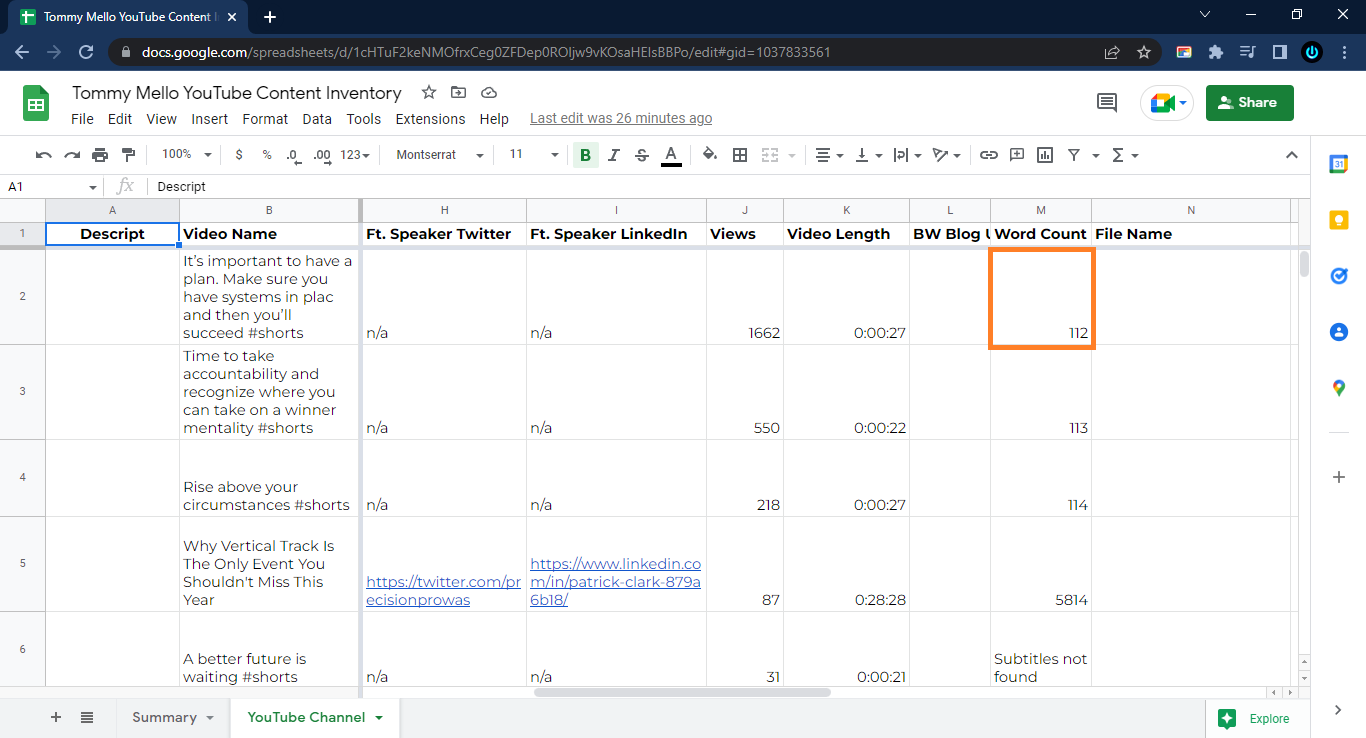
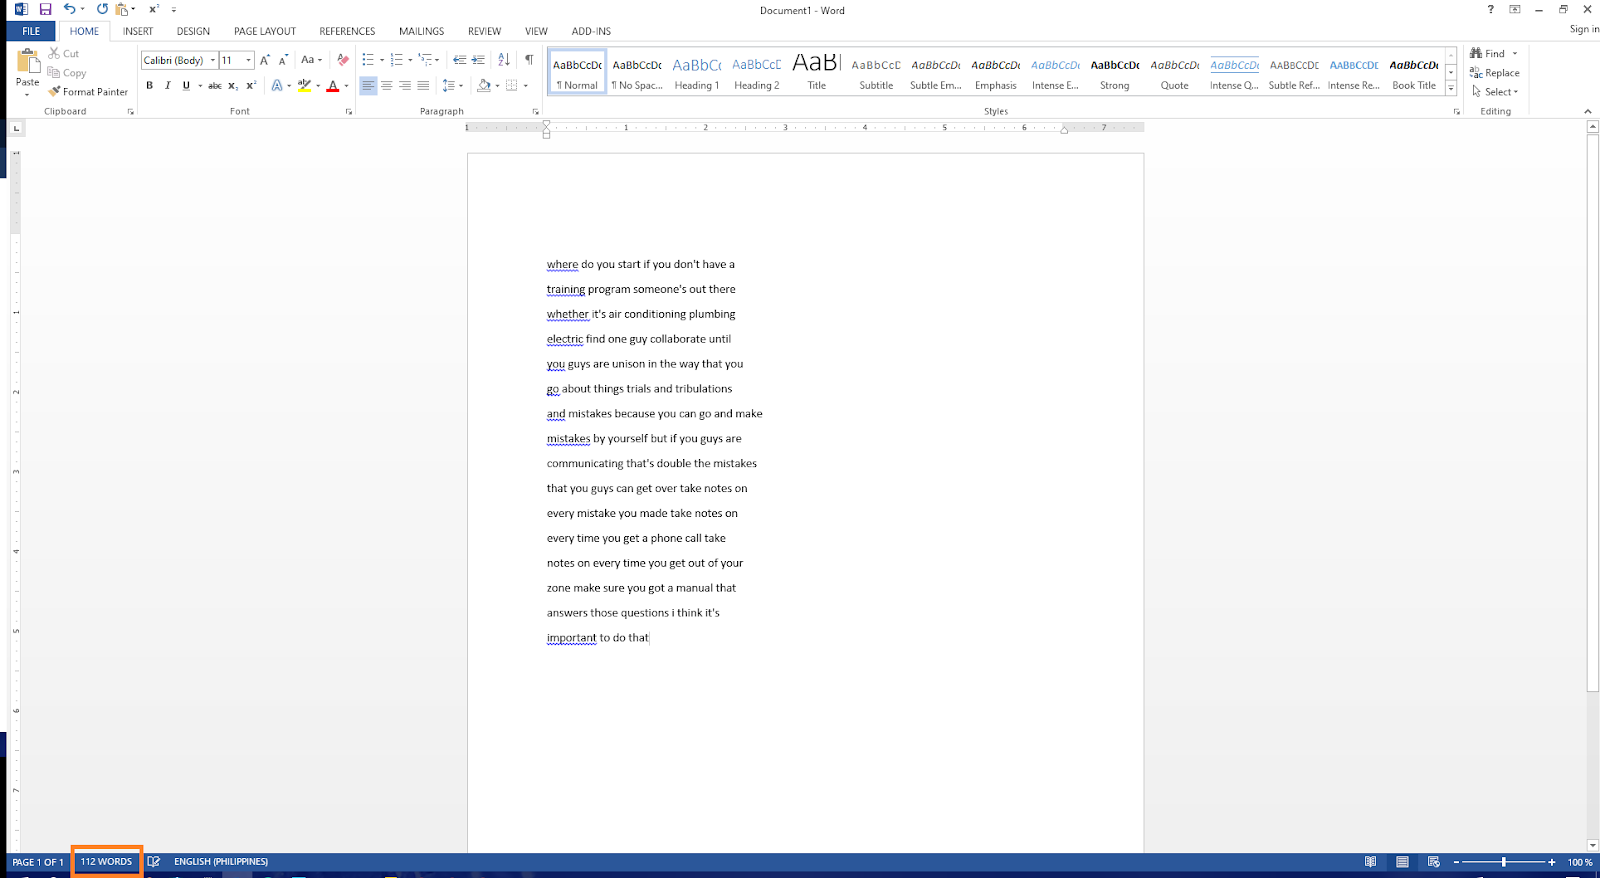
Step 11: Copy the video’s word count and paste it in the appropriate column
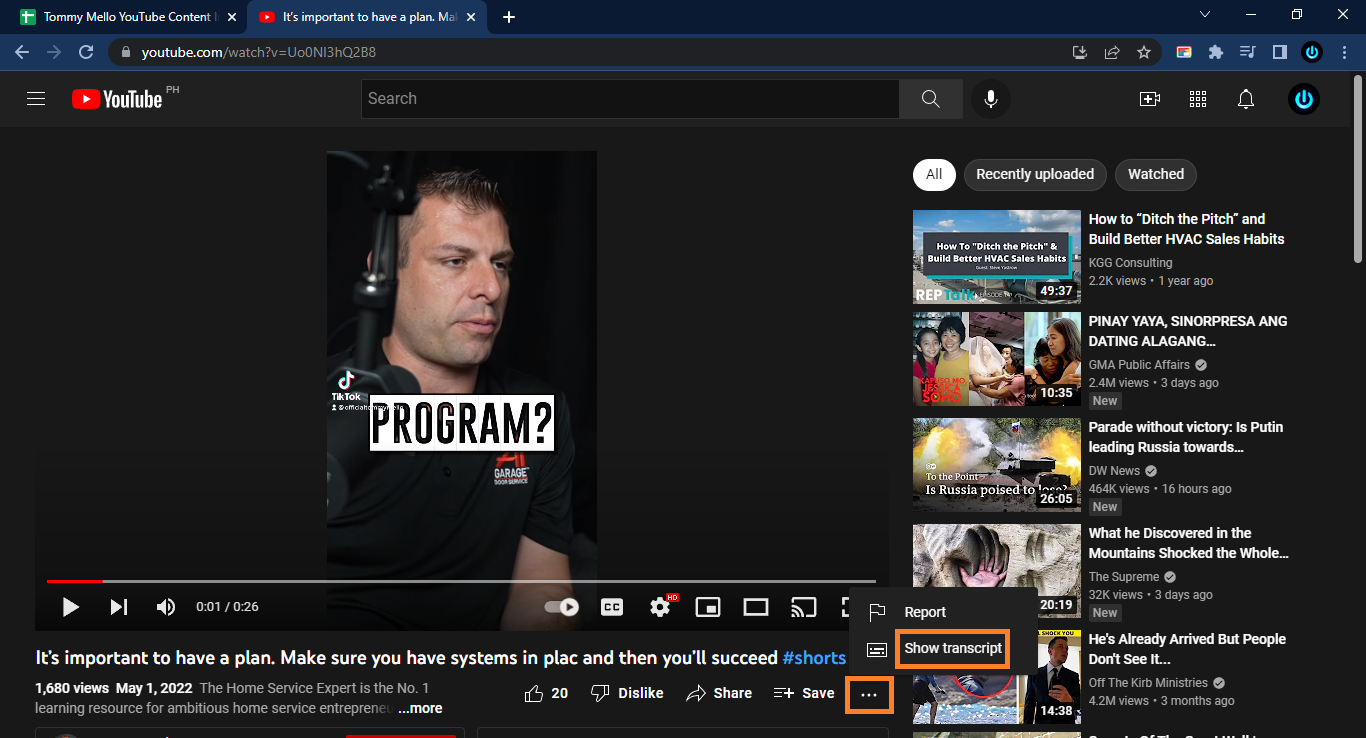
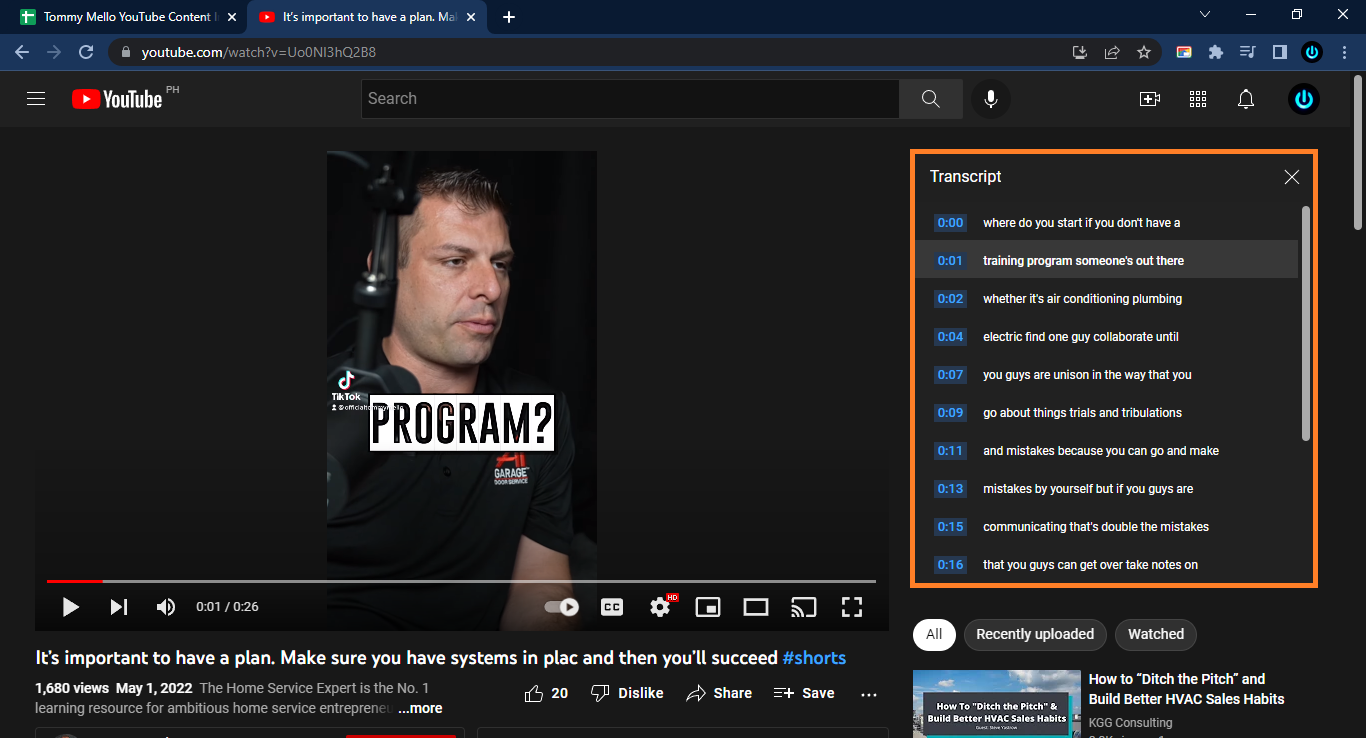
What you should do here is highlight all the text in the box starting from the first timestamp up to the last, and copy it by clicking on it with the right mouse button and then selecting copy. You can also press CTRL+C on your keyboard to copy it.
Next, go to https://anatolt.ru/t/del-timestamp-srt.html and paste the text in the box on the left. Then, press “Do the job!” to remove the timestamps. We don’t need to include those in the count.
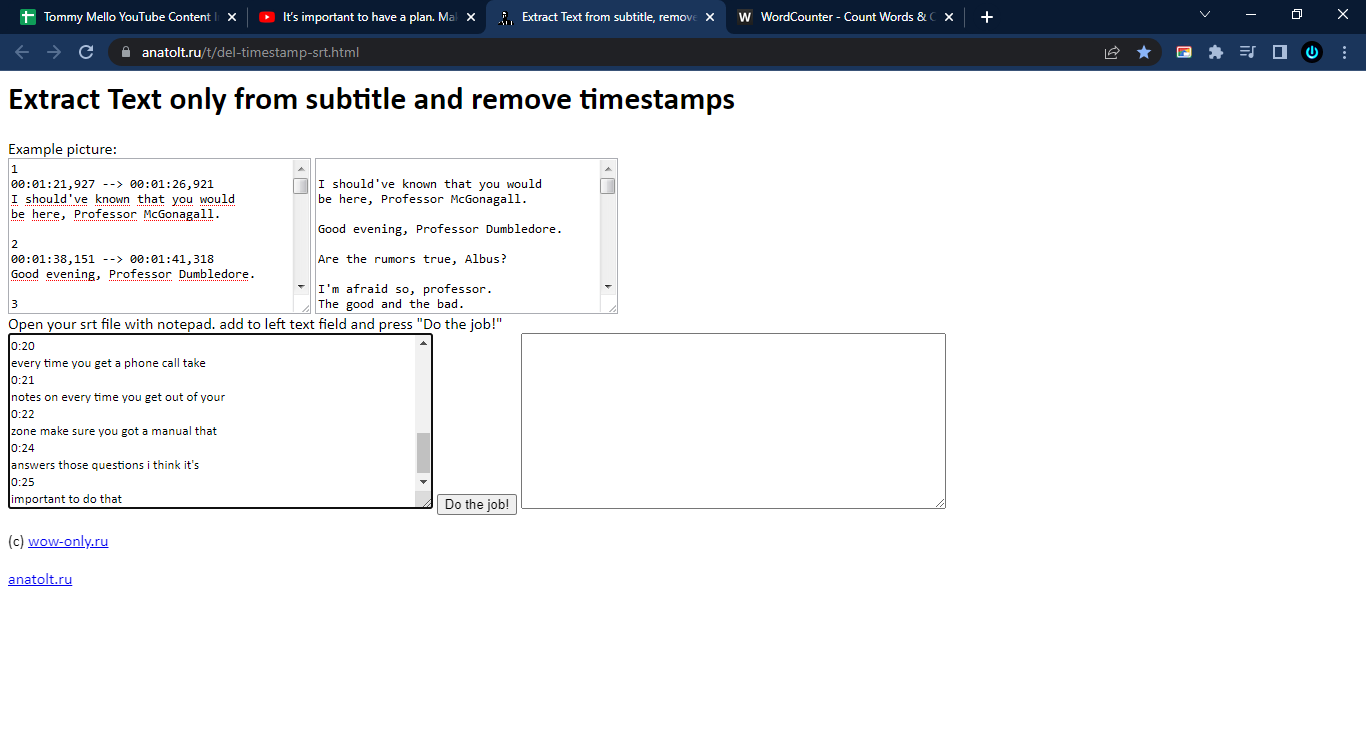
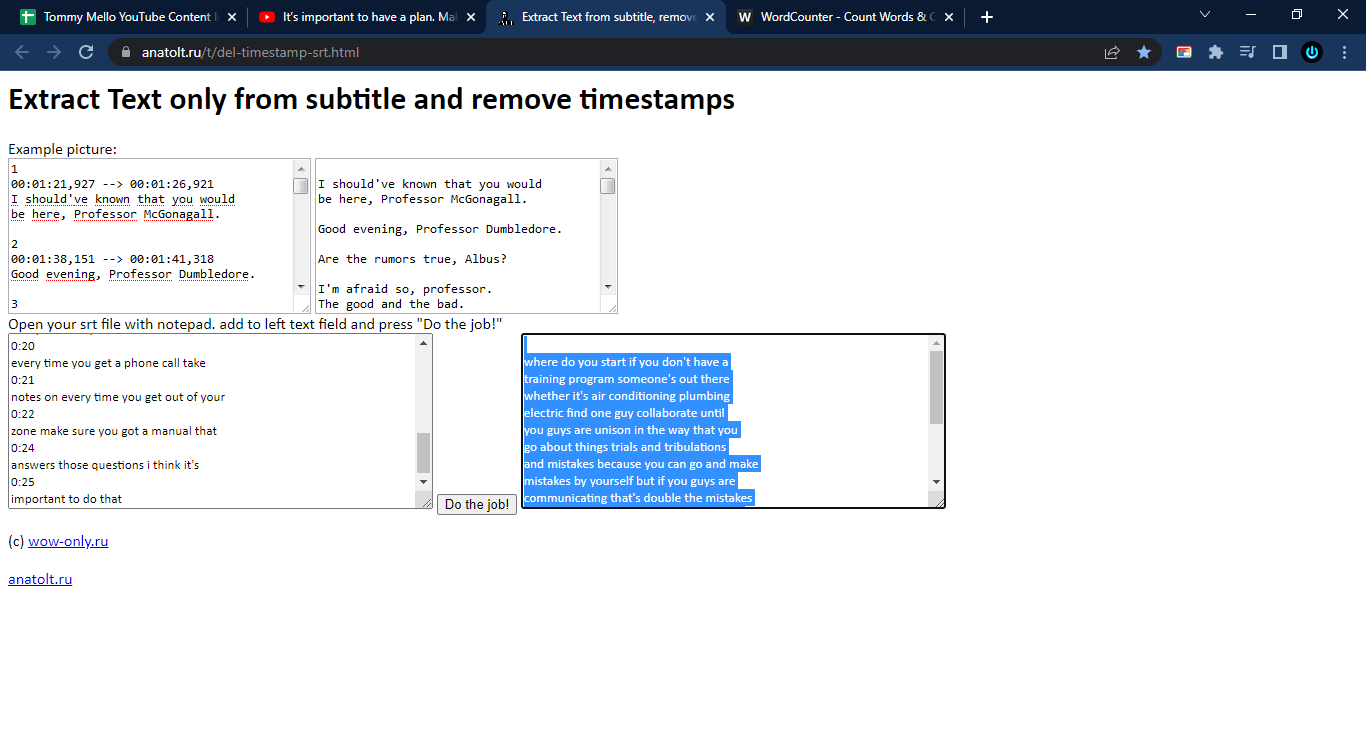
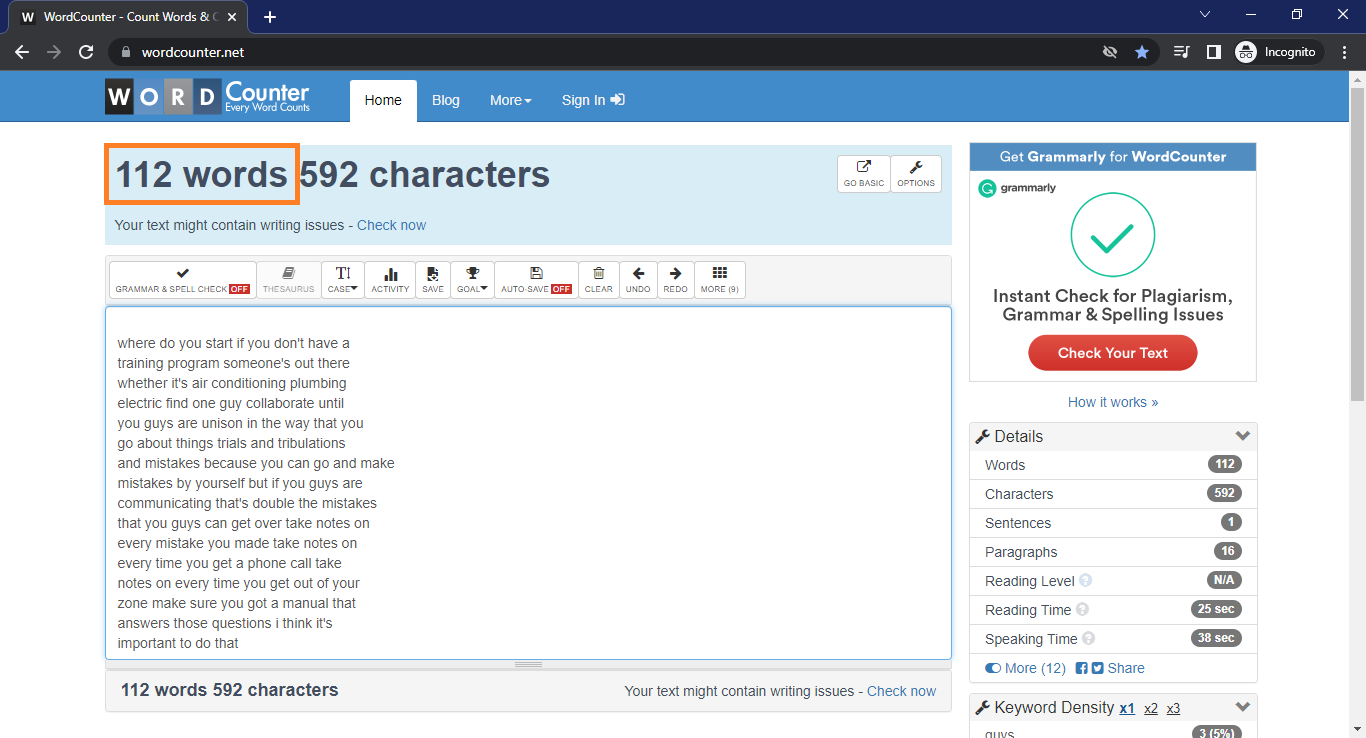
Step 12: Repeat the process
Step 13: Accomplish the Summary tab
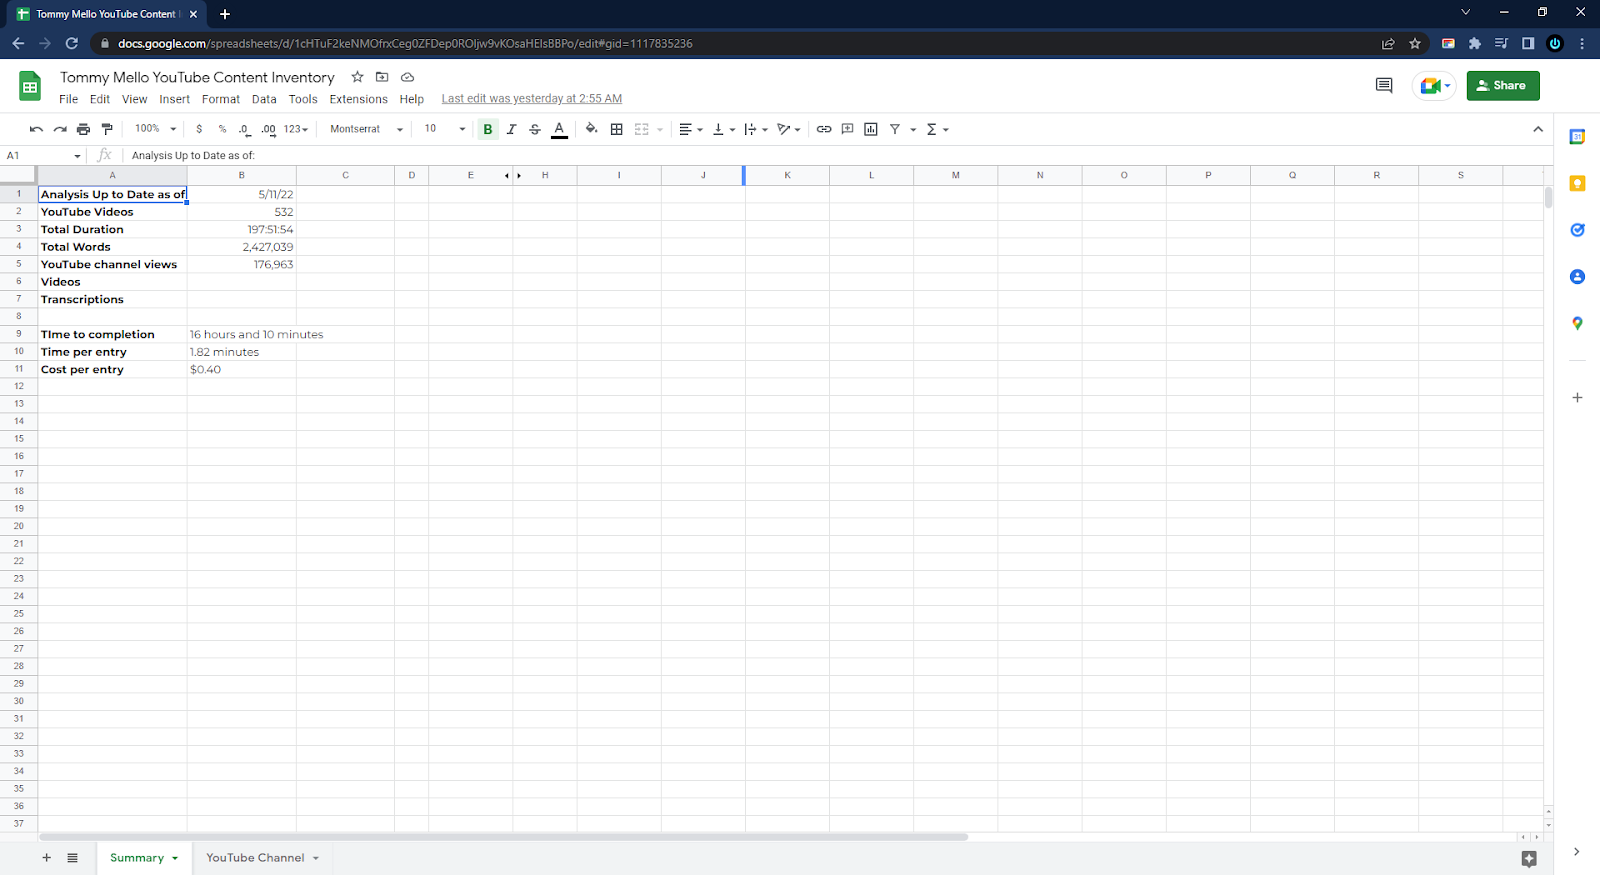
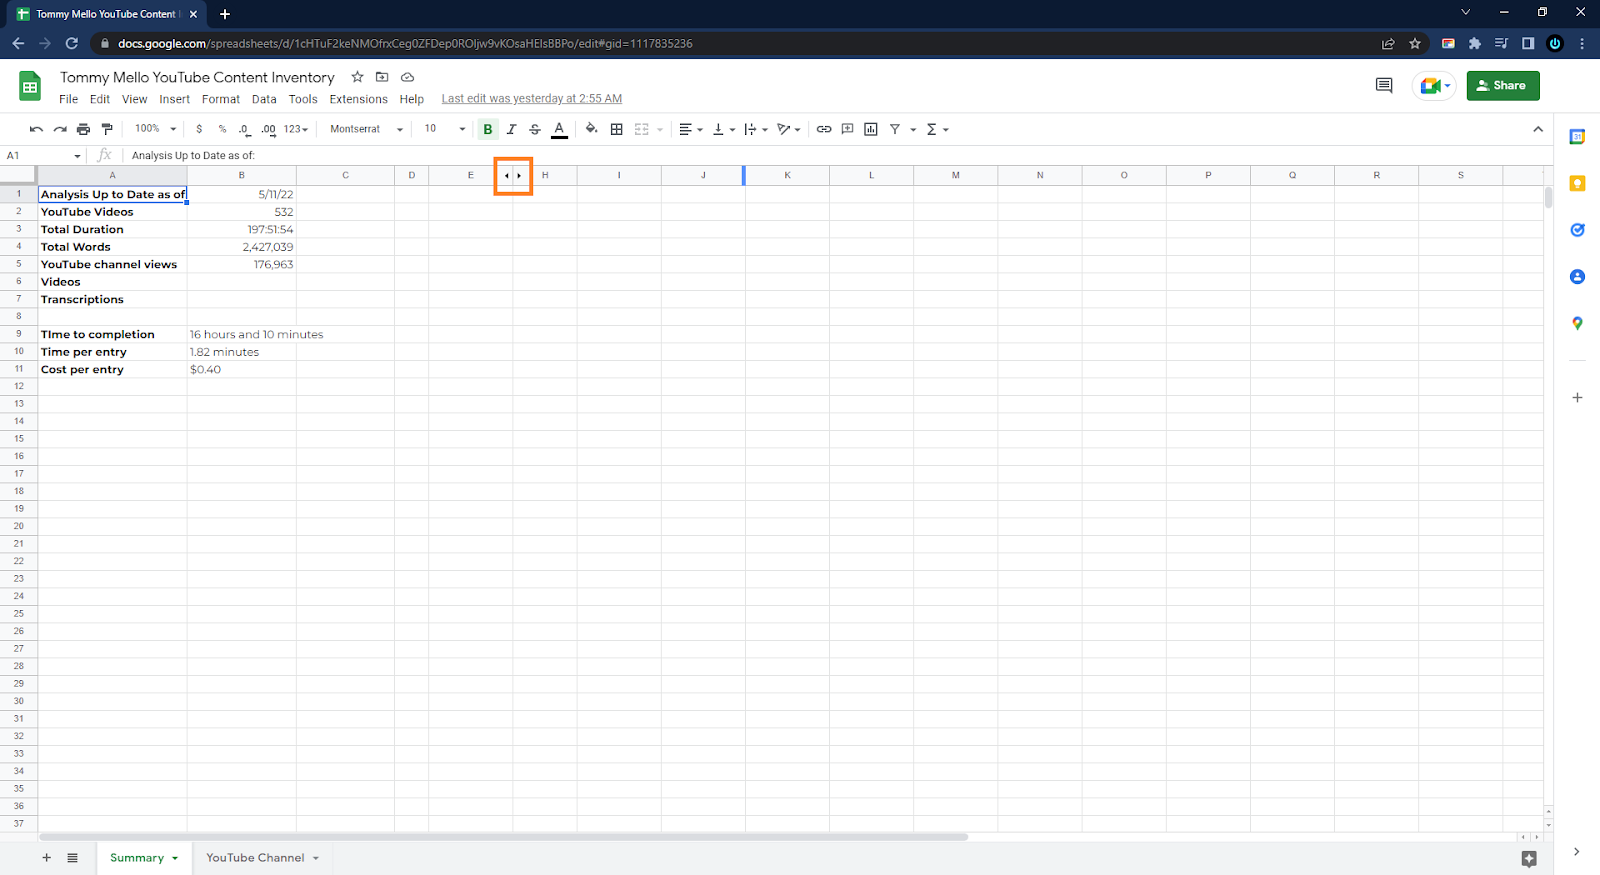
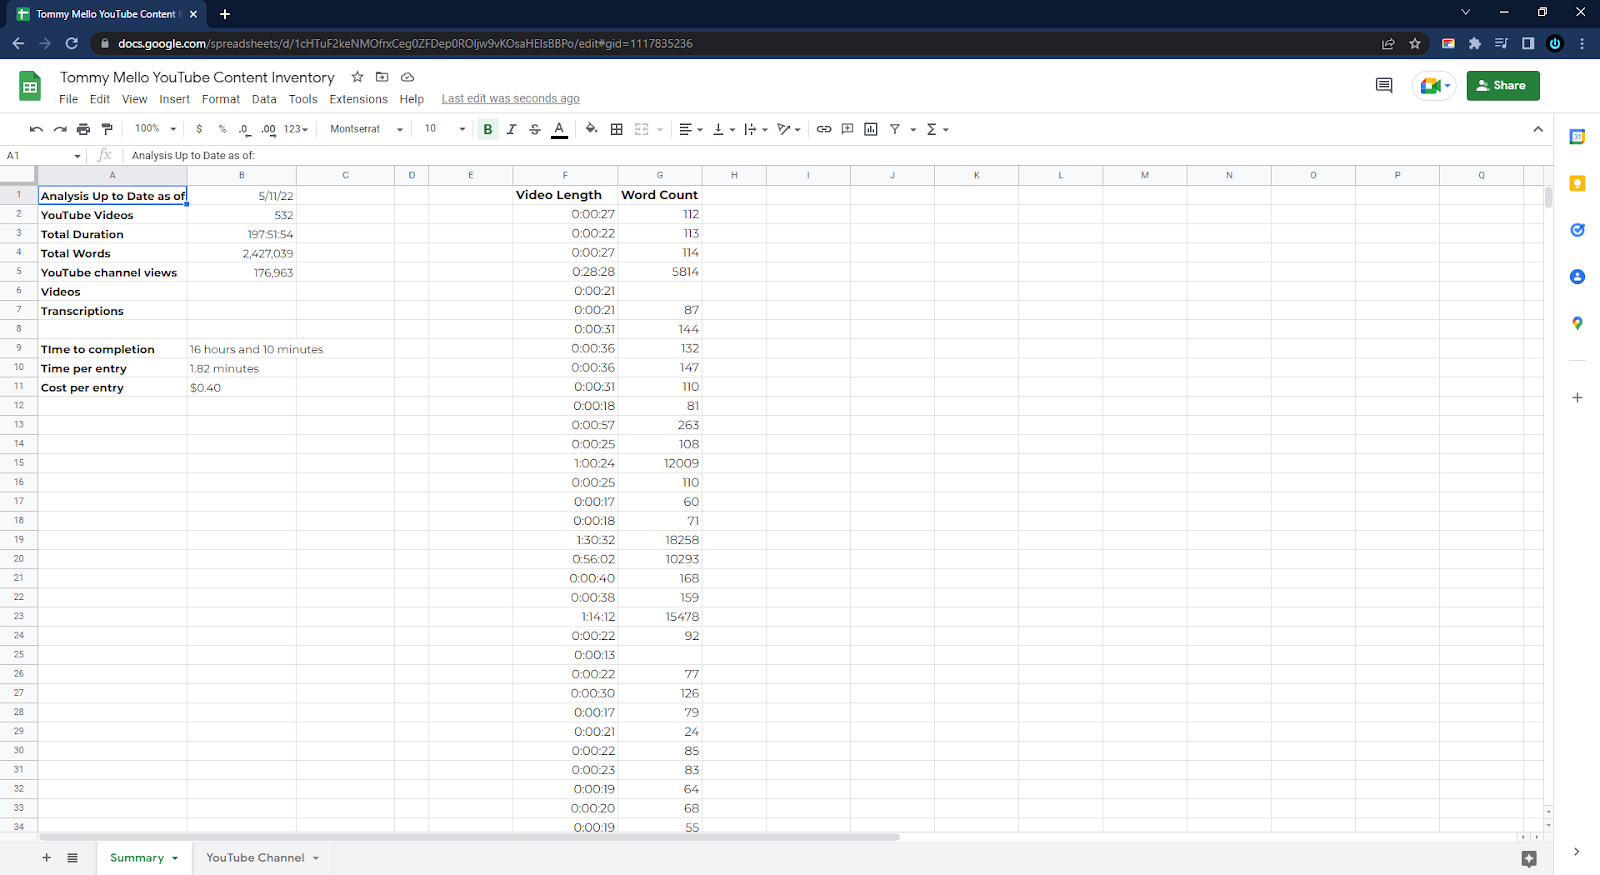
For the video length column, go back to the other tab and copy the video lengths of all the videos and paste it under the appropriate column in the Summary tab. Do the same for Word Count.
Please make sure that the formula captures all the cells that are populated under the related column. For Video Length, for example, this is what the formula embedded in the cell looks like.
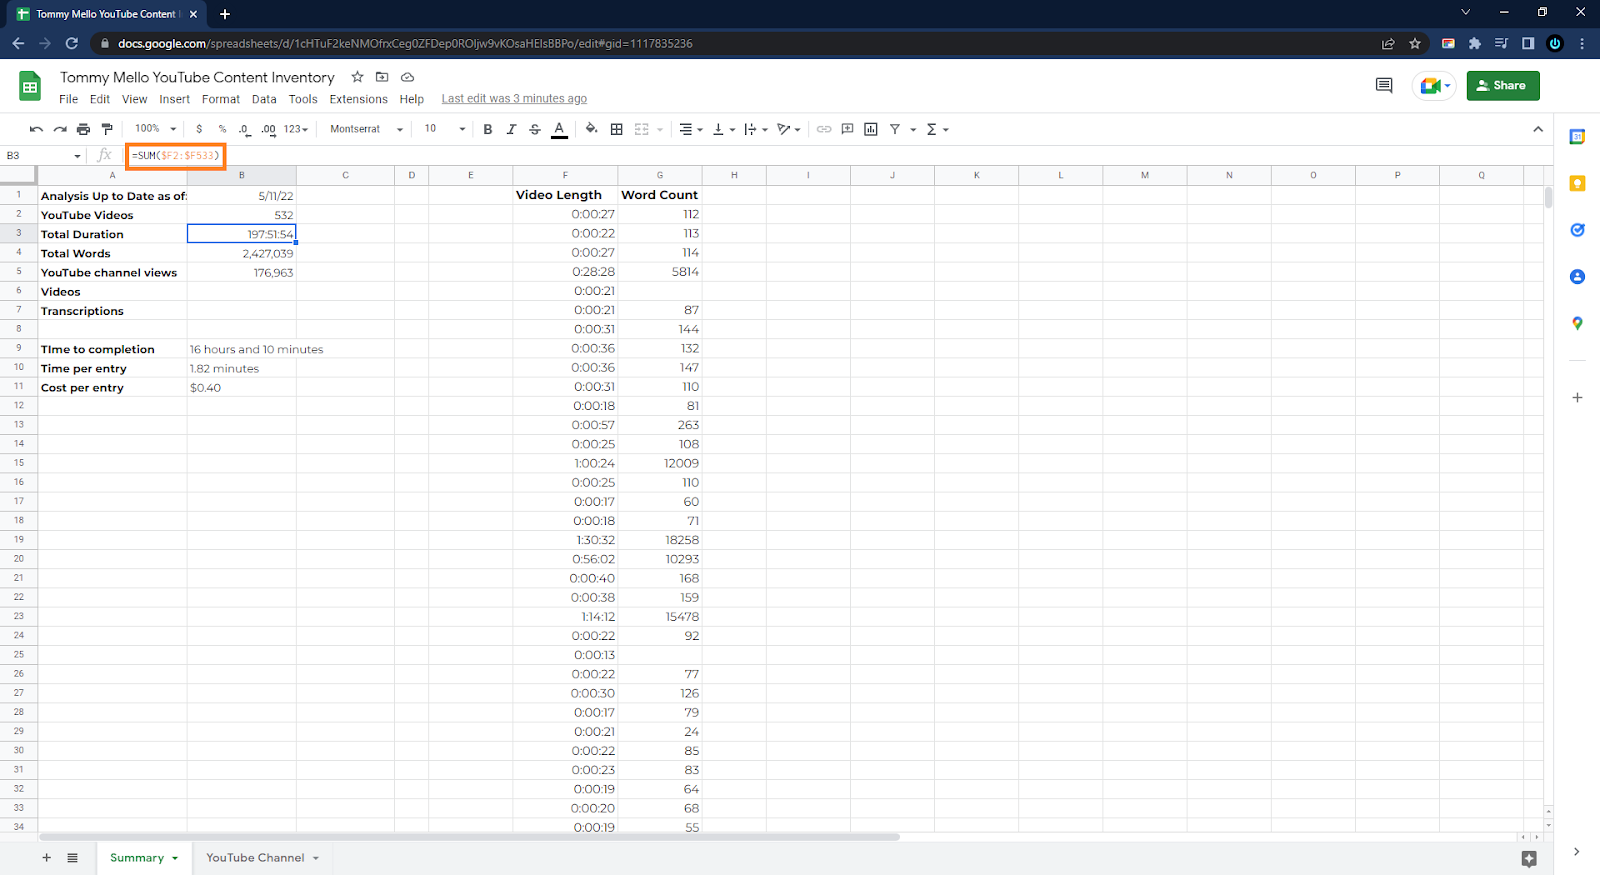
As you can see, it is only considering values from cells F2 to F533. If the number of videos you worked on exceeds that, the data beyond F533 will not be included in the count, which will result in an inaccurate value. You should be mindful about that always and edit the formula when needed for both columns.
Lastly, you should also compute how long it took you to finish the job right down to the cost of each entry you added. Please accomplish the following as well to complete the required information: Time to completion, Time per entry, and Cost per entry.
Finally, all you have to do now is to get the URL of the sheet and include it in your report.
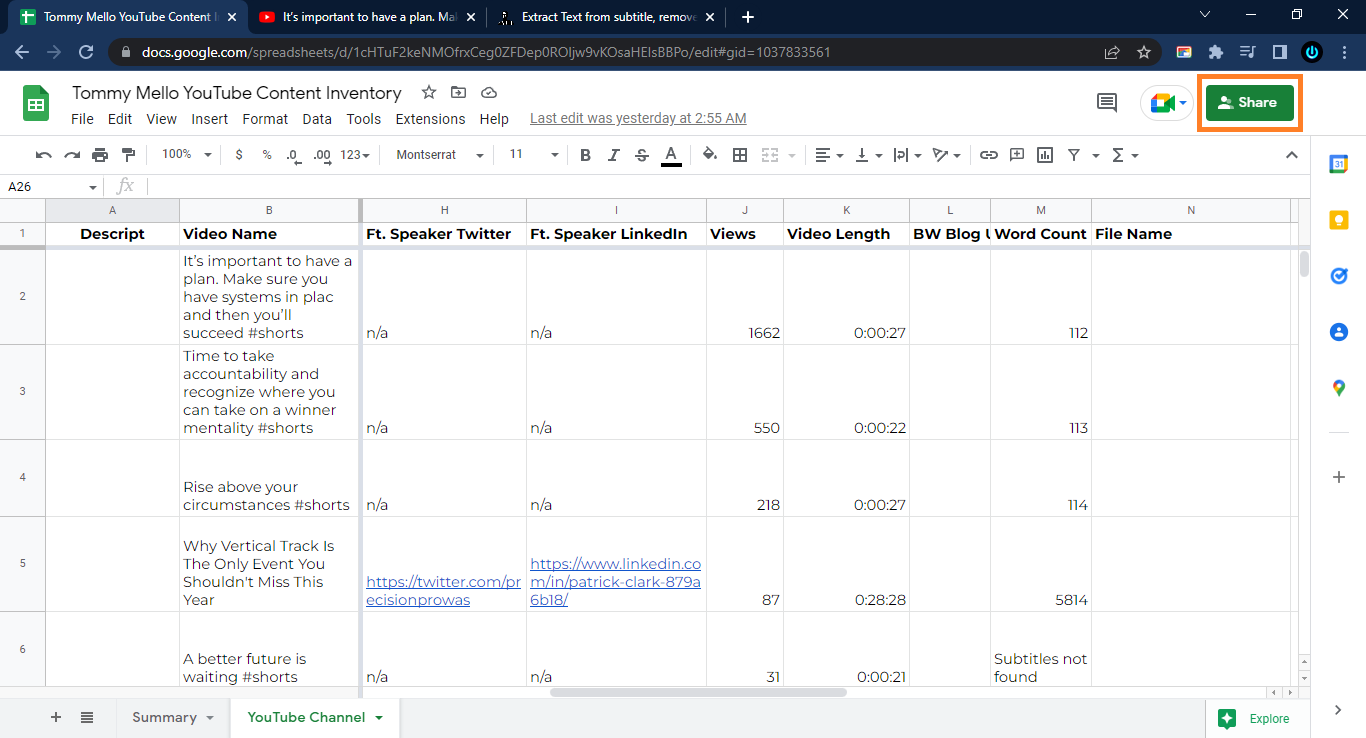
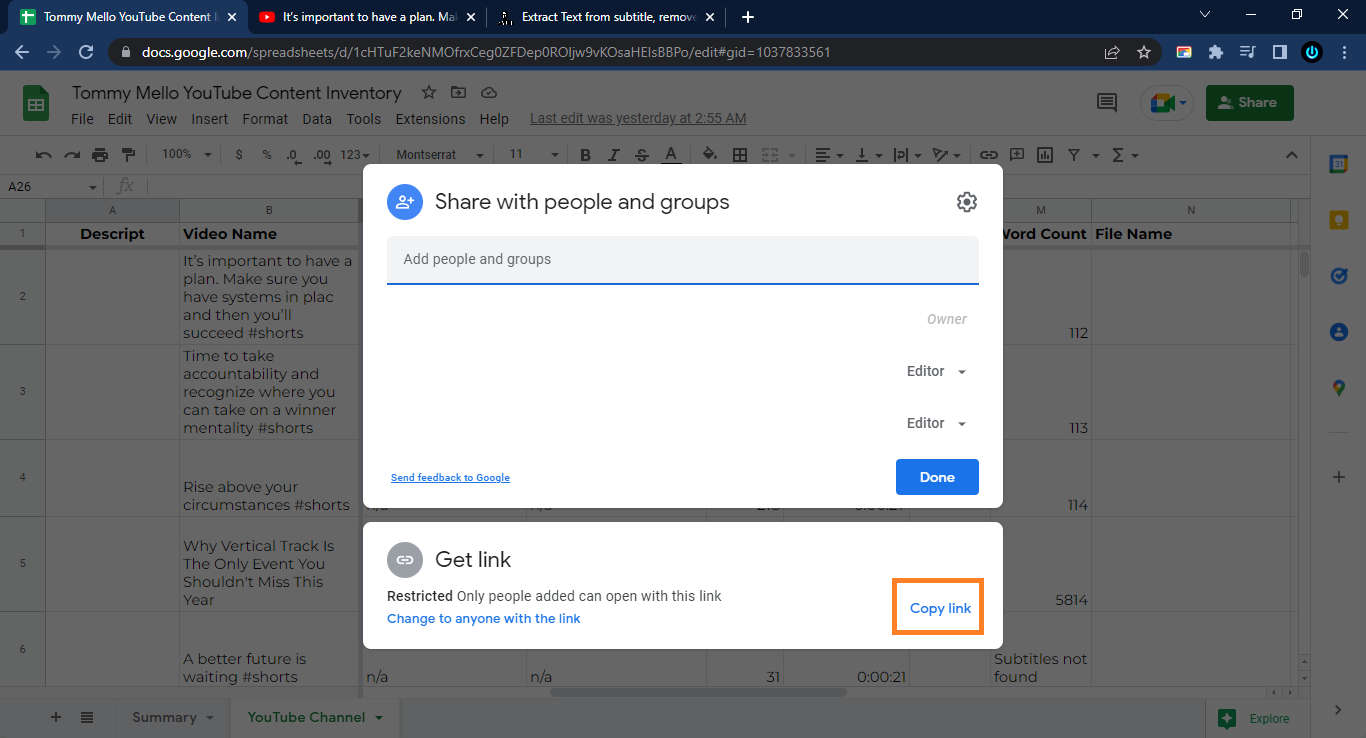
That's it. You're done. Good job!
Verification Checklist
The inventory must meet the following criteria:
#1. The Google Sheet is a new sheet, a separate file.
#2. The sheet includes all the necessary columns such as:
- Descript
- Video Name
- Date
- URL
- Ft. Speaker
- First Page
- Video Ranking
- Ft. Speaker Twitter
- Ft. Speaker LinkedIn
- Views
- Video Length
- BW Blog URL
- Word Count
- File Name
#3. Columns are populated when the information is available.
#4. All featured speakers are added to the inventory
#5. All videos on the channel, including #shorts, are in the inventory.
#6. The Summary tab is already accomplished with all the cells updated including the ones related to cost.
