Introduction
Keap, formerly known as Infusionsoft, is a powerful customer relationship management (CRM) tool designed to help businesses manage their contacts, automate marketing processes, and improve overall efficiency. This guide provides a detailed step-by-step process for adding a new contact to Keap and subsequently adding that contact to an automation. By following these steps, you will be able to effectively manage your contacts and streamline your marketing efforts.
Table of Content
- Understanding Keap's Contact Management
- Adding a New Contact
- 2.1 Logging In to Keap
- 2.2 Navigating to the Contacts Section
- 2.3 Entering Contact Information
- 2.4 Saving the New Contact
- Adding the Contact to an Automation
- 3.1 Accessing the Contact Profile
- 3.2 Navigating to Automation Options
- 3.3 Adding the Contact to an Automation
- 3.4 Confirming the Addition
- Conclusion
Understanding Keap's Contact Management
Before diving into the specifics, it's essential to understand the importance of effective contact management. Keap allows users to organize and manage contacts efficiently, enabling better communication and marketing strategies. By leveraging its automation features, businesses can enhance their outreach and improve customer engagement.
Adding a New Contact
2.1 Logging In to Keap
- Open your web browser and navigate to the Keap login page.

- Enter your credentials (username and password) and click the "Log In" button.
- If prompted, complete any two-factor authentication steps.

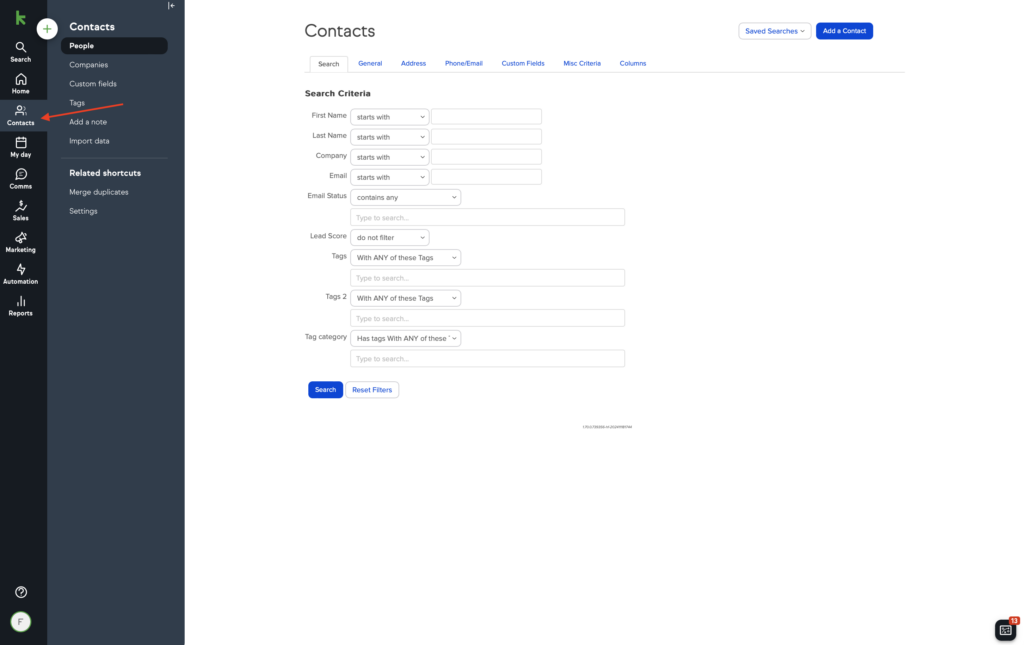
2.2 Navigating to the Contacts Section
- Once logged in, you will be directed to the Keap dashboard.
- Look for the main menu on the left side of the screen.
- Click on the “Contacts” tab to access the contact management area.

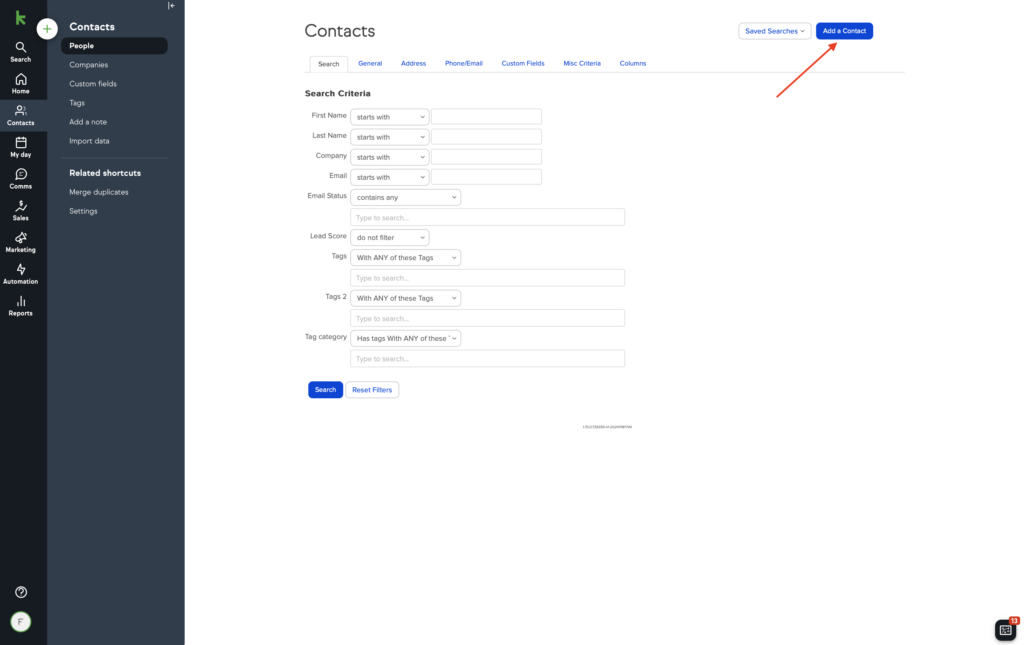
2.3 Entering Contact Information
- In the Contacts section, locate and click the “Add Contact” button, usually found at the top right corner.
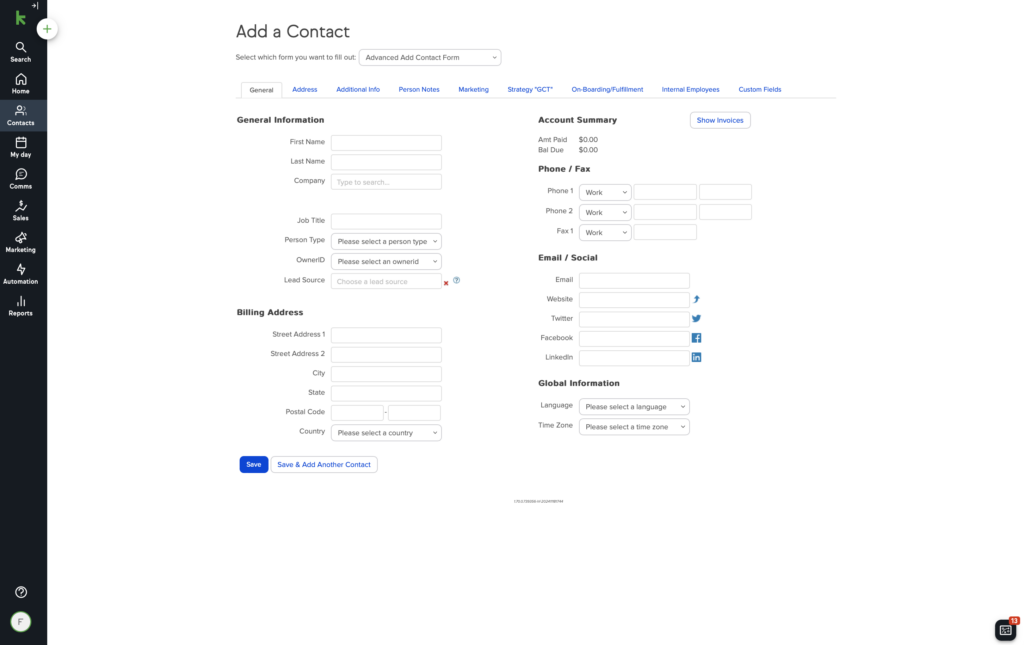
- A new form will appear prompting you to enter the contact’s details.
- First Name: Enter the contact's first name.
- Last Name: Enter the contact's last name.
- Email Address: Provide the contact's email address (this is essential for automation).
- Phone Number: Optionally, enter the contact's phone number.
- Tags: You can add tags to categorize the contact for easier management.
- Custom Fields: Fill in any other pertinent information as required by your business needs.
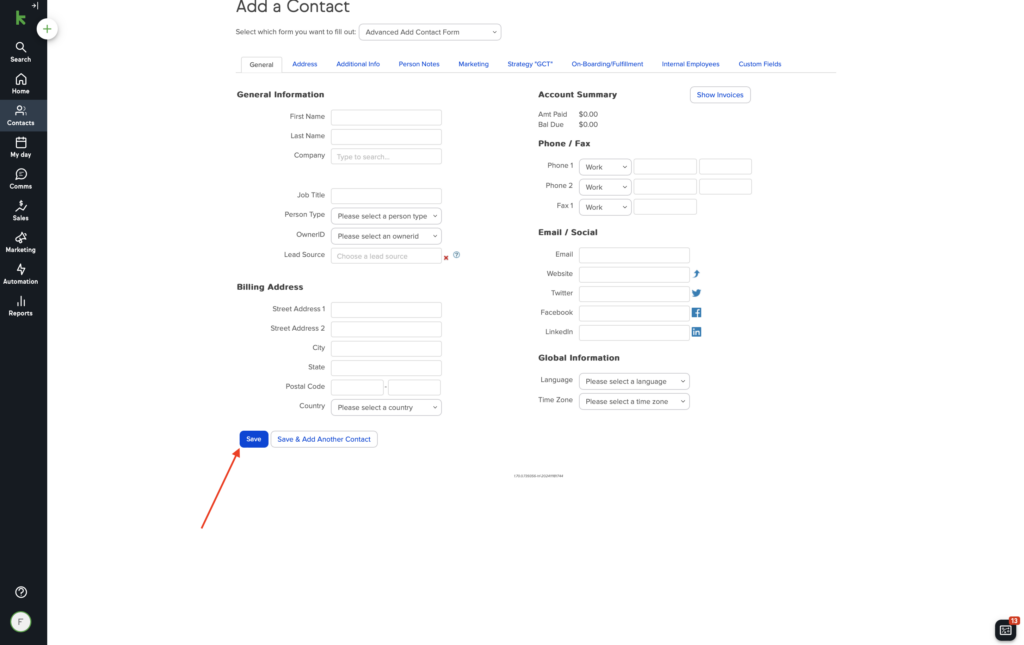
2.4 Saving the New Contact
- After entering all relevant information, review the details for accuracy.
- Click the “Save” button to add the new contact to your database.
Adding the Contact to an Automation
3.1 Accessing the Contact Profile
- After saving, you will typically be redirected to the newly created contact's profile.
- If not, use the search bar in the Contacts section to find the contact you just added by typing their name or email.
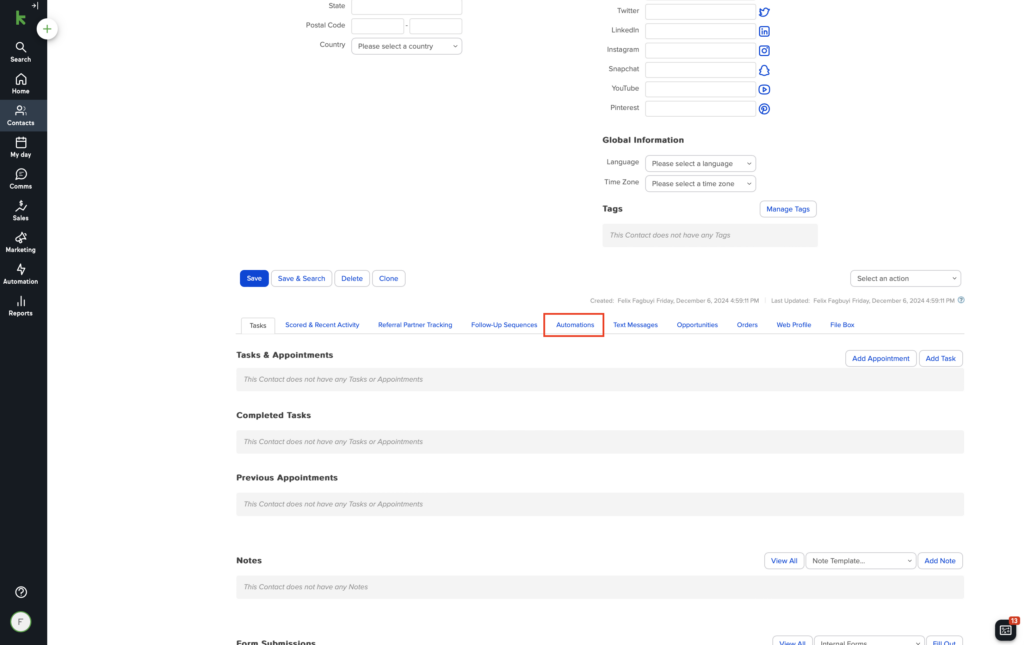
3.2 Navigating to Automation Options
- In the contact's profile, scroll down and look for section labeled “Automation”
- Click on the relevant section to view available automations associated with this contact.
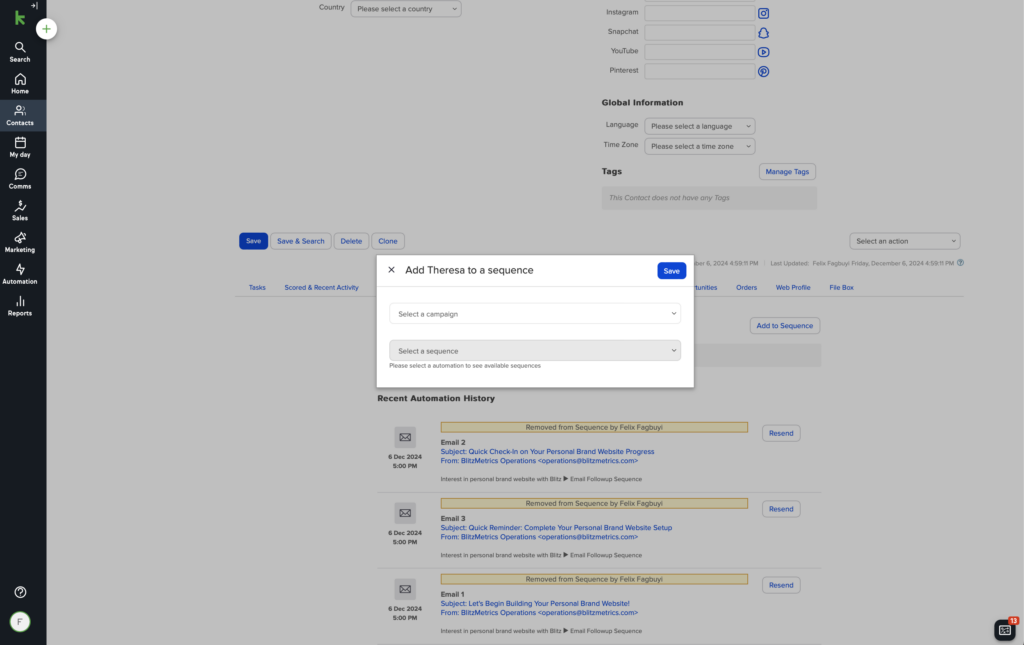
3.3 Adding the Contact to an Automation
- Identify the specific automation or campaign to which you want to add the contact.
- You may see an “Add to Sequence” or “Enrol in Automation” option; click on it.
- Follow any prompts to select the specific automation sequence. Depending on your setup, you may have multiple options.

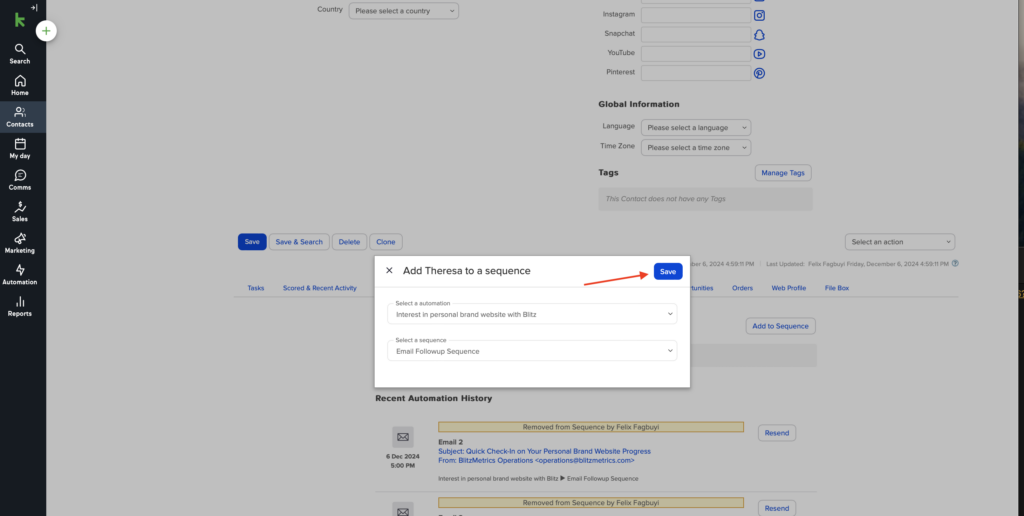
3.4 Confirming the Addition
- Look for a the "Save" button or prompt and click it to finalize the addition.

- You should receive a notification indicating that the contact has been successfully added to the automation.
Conclusion
Adding a new contact and integrating them into an automation in Keap is a straightforward process that significantly enhances your ability to manage relationships and automate marketing efforts. By following the steps outlined in this guide, you can ensure that your contacts are effectively organized and that your outreach strategies are streamlined. Utilizing these features will ultimately lead to better engagement and improved business outcomes.