How To Post On Instagram
What this guide will teach you
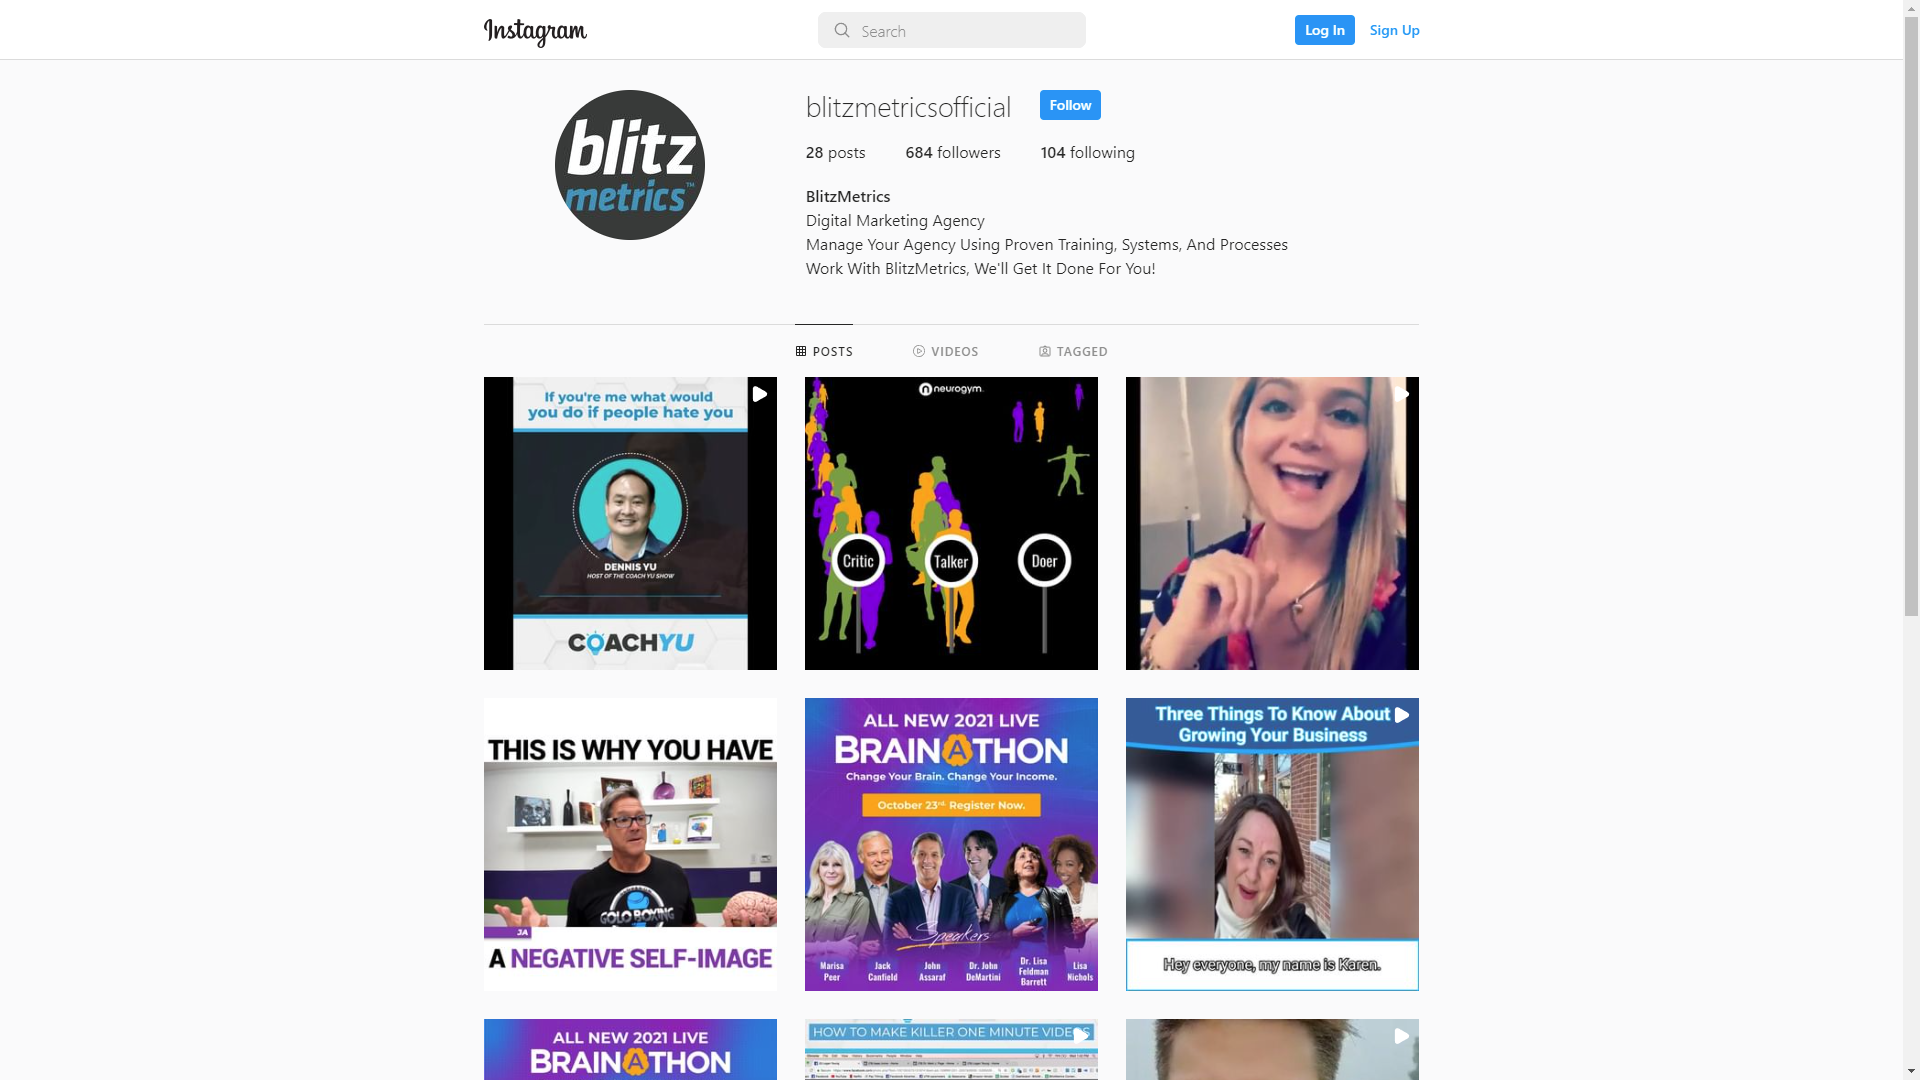
This guide will teach you how to create and submit a post on Instagram. We're going to post a screenshot of a Twitter post by Dennis in this guide. Please note that a computer was used to access Instagram here. It's going to be the same process if you're going to do this task on your smartphone instead. Let's get on with it!
Task Checklist
To execute this task, you will need the following:
- Login credentials for Content Factory Instagram account (Request it through access@yourcontentfactory.com).
- The content for the post.
Step 1: Prepare the screenshot
Referencing the platform you’re posting on helps make your content more contextual and relevant.
#1. Take a screenshot of your tweet.

#2. Next, use your smartphone's or computer's photo editor to erase elements in the screenshot that are not necessary to show. Crop the image (if needed).

Step 2: Creating the post
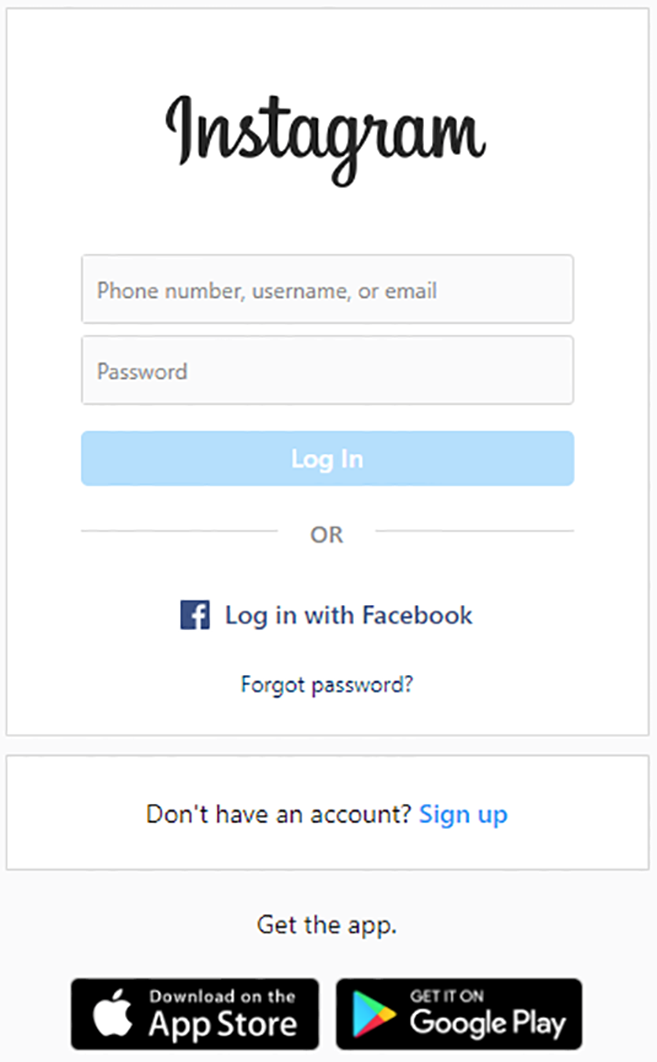
#1. Use the login credentials that were sent to you to log in to the Content Factory Instagram account.
#2. Create a post on Instagram by pressing on the "+" sign.
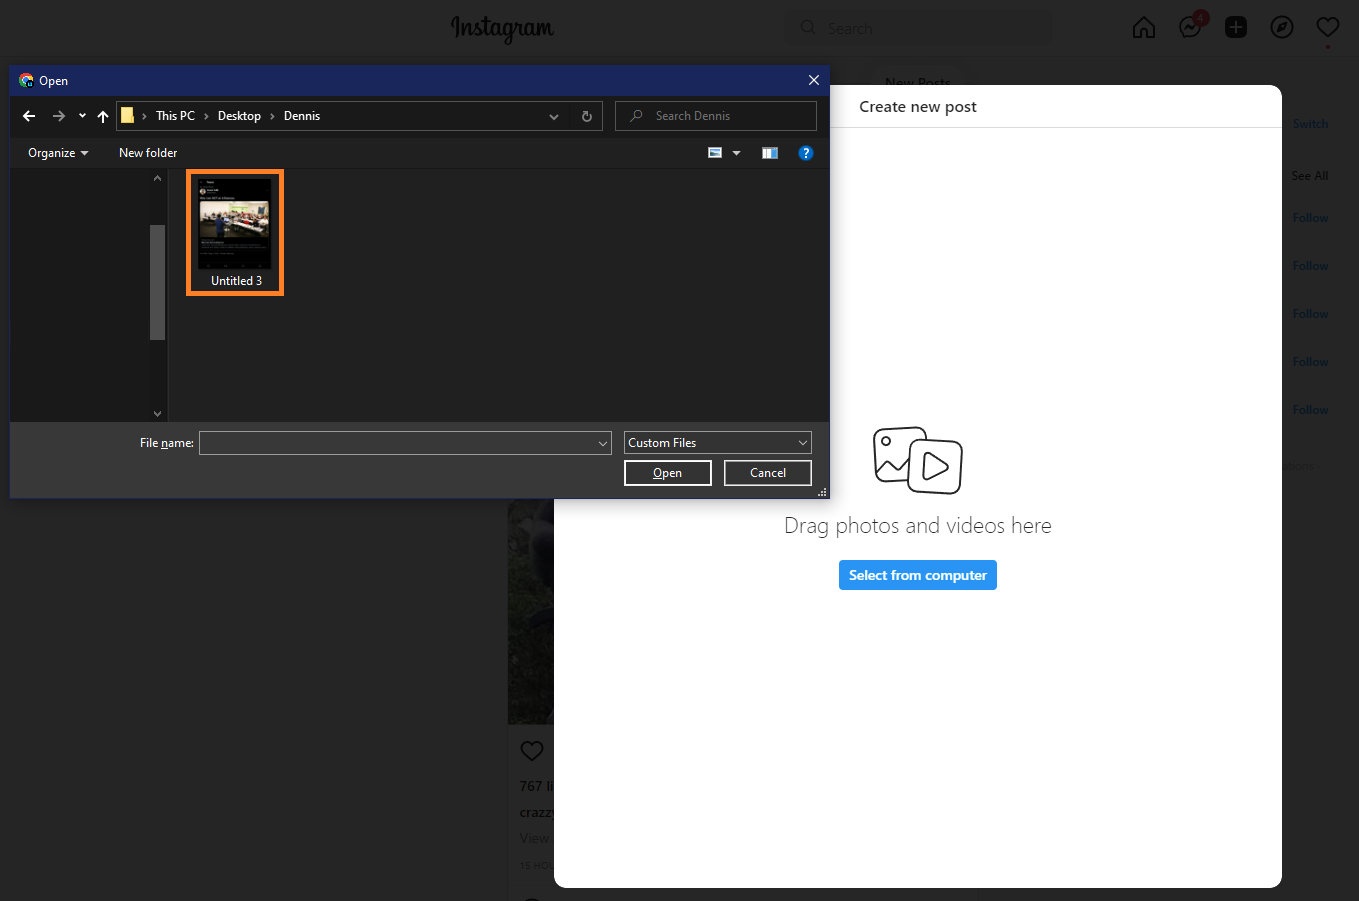
#3. Attach the screenshot and post it on Instagram.

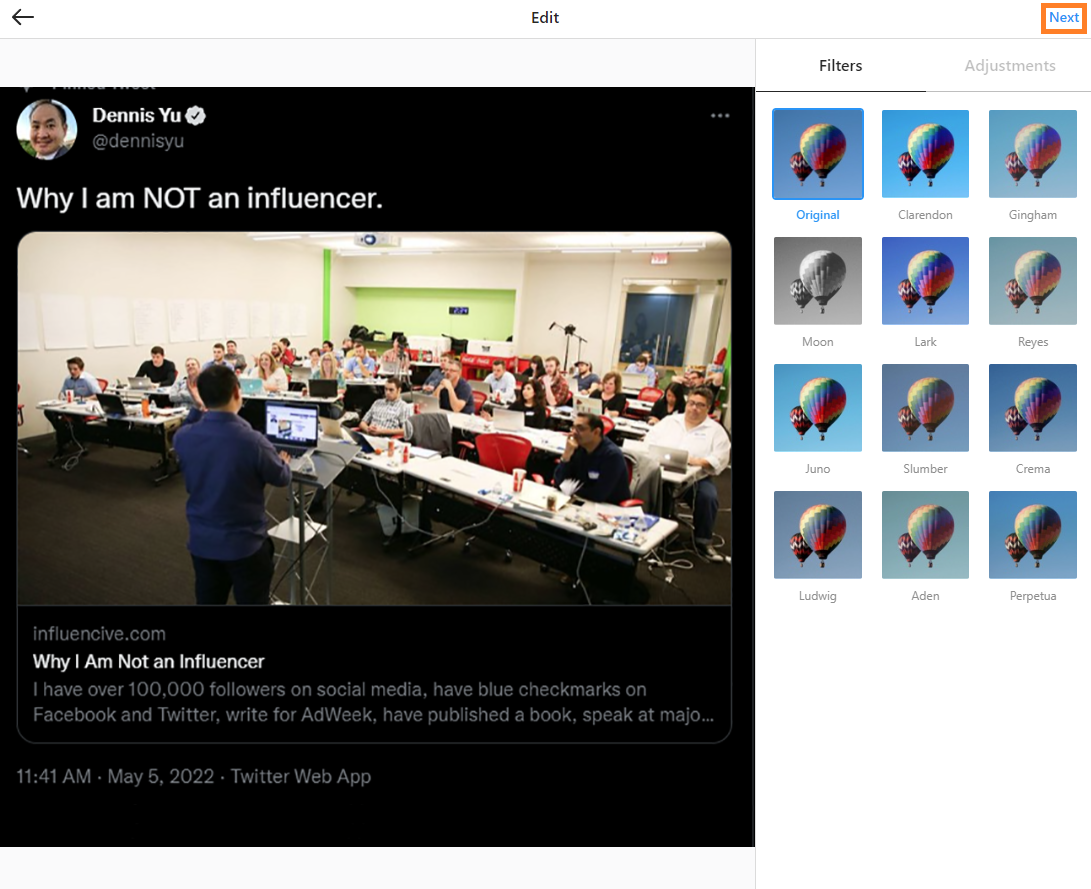
#4. Crop the image if needed and then press on "Next." You don't need to do anything on the filters page, so click on "Next" there as well.

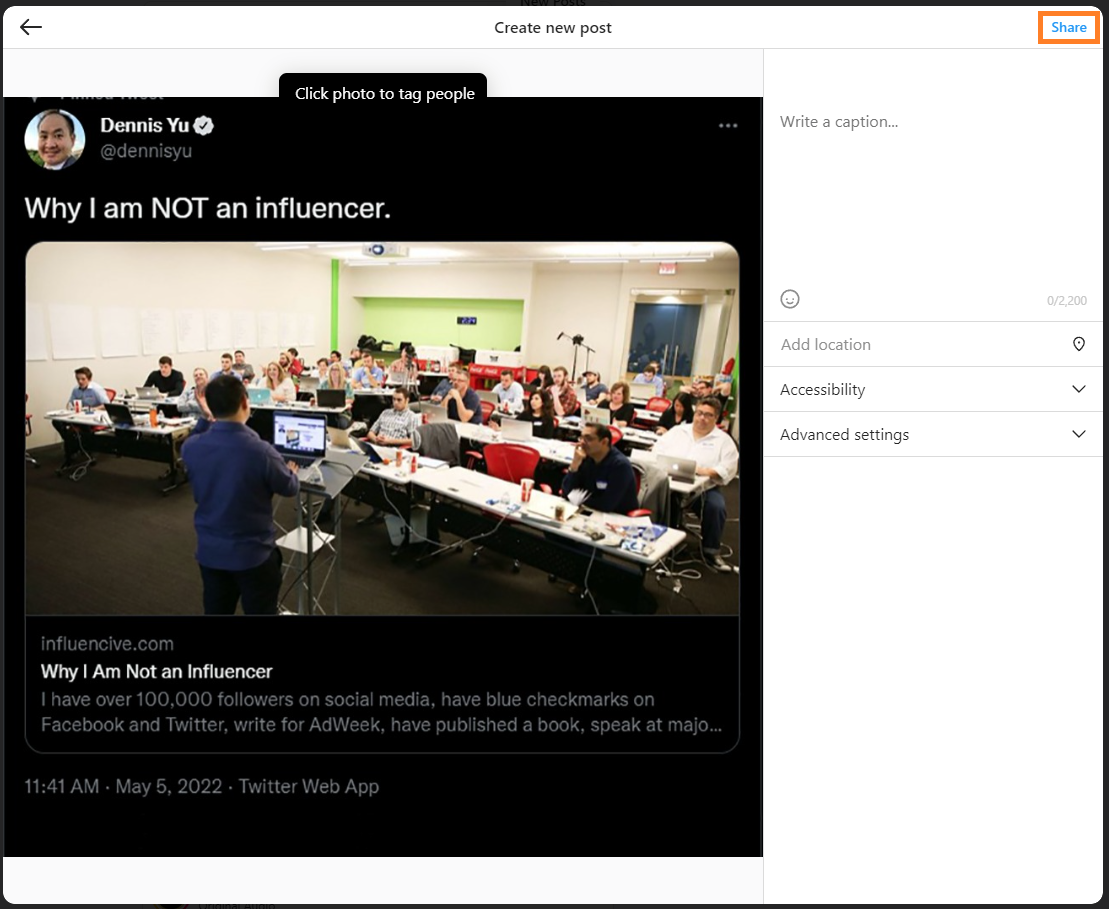
#6. Add a caption. Add the link that you shortened if any.

#7. When you're sure that the post is ready, simply press "Share."
That's it. Good job!
If you enjoyed this tutorial, then check our Task Library, where you can learn how to get a thousand other things done!
Verification Checklist
The Instagram post must meet the following criteria:
#1. The correct image was used for the post.
#2. Unnecessary parts from the image were erased/removed.
#3. The image was cropped (if necessary).
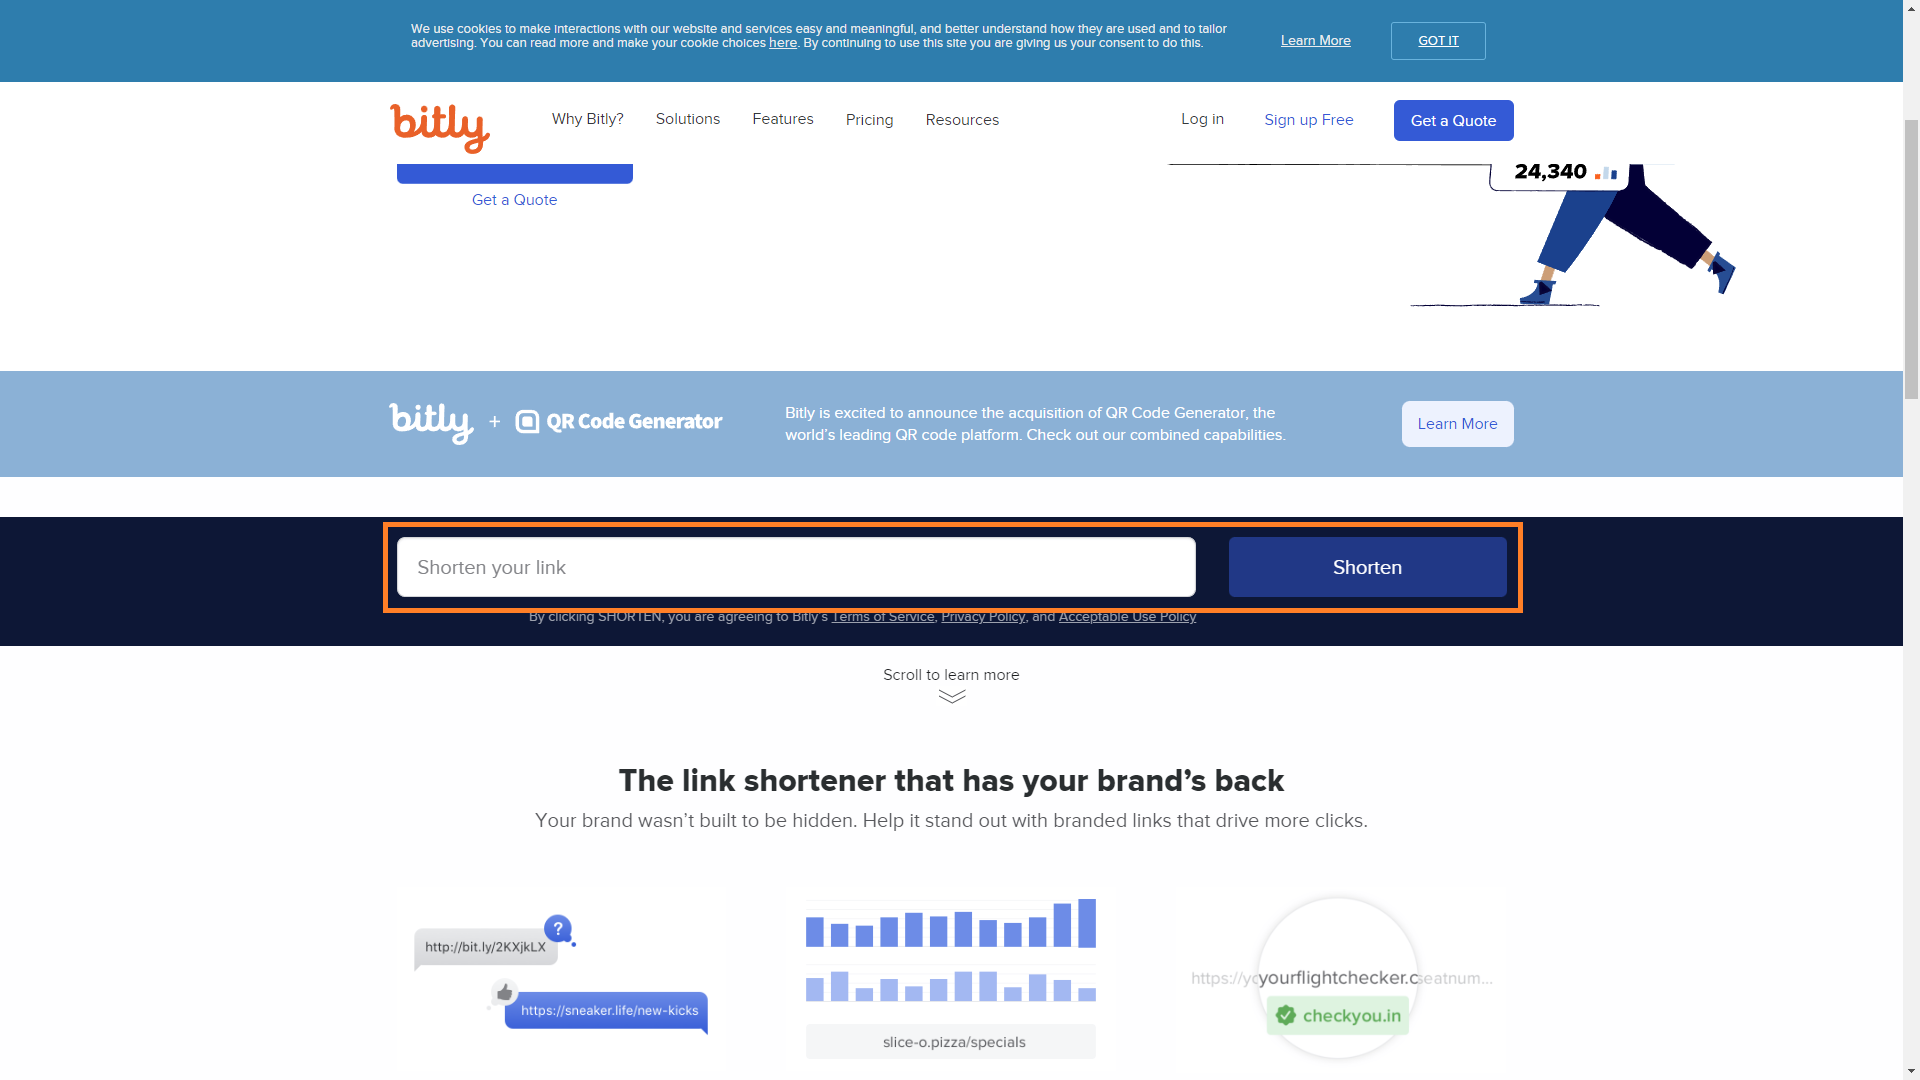
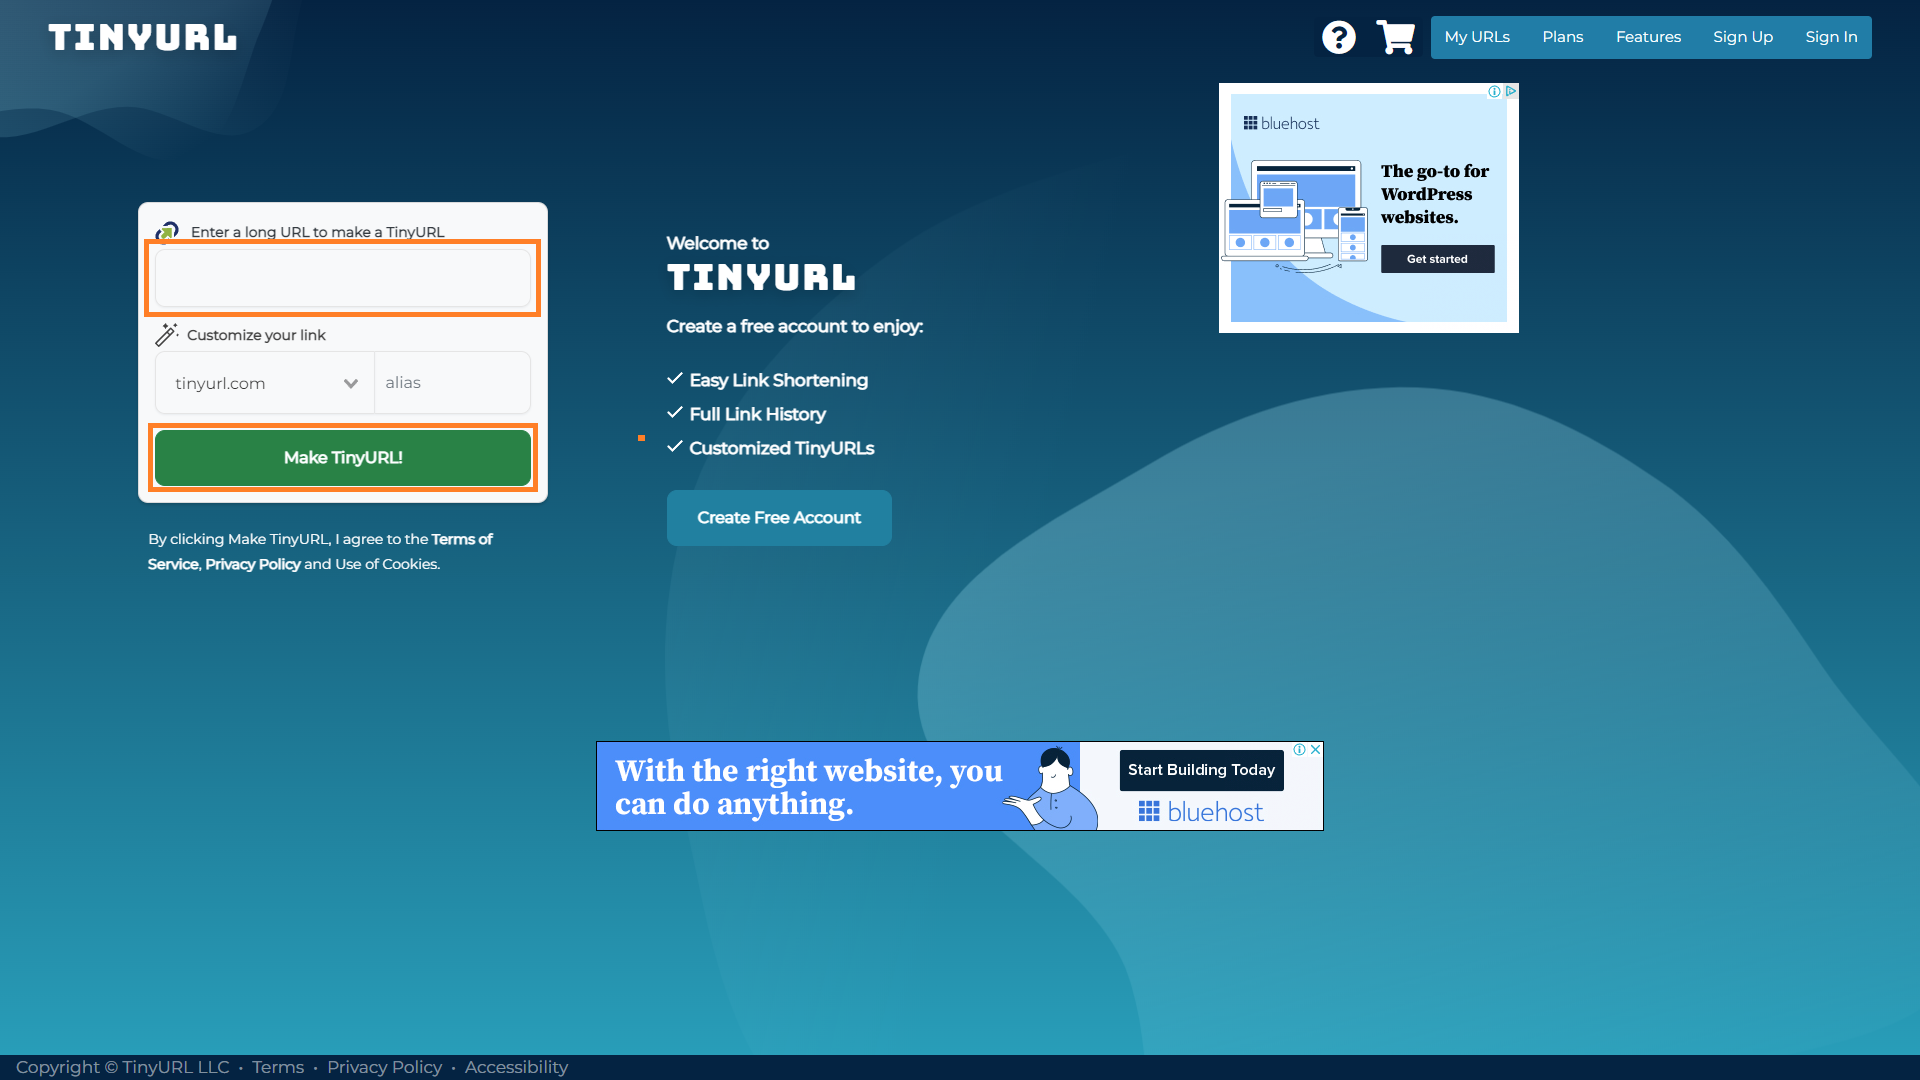
#4. The URLs (if any) were shortened using Bitly or TinyURL and were added to the post.
#5. A caption was added to the post.
#5. You have checked the post for errors in spelling, grammar, formatting, and consistency.