
Introduction
WordPress is a versatile content management system (CMS) that allows you to assign different user roles with specific capabilities. These roles include Subscriber, Contributor, Author, Editor, Administrator. Each role has a distinct level of access and permissions, with the Administrator role having the highest capabilities.
This guide will walk you through the process of creating a new user in WordPress and assigning the appropriate role. It also explains the capabilities of each role to help you decide which one best suits your needs.
Table of Contents
- Understanding WordPress User Roles
- Subscriber
- Contributor
- Author
- Editor
- Administrator - Accessing the WordPress Dashboard
- Navigating to the Users Section
- Adding a New User
- Assigning the Appropriate User Role
- Saving the New User
- Conclusion
Understanding WordPress User Roles
WordPress user roles determine what actions a user can perform on your website. Here’s a breakdown of each role and its capabilities:
Subscriber
Capabilities:
- Can only manage their profile.
- Can read content on the website.
- Cannot create, edit, or publish posts.
- Best for: Users who only need to comment or access restricted content.
Contributor
Capabilities:
- Can write and edit their own posts.
- Cannot publish posts (requires an Editor or Admin to approve).
- Cannot upload media files.
- Best for: Guest authors or team members who contribute content but don’t need publishing rights.
Author
Capabilities:
- Can write, edit, and publish their own posts.
- Can upload media files.
- Cannot edit or delete posts by other users.
- Best for: Team members who need to publish their own content without oversight.
Editor
Capabilities:
- Can write, edit, publish, and delete any posts (including those by other users).
- Can moderate comments.
- Can manage categories and tags.
- Cannot install plugins or change site settings.
- Best for: Content managers who oversee the publishing process.
Administrator
- Capabilities:
- Has full control over the website.
- Can add/delete users, install plugins, change themes, and modify settings.
- Can manage all content, including posts, pages, and media.
- **Best for**: Website owners or developers who need complete access to the site.
---
Step-by-Step Guide
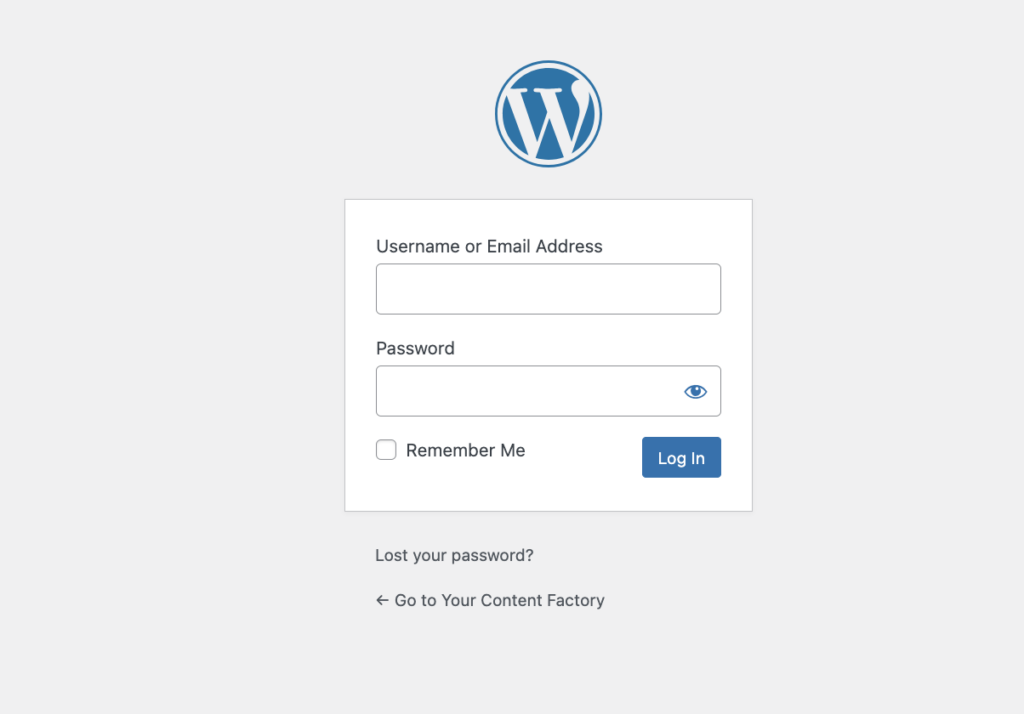
Accessing the WordPress Dashboard
- Log in to your WordPress website by visiting `https://yourwebsite.com/wp-admin
- Enter your username and password to access the dashboard.
Navigating to the Users Section
- Once logged in, look at the left-hand sidebar in the WordPress dashboard.
- Click on "Users" > "Add New:

Adding a New User
- Fill in the required fields:
- Username: Enter a unique username for the new user.
- Email: Enter the email address associated with the new user.
- First Name and Last Name: Optional, but helpful for identification.
- Website: Optional, if applicable.
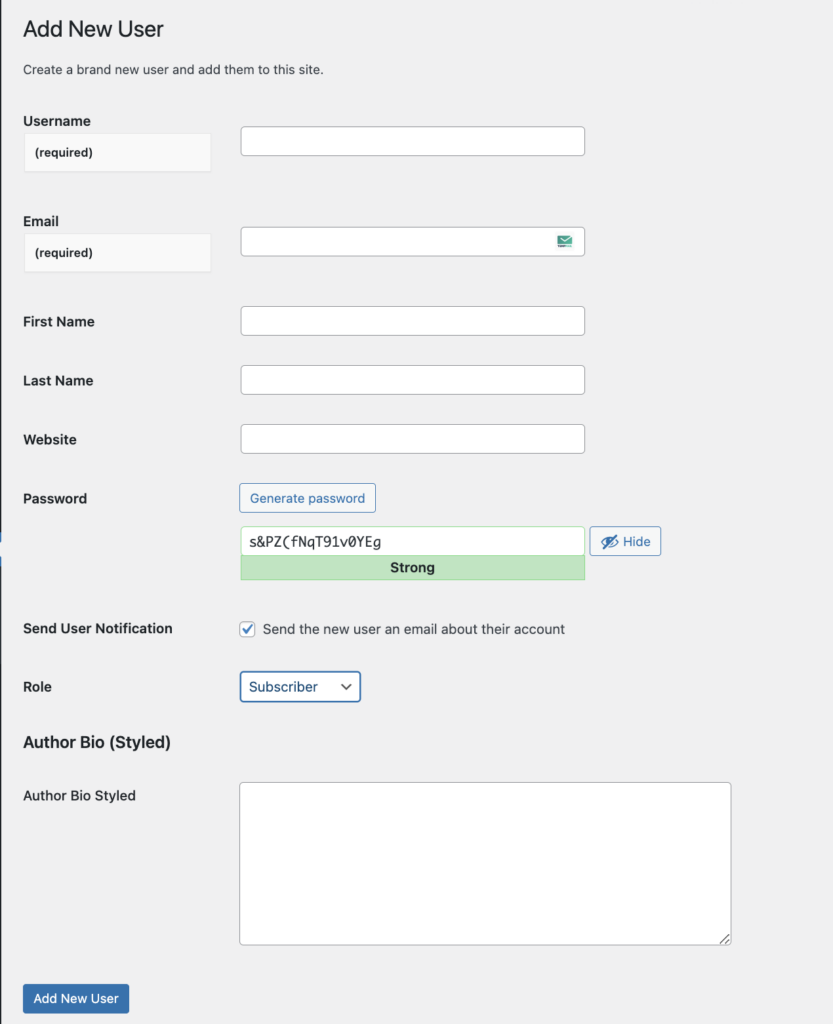
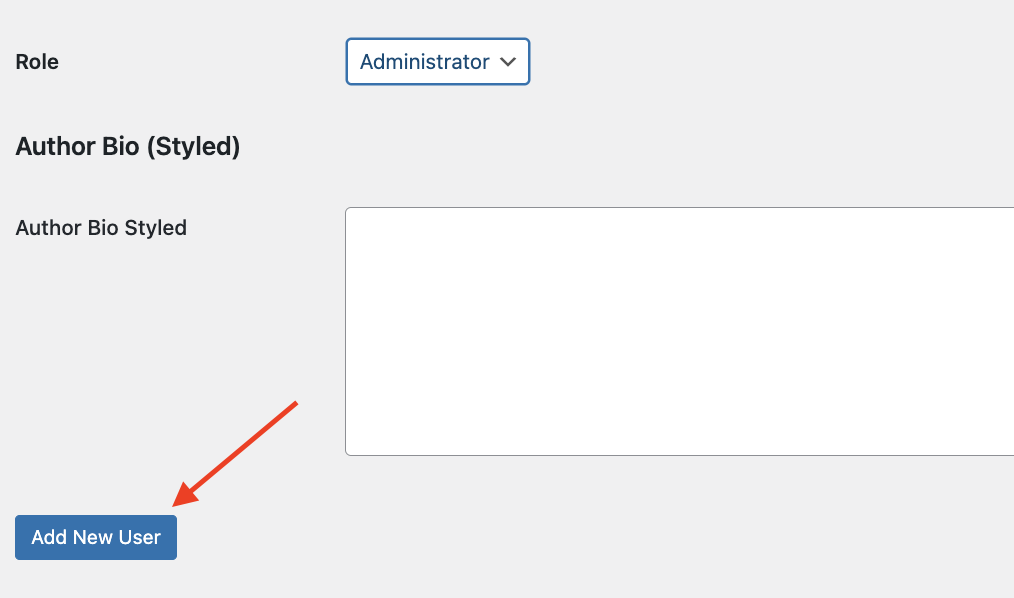
Assigning the Appropriate User Role
- Scroll down to the Role section.
- From the dropdown menu, select the appropriate role based on the user’s responsibilities:
- Subscriber
- Contributor
- Author
- Editor
- Administrator

Saving the New User
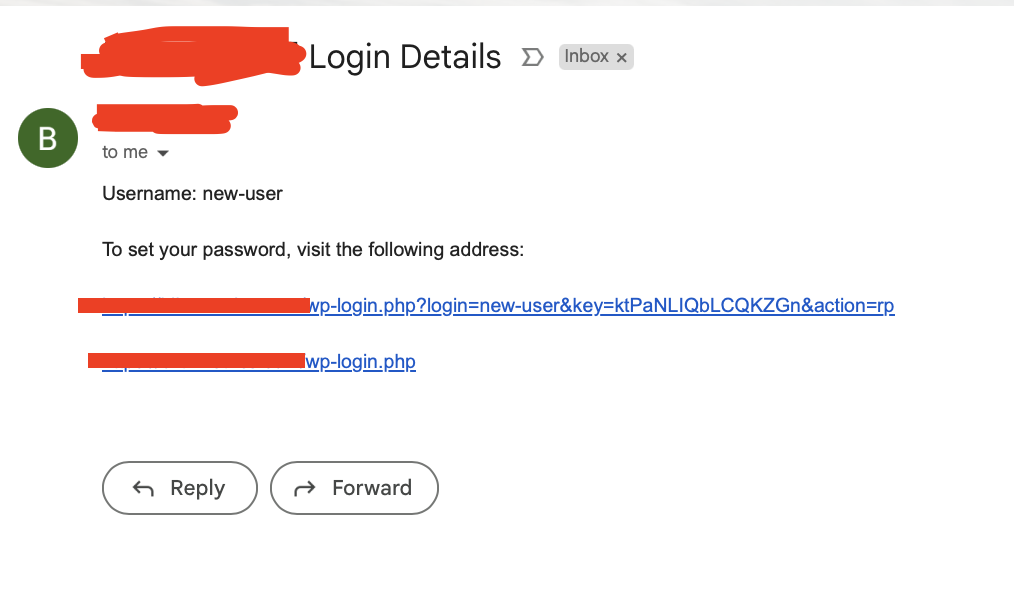
- Click the Add New User button at the bottom of the page.

- The new user will now be created, and the email address provided will receive a notification with login details.
Conclusion
Understanding WordPress user roles and their capabilities is essential for managing your website effectively. By assigning the appropriate role to each user, you can ensure that your team members have the access they need without compromising security.
This guide provides step-by-step instructions for creating new users and assigning roles.